
This guide is intended to walk you through the process of installing VMware ESXi on an Intel NUC, so that you can install multiple Cisco Catalyst 9800-CL Virtual Machines for Lab/Training/Testing use. The Intel NUC is a fantastic platform to install the Catalyst 9800-CL because of the very small form factor, silent operation, multiple connectivity options and low power draw. In my case, I take them with me when teaching my Catalyst 9800 courses.
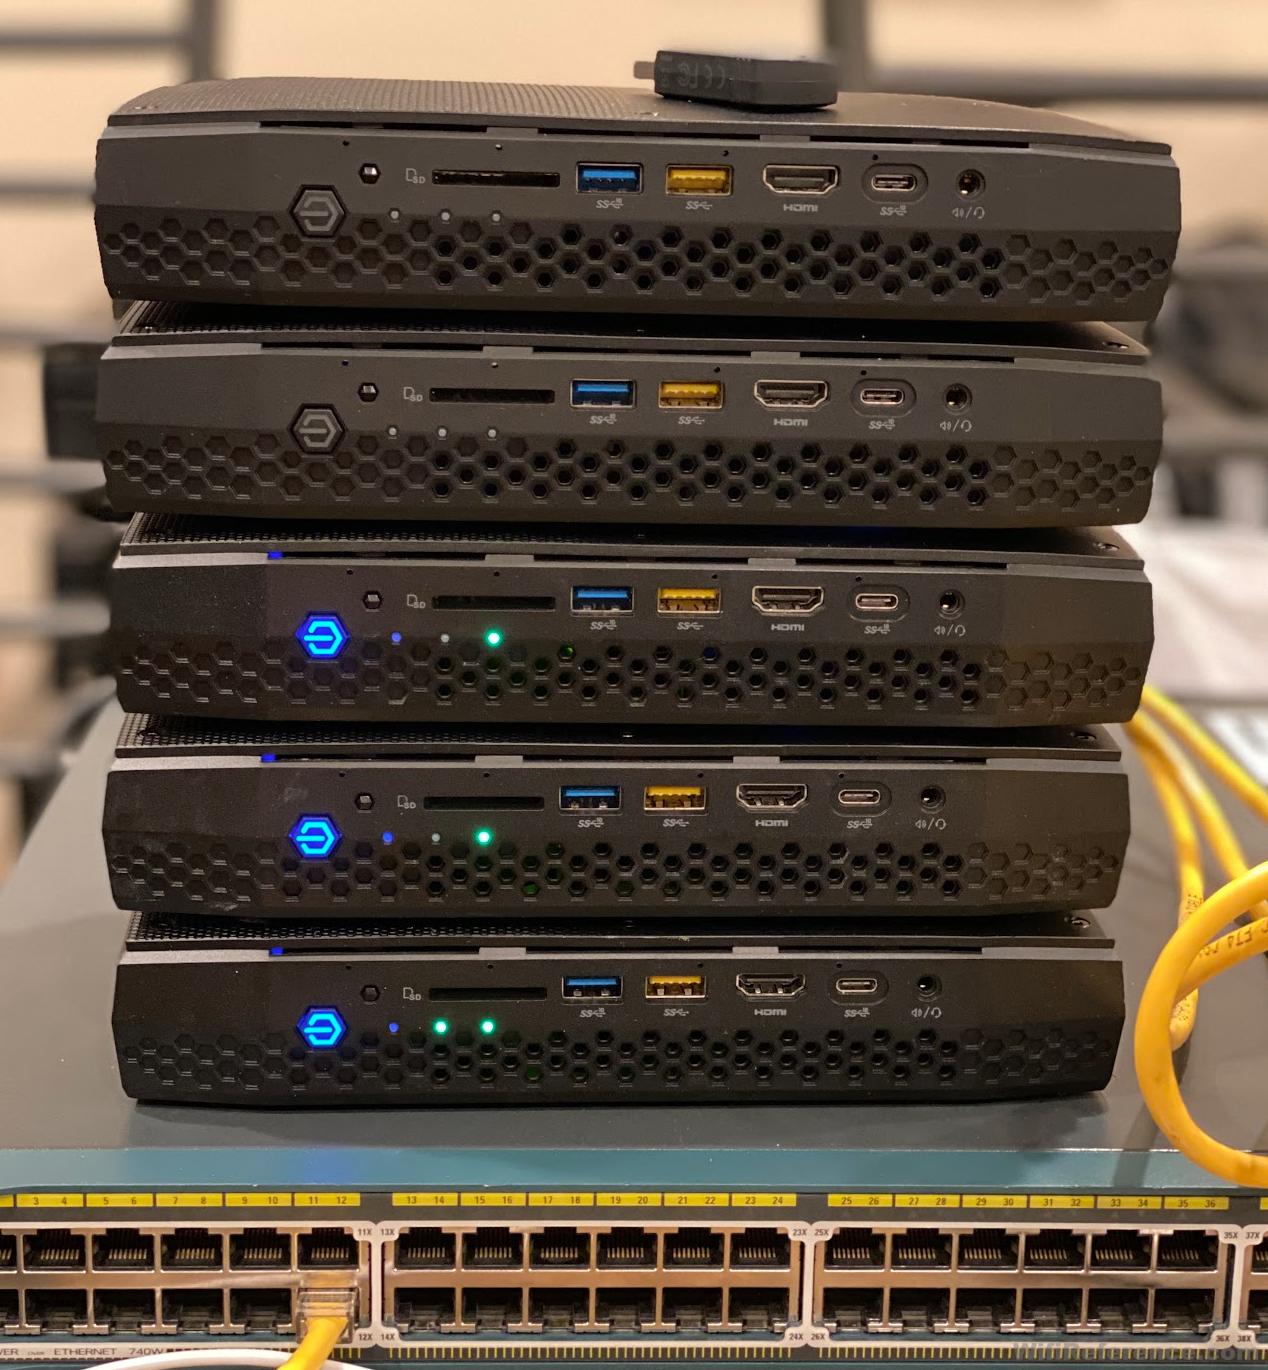
I’m using Intel NUC NUC8i7HVK and NUC8i7HNKs for this demonstration, but the process should apply to many other NUC models as well.
For my training purposes, I am able to run 5 Catalyst 9800-CLs per 32GB NUC. I’m obviously cheating the 9800-CLs out of resources to accomplish this, but they seem to perform well enough in this scenario. In a real-world scenario where performance matters, I would not oversubscribe the RAM or vCPUs. You can likely get 2 9800-CLs on a NUC without resource oversubscription.
Table of Contents
Preparing to install VMware ESXi on the Intel NUC
- Update the latest BIOS for the NUC. Some older BIOSes are not capable of running ESXi.
- BIOS downloads for these NUC models can be found here: https://downloadcenter.intel.com/product/126143/Intel-NUC-Kit-NUC8i7HVK
- This process varies with each NUC model, but is usually as simple as downloading a .BIO file from the link above, putting it on a thumb drive and updating from the NUC BIOS (enter at boot)
- Download VMWare ESXi 6.7 Update 2 (or a newer version) bootable ISO
- https://my.vmware.com has bootable ISOs for all versions of ESXi. Create an account if you don’t have one, and download the file from there.
- Note: ESXi 6.7 Update 2 is required for seamless installation of the Catalyst 9800-CL OVA. Many earlier versions of ESXi are not 100% compatible with Cisco’s OVA. I discuss this issue in detail in this article: http://www.wifireference.com/2019/08/24/cisco-catalyst-9800-cl-deployment-guide/
- Create a bootable thumb drive from that ISO
- This is harder than it needs to be with a Mac. I followed this process: https://www.admfactory.com/prepare-esxi-vsphere-usb-drive-boot-image-using-macos/
- Configure the NUC to boot from the USB thumb drive
- Press F10 to show the Boot Menu, or enter the BIOS setup by pressing F2, and then change the boot order

Installing VMware ESXi on the Intel NUC
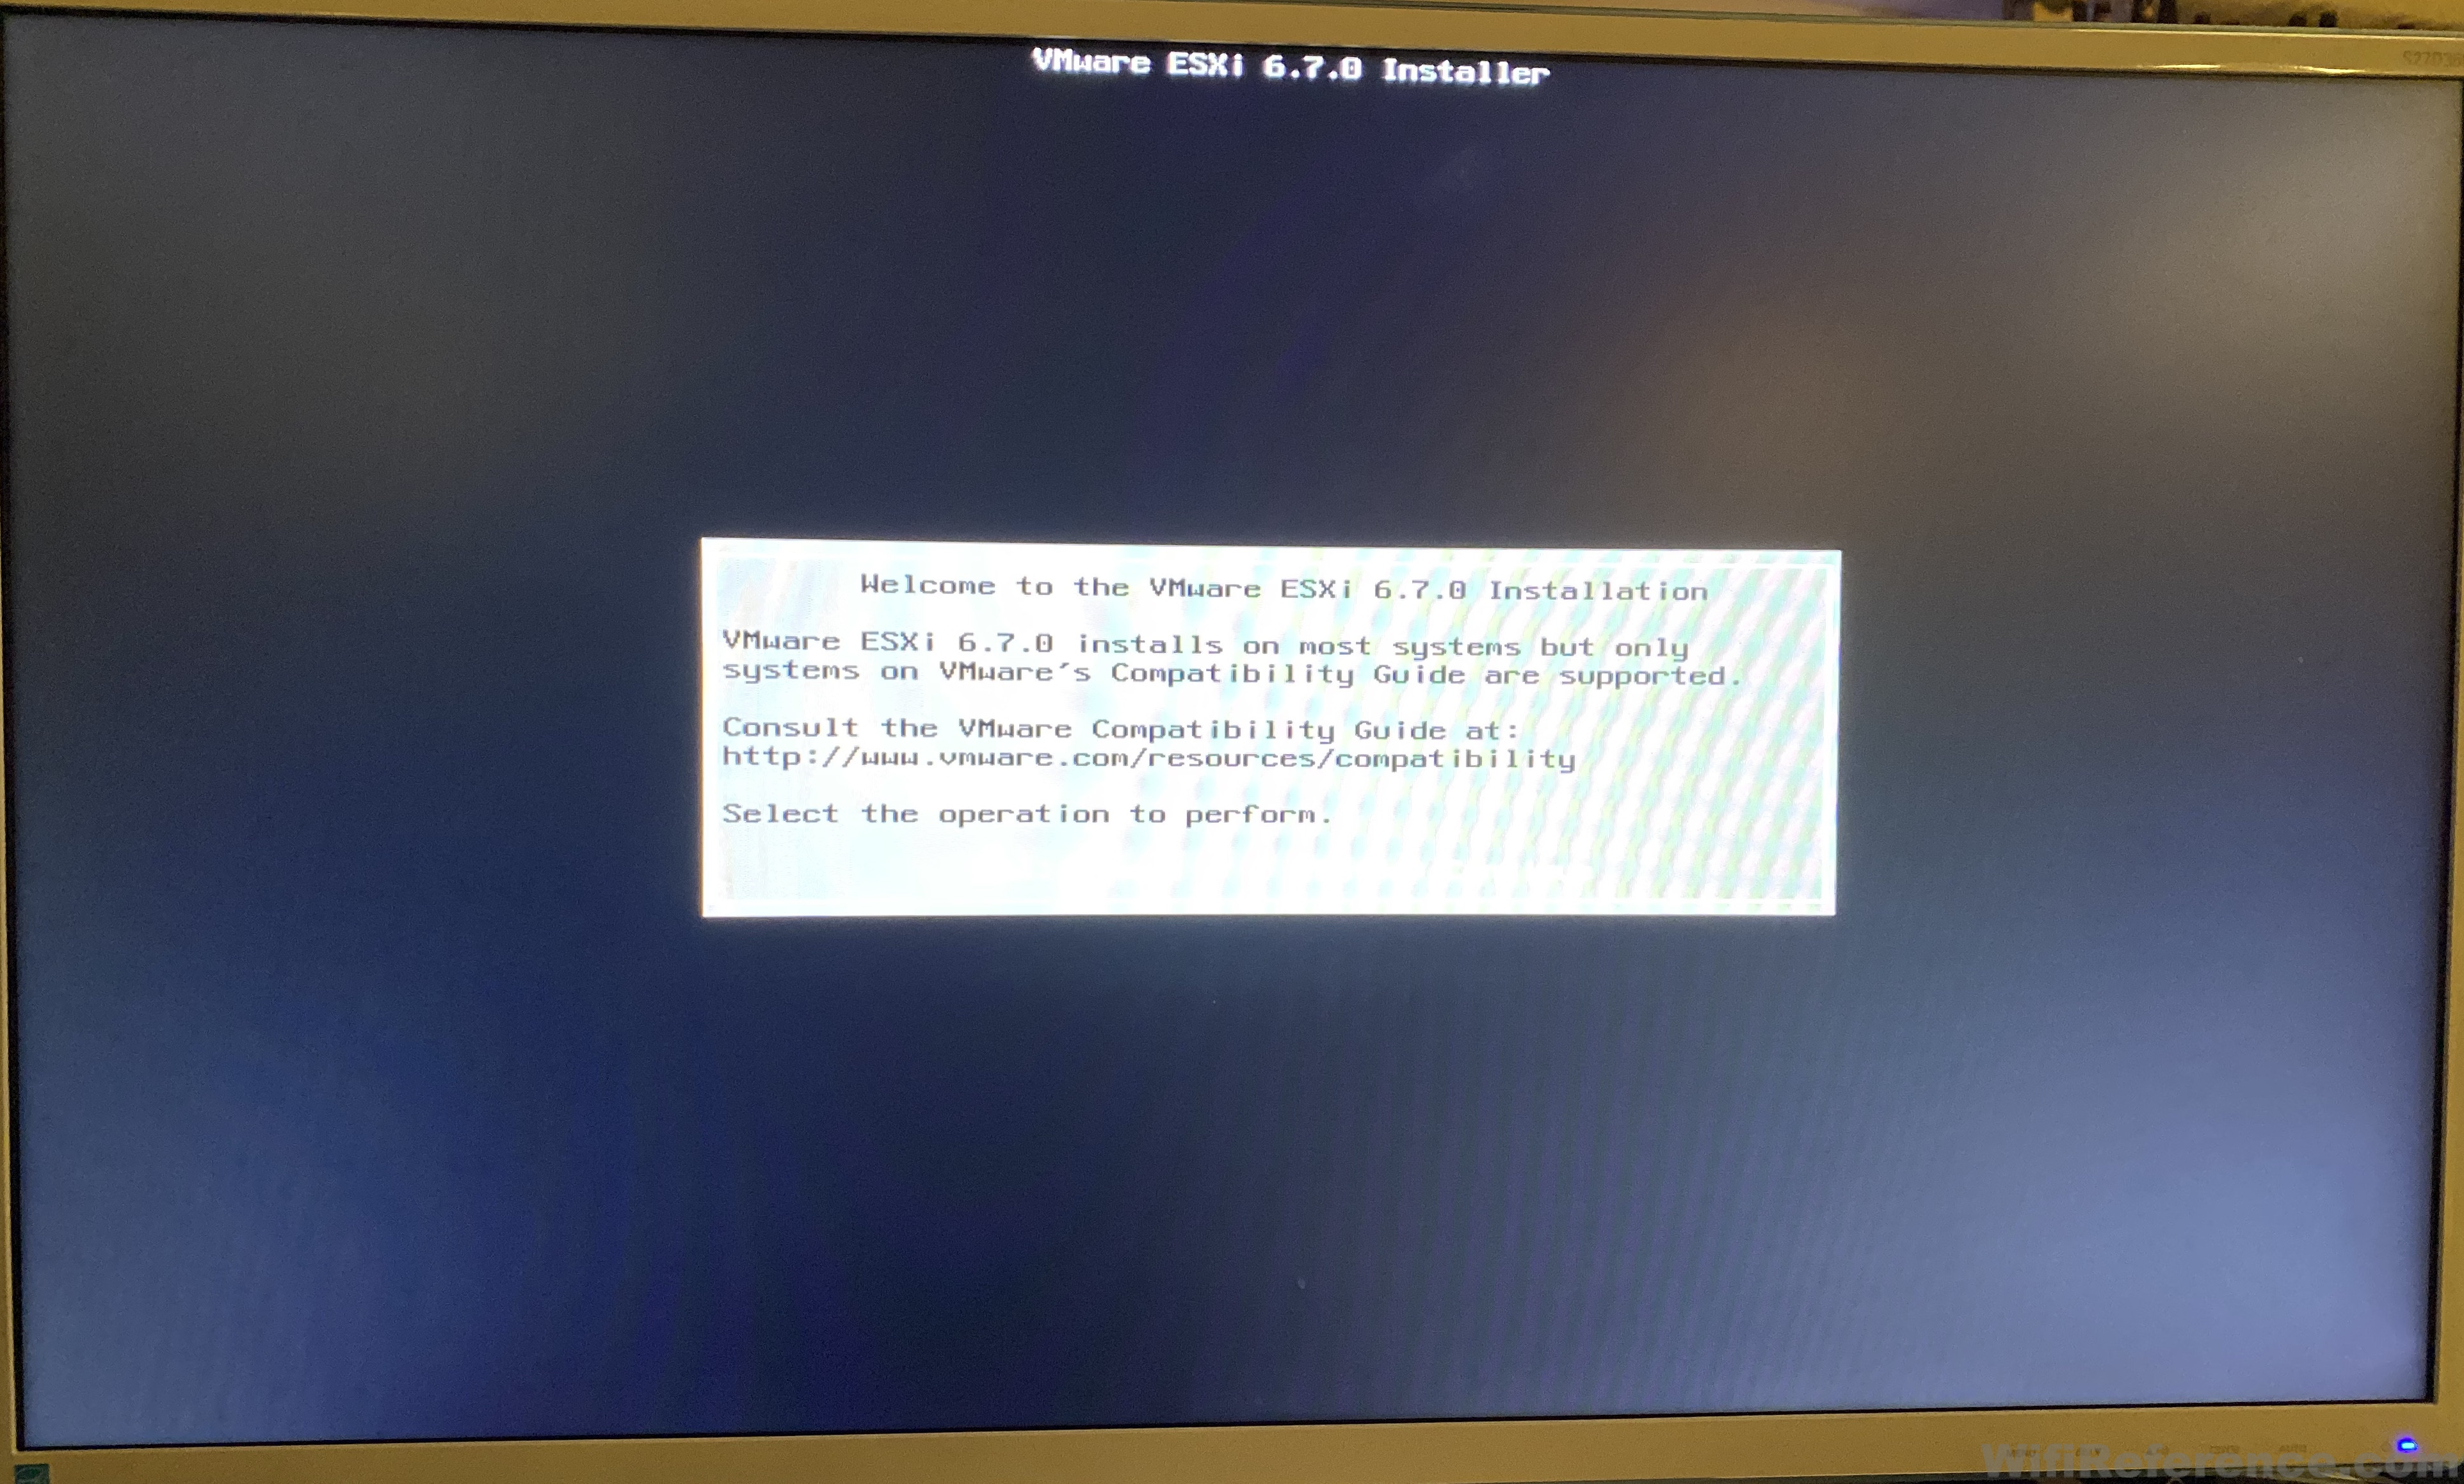
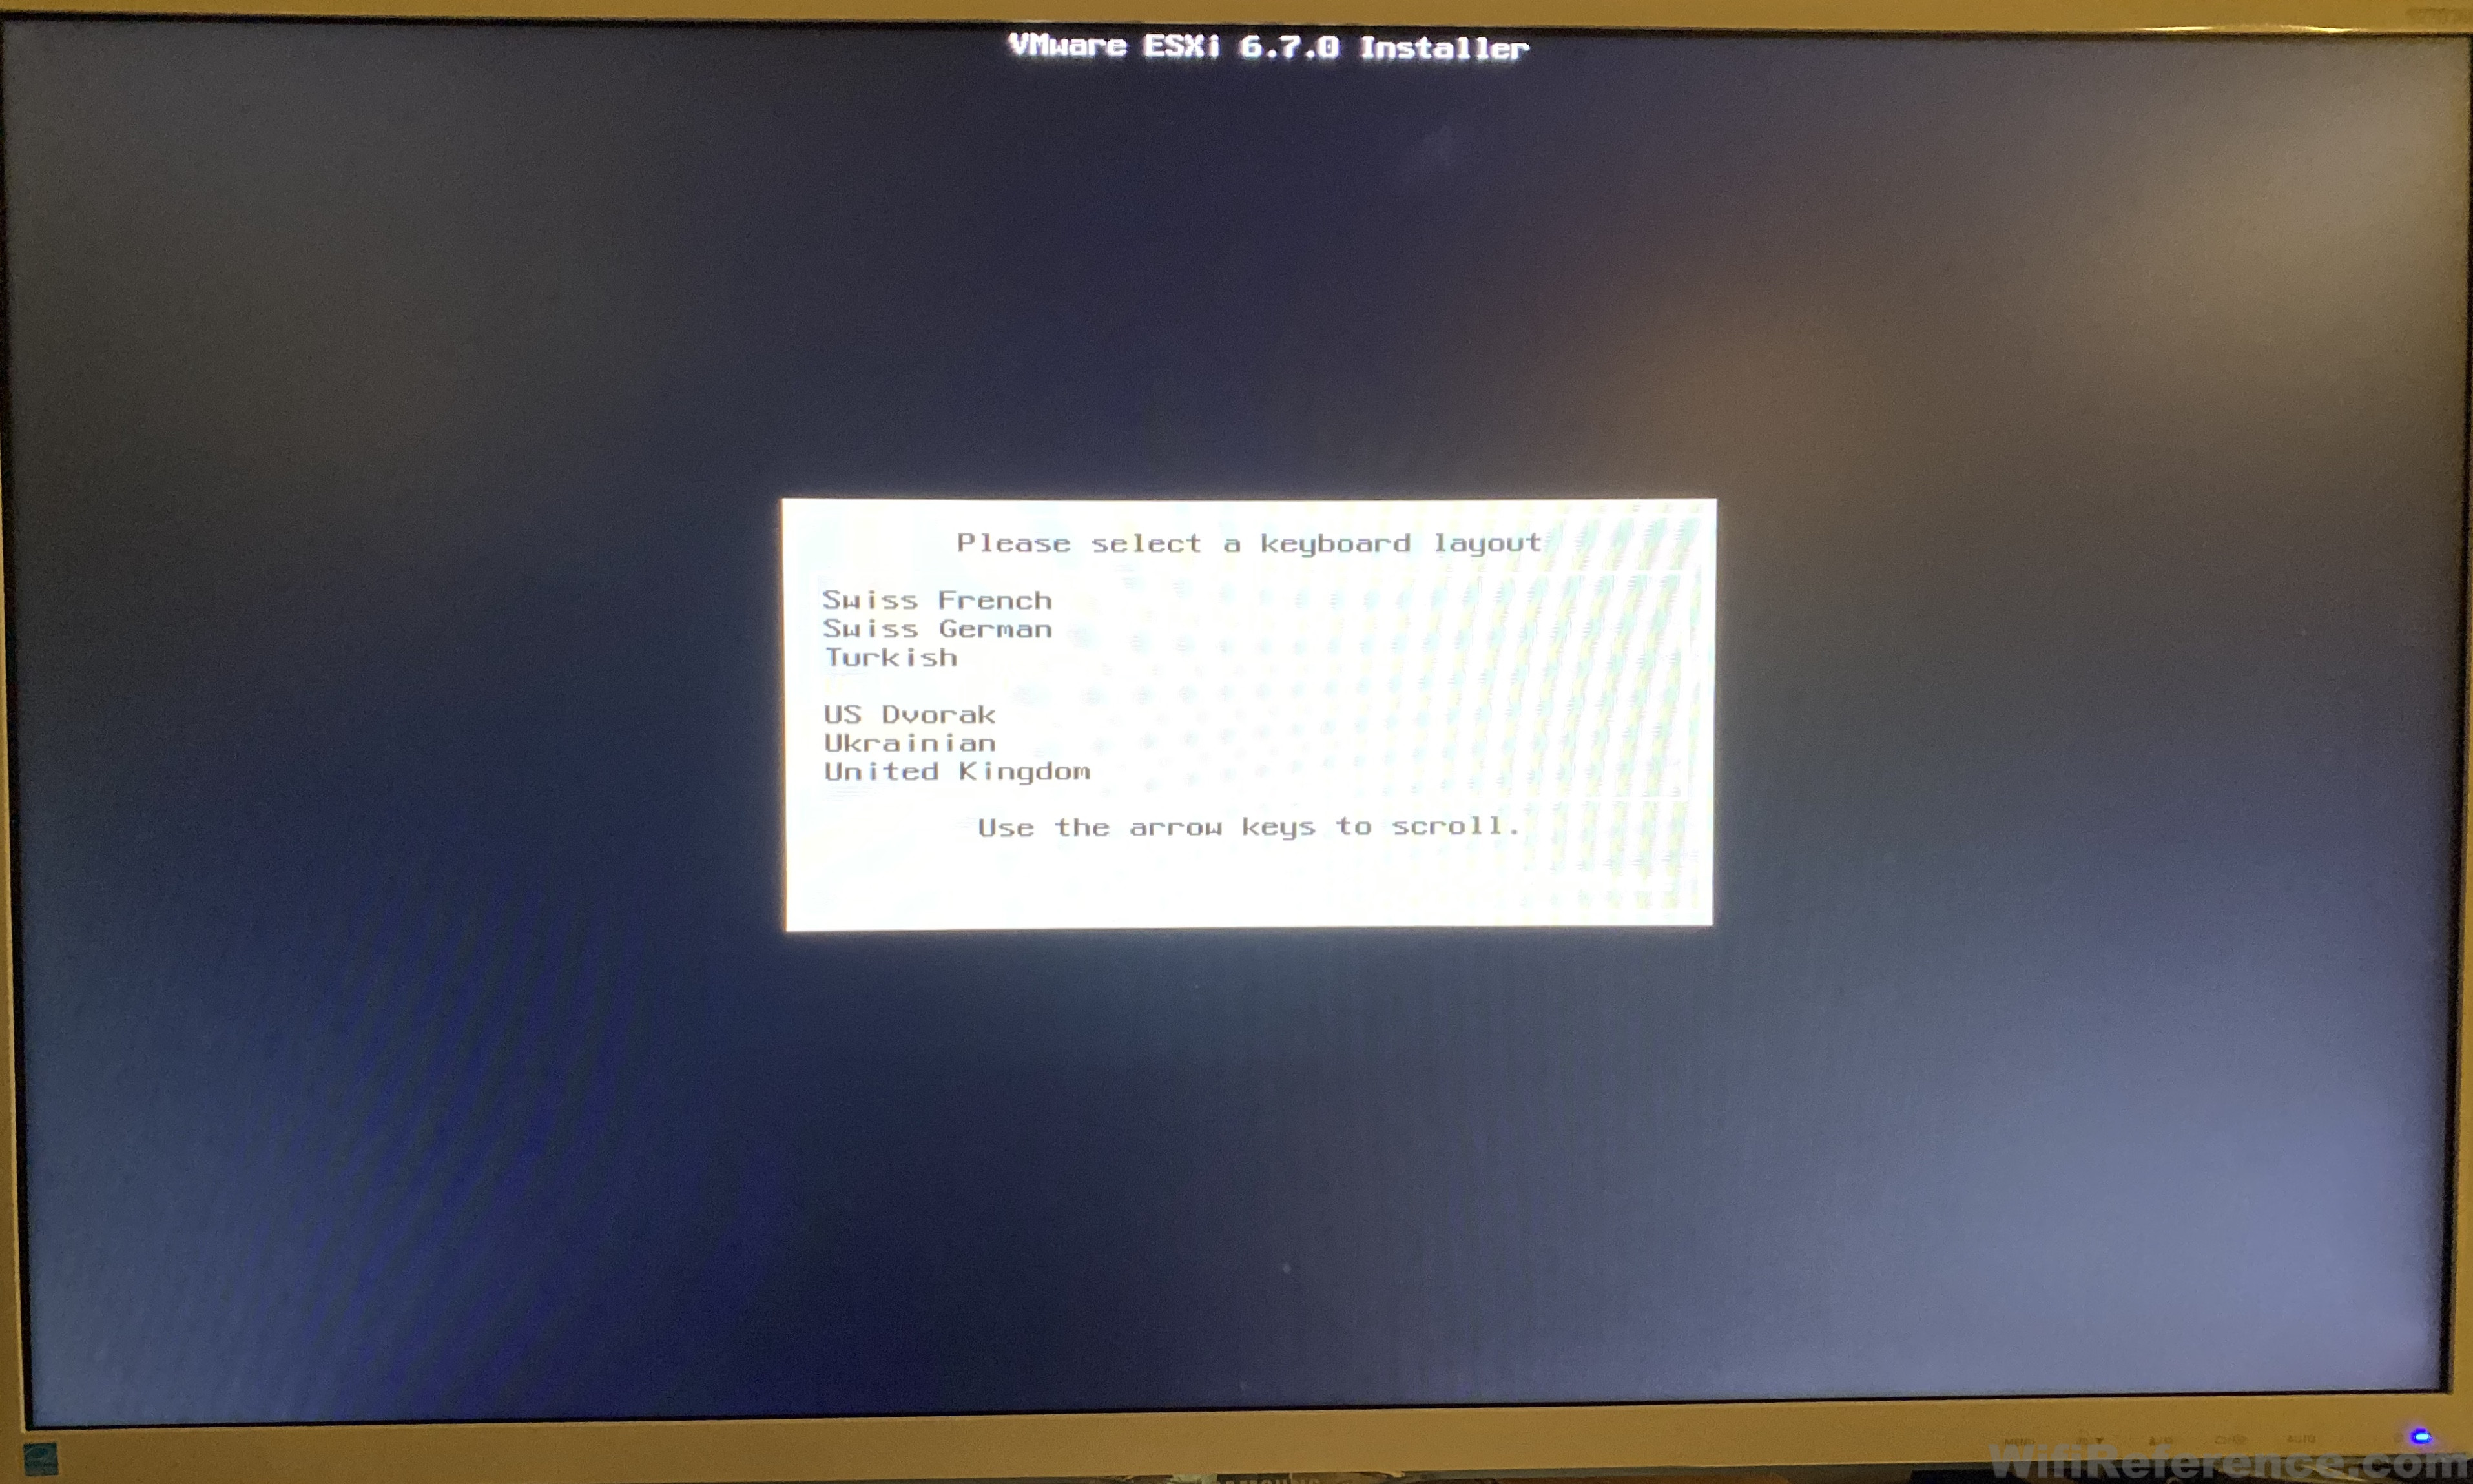
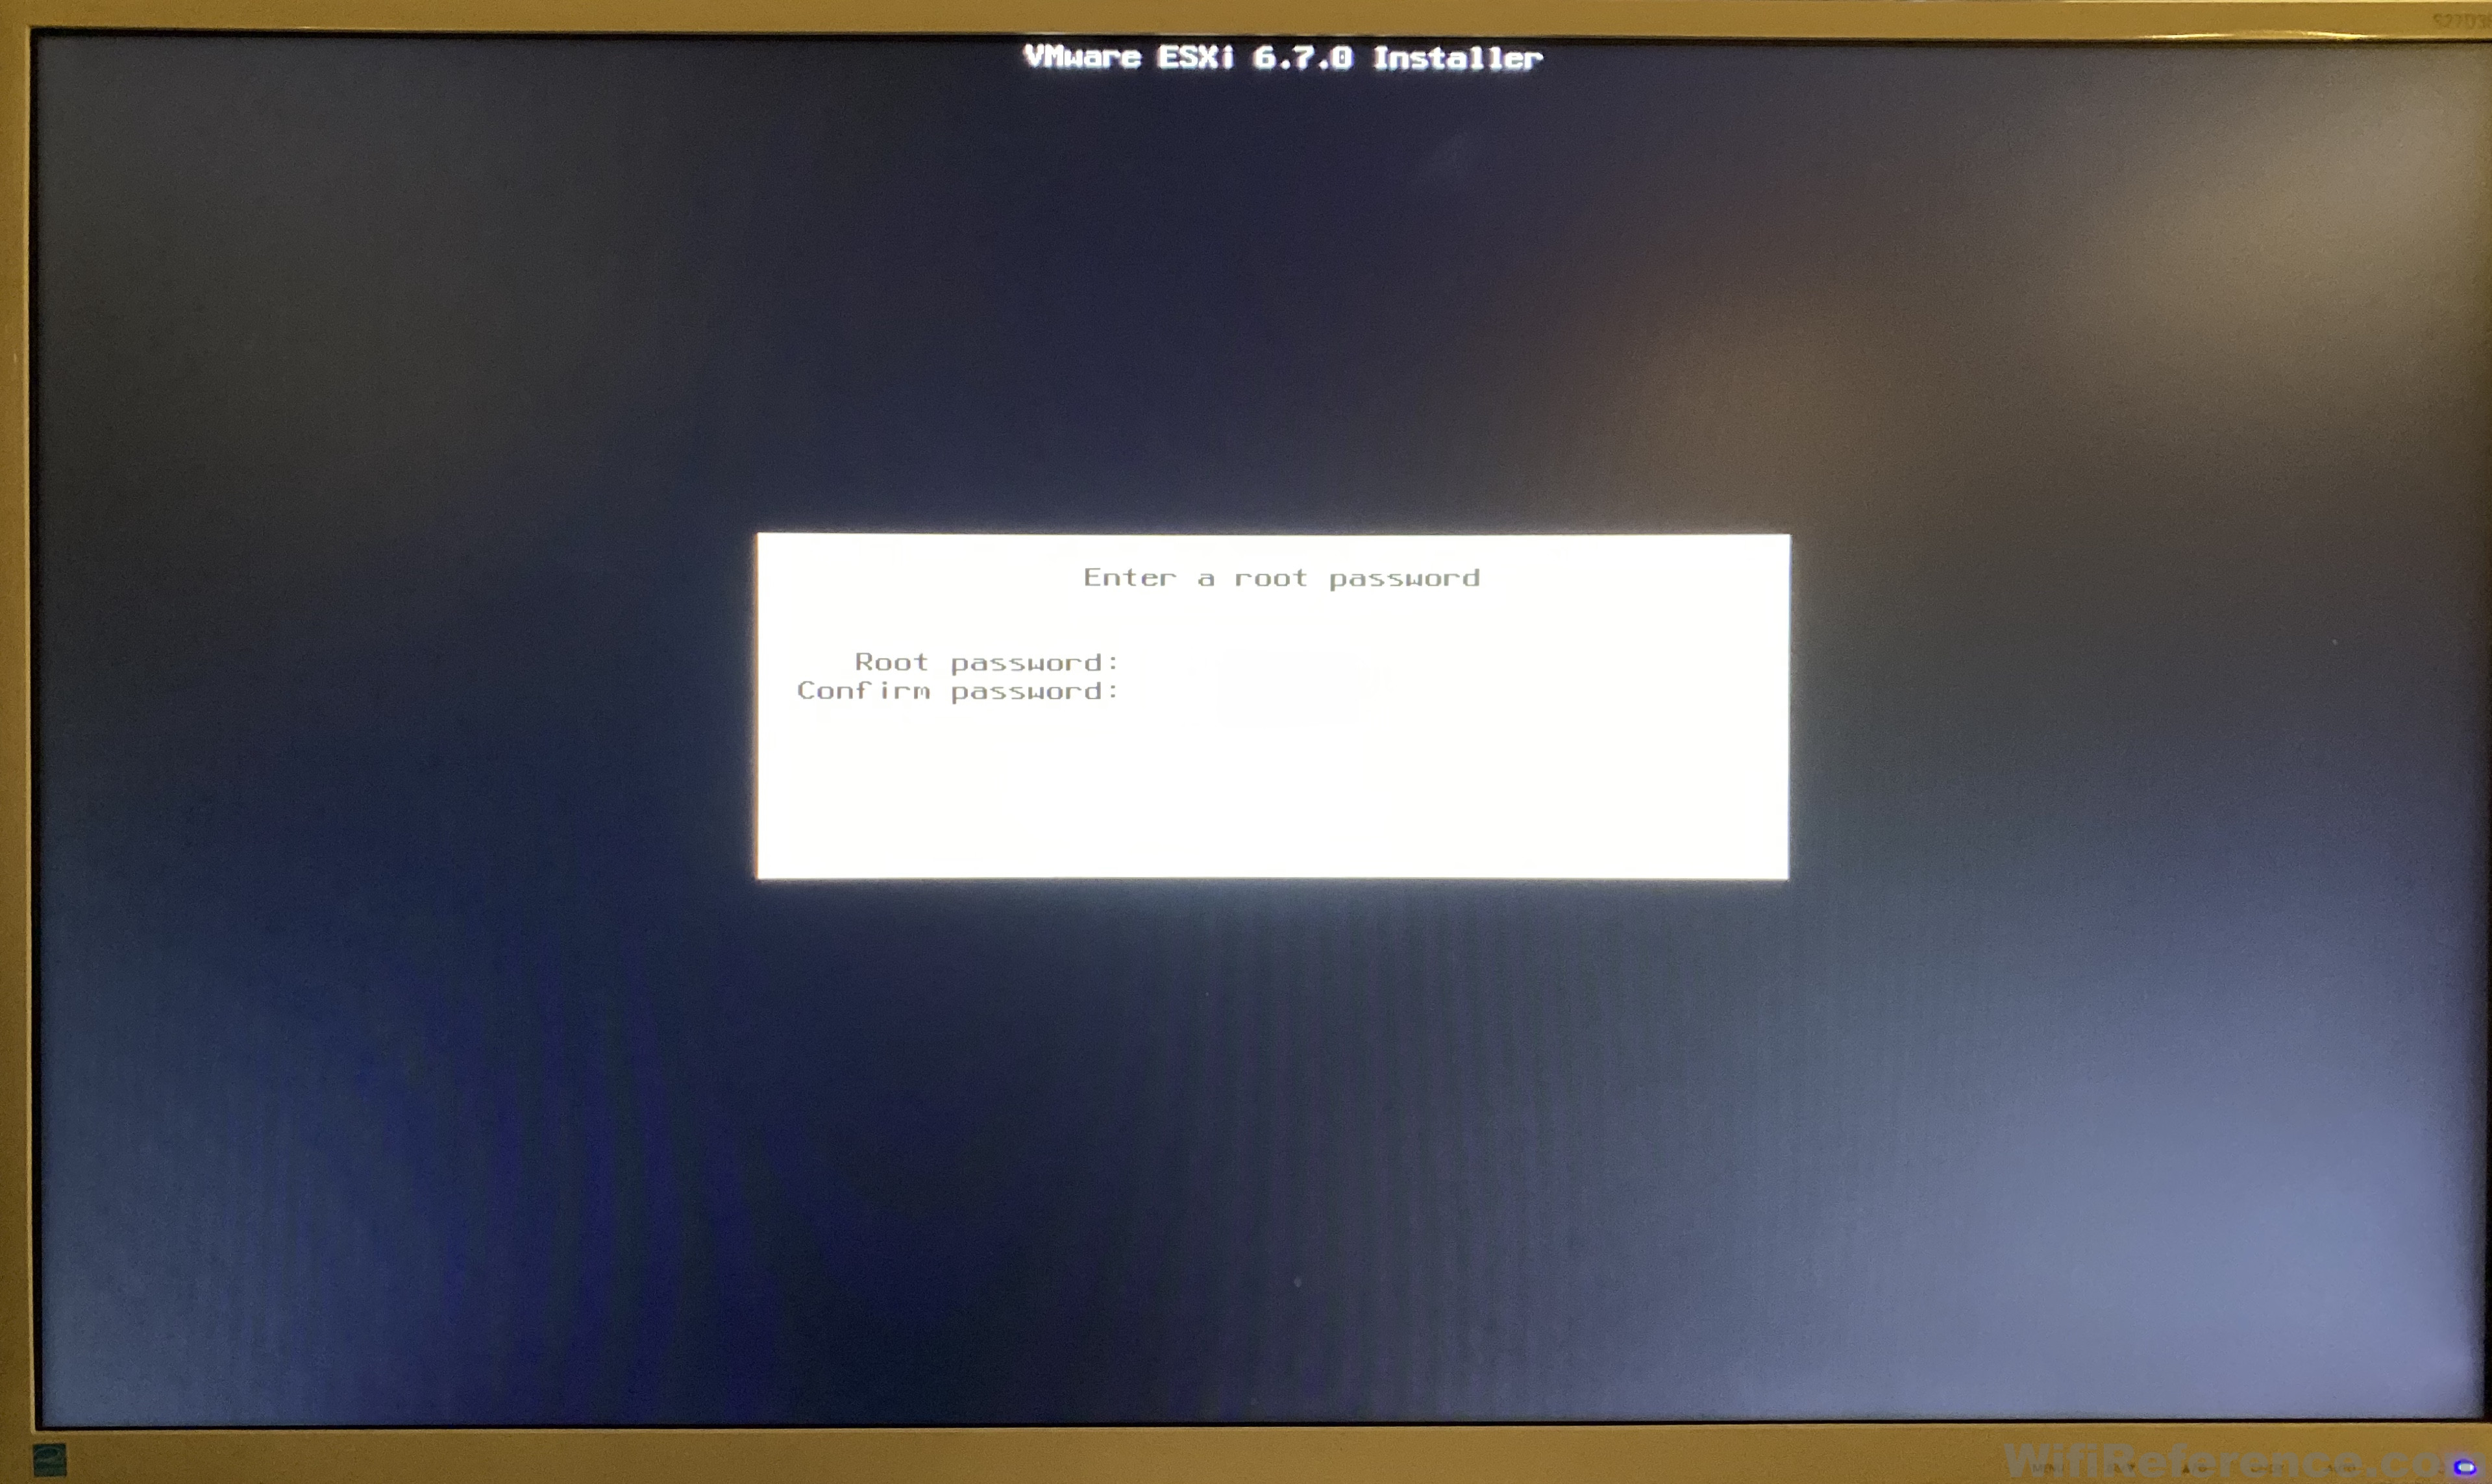
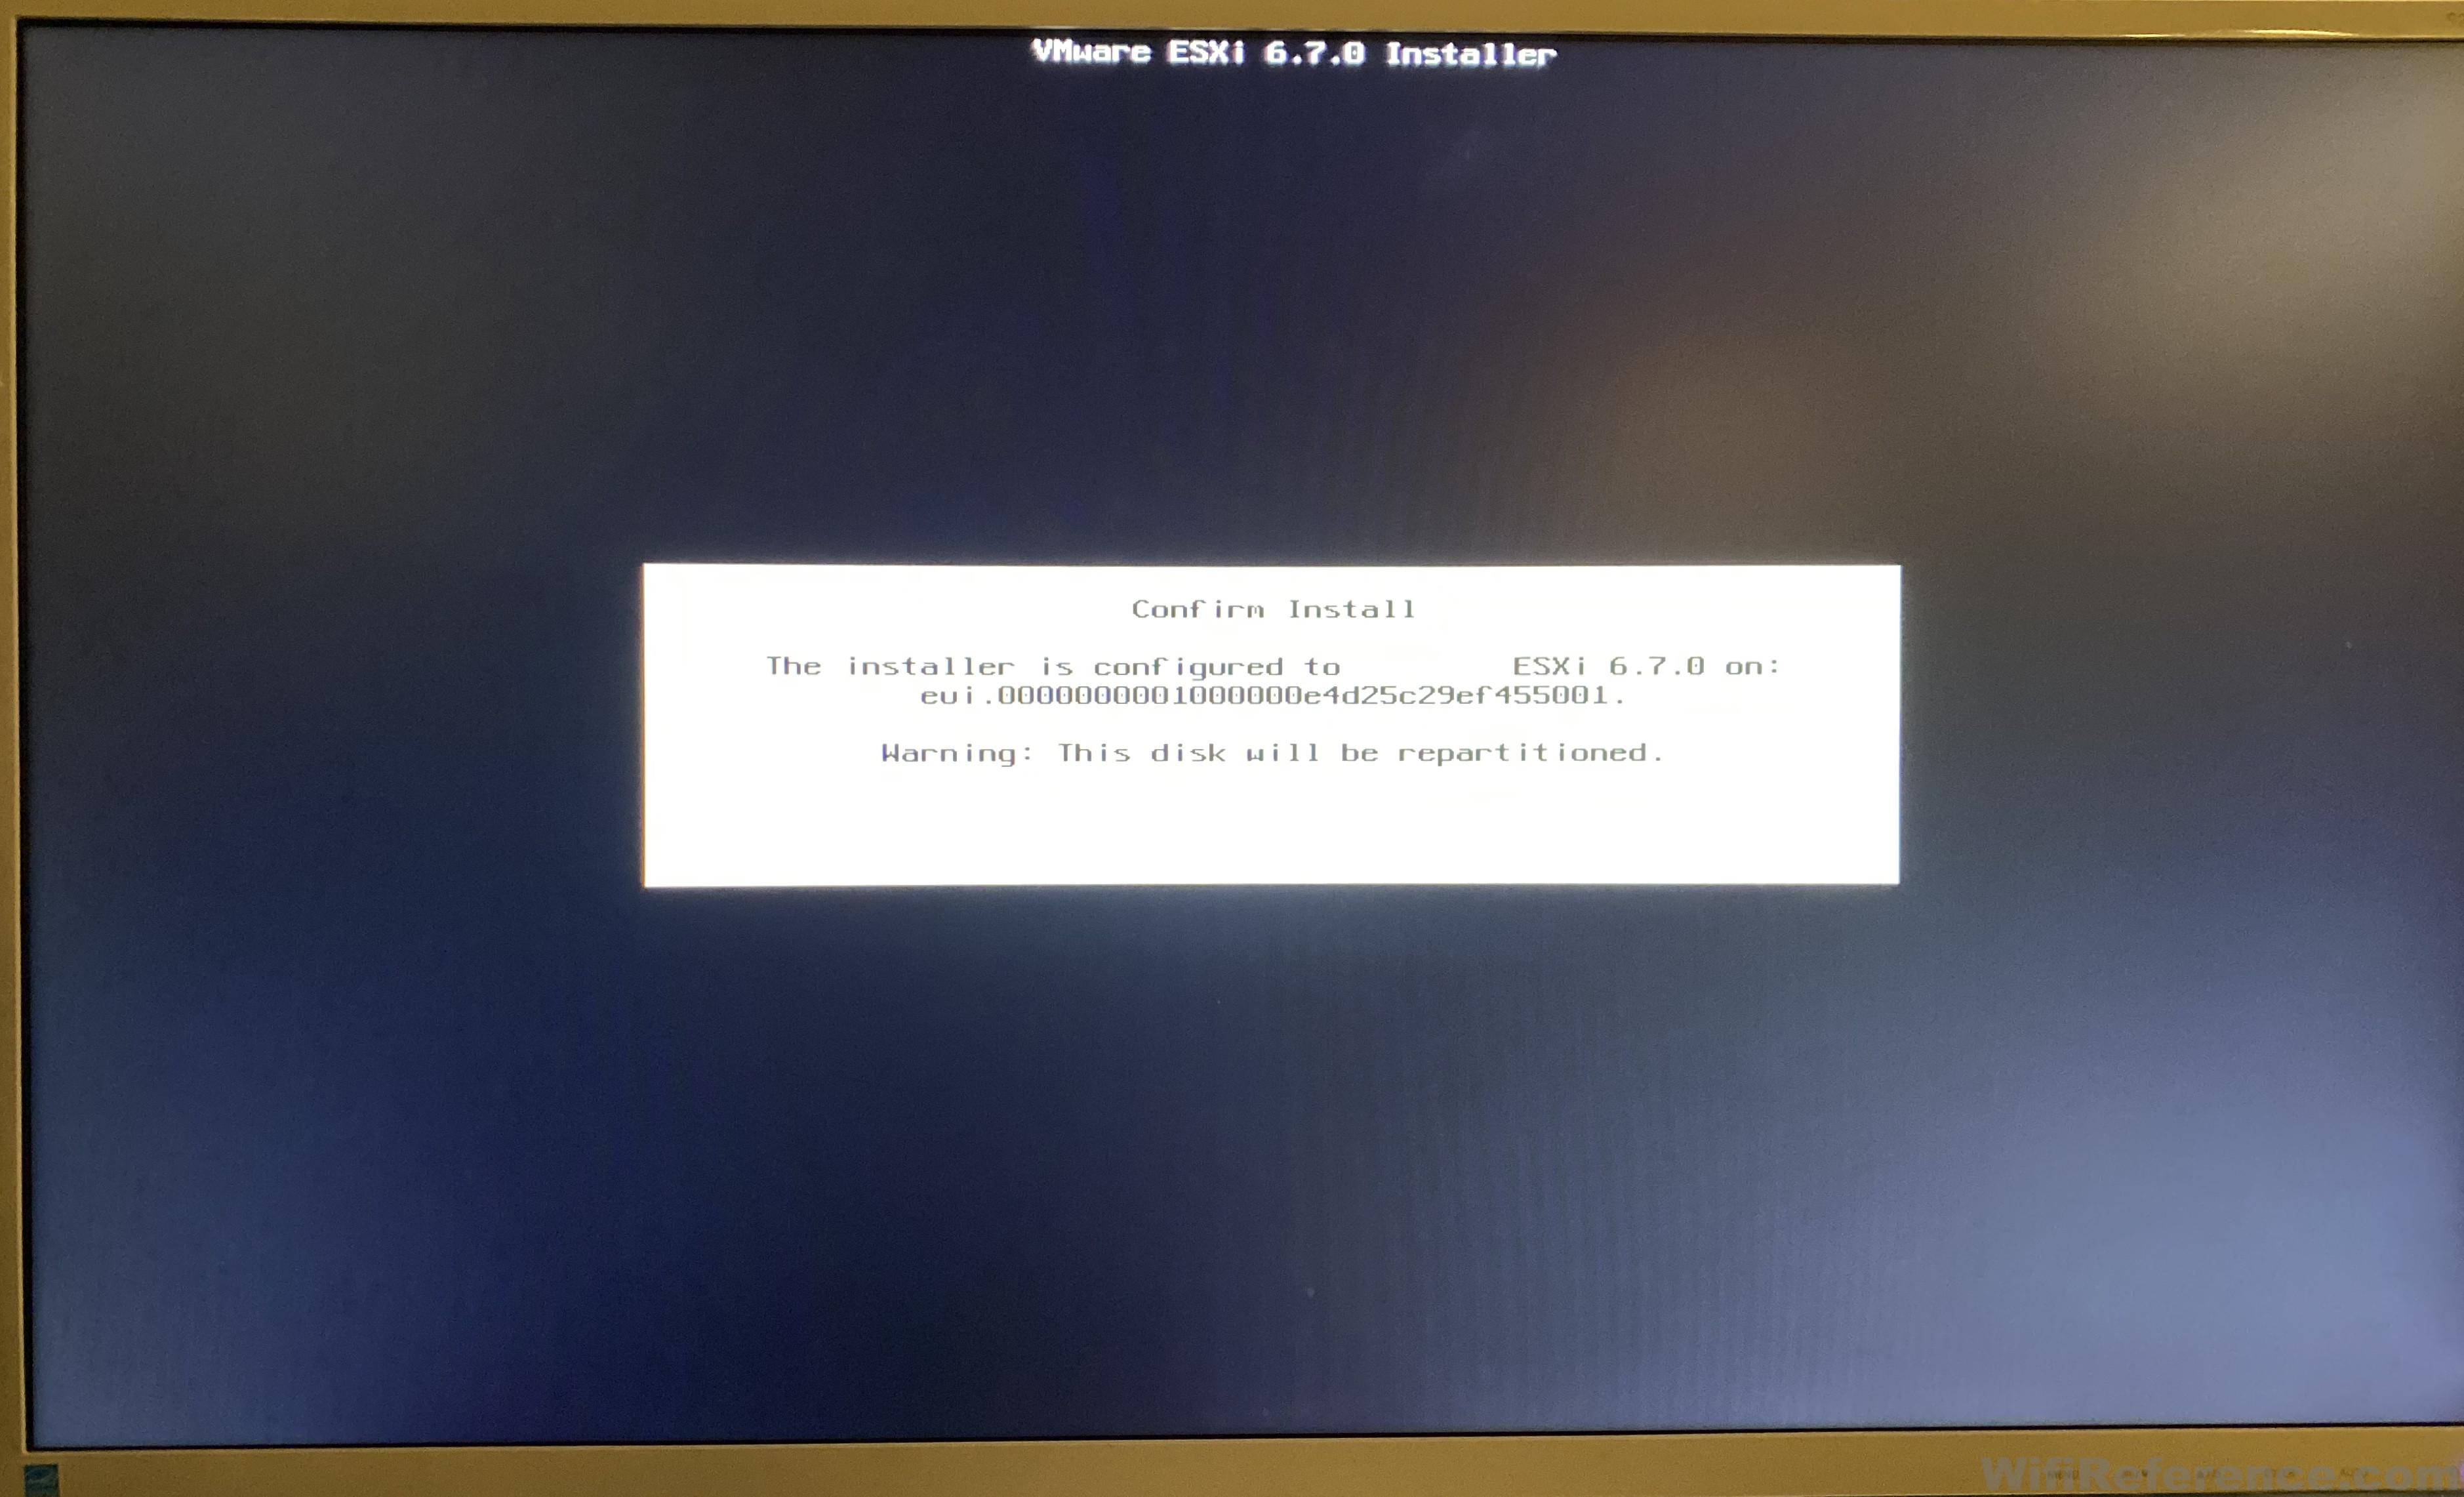
Essentially, you are going to be booting off the USB thumb drive you created and then installing ESXi. It is a fairly simply process (easier than installing Microsoft Windows, in my opinion), but I will walk through the process so you know what to expect.
Please allow me to apologize for the poor quality of these “screenshots” of the ESXi installation process. My NUCs do not have network KVM capability, so I was unable to take actual screenshots of the installation. It will be painfully obvious that I took photos of my monitor to document the process. I’m embarrassed to present it this way, but I could not come up with a better way to capture the information. While the quality is awful, it should have the necessary information to use in your own environment.
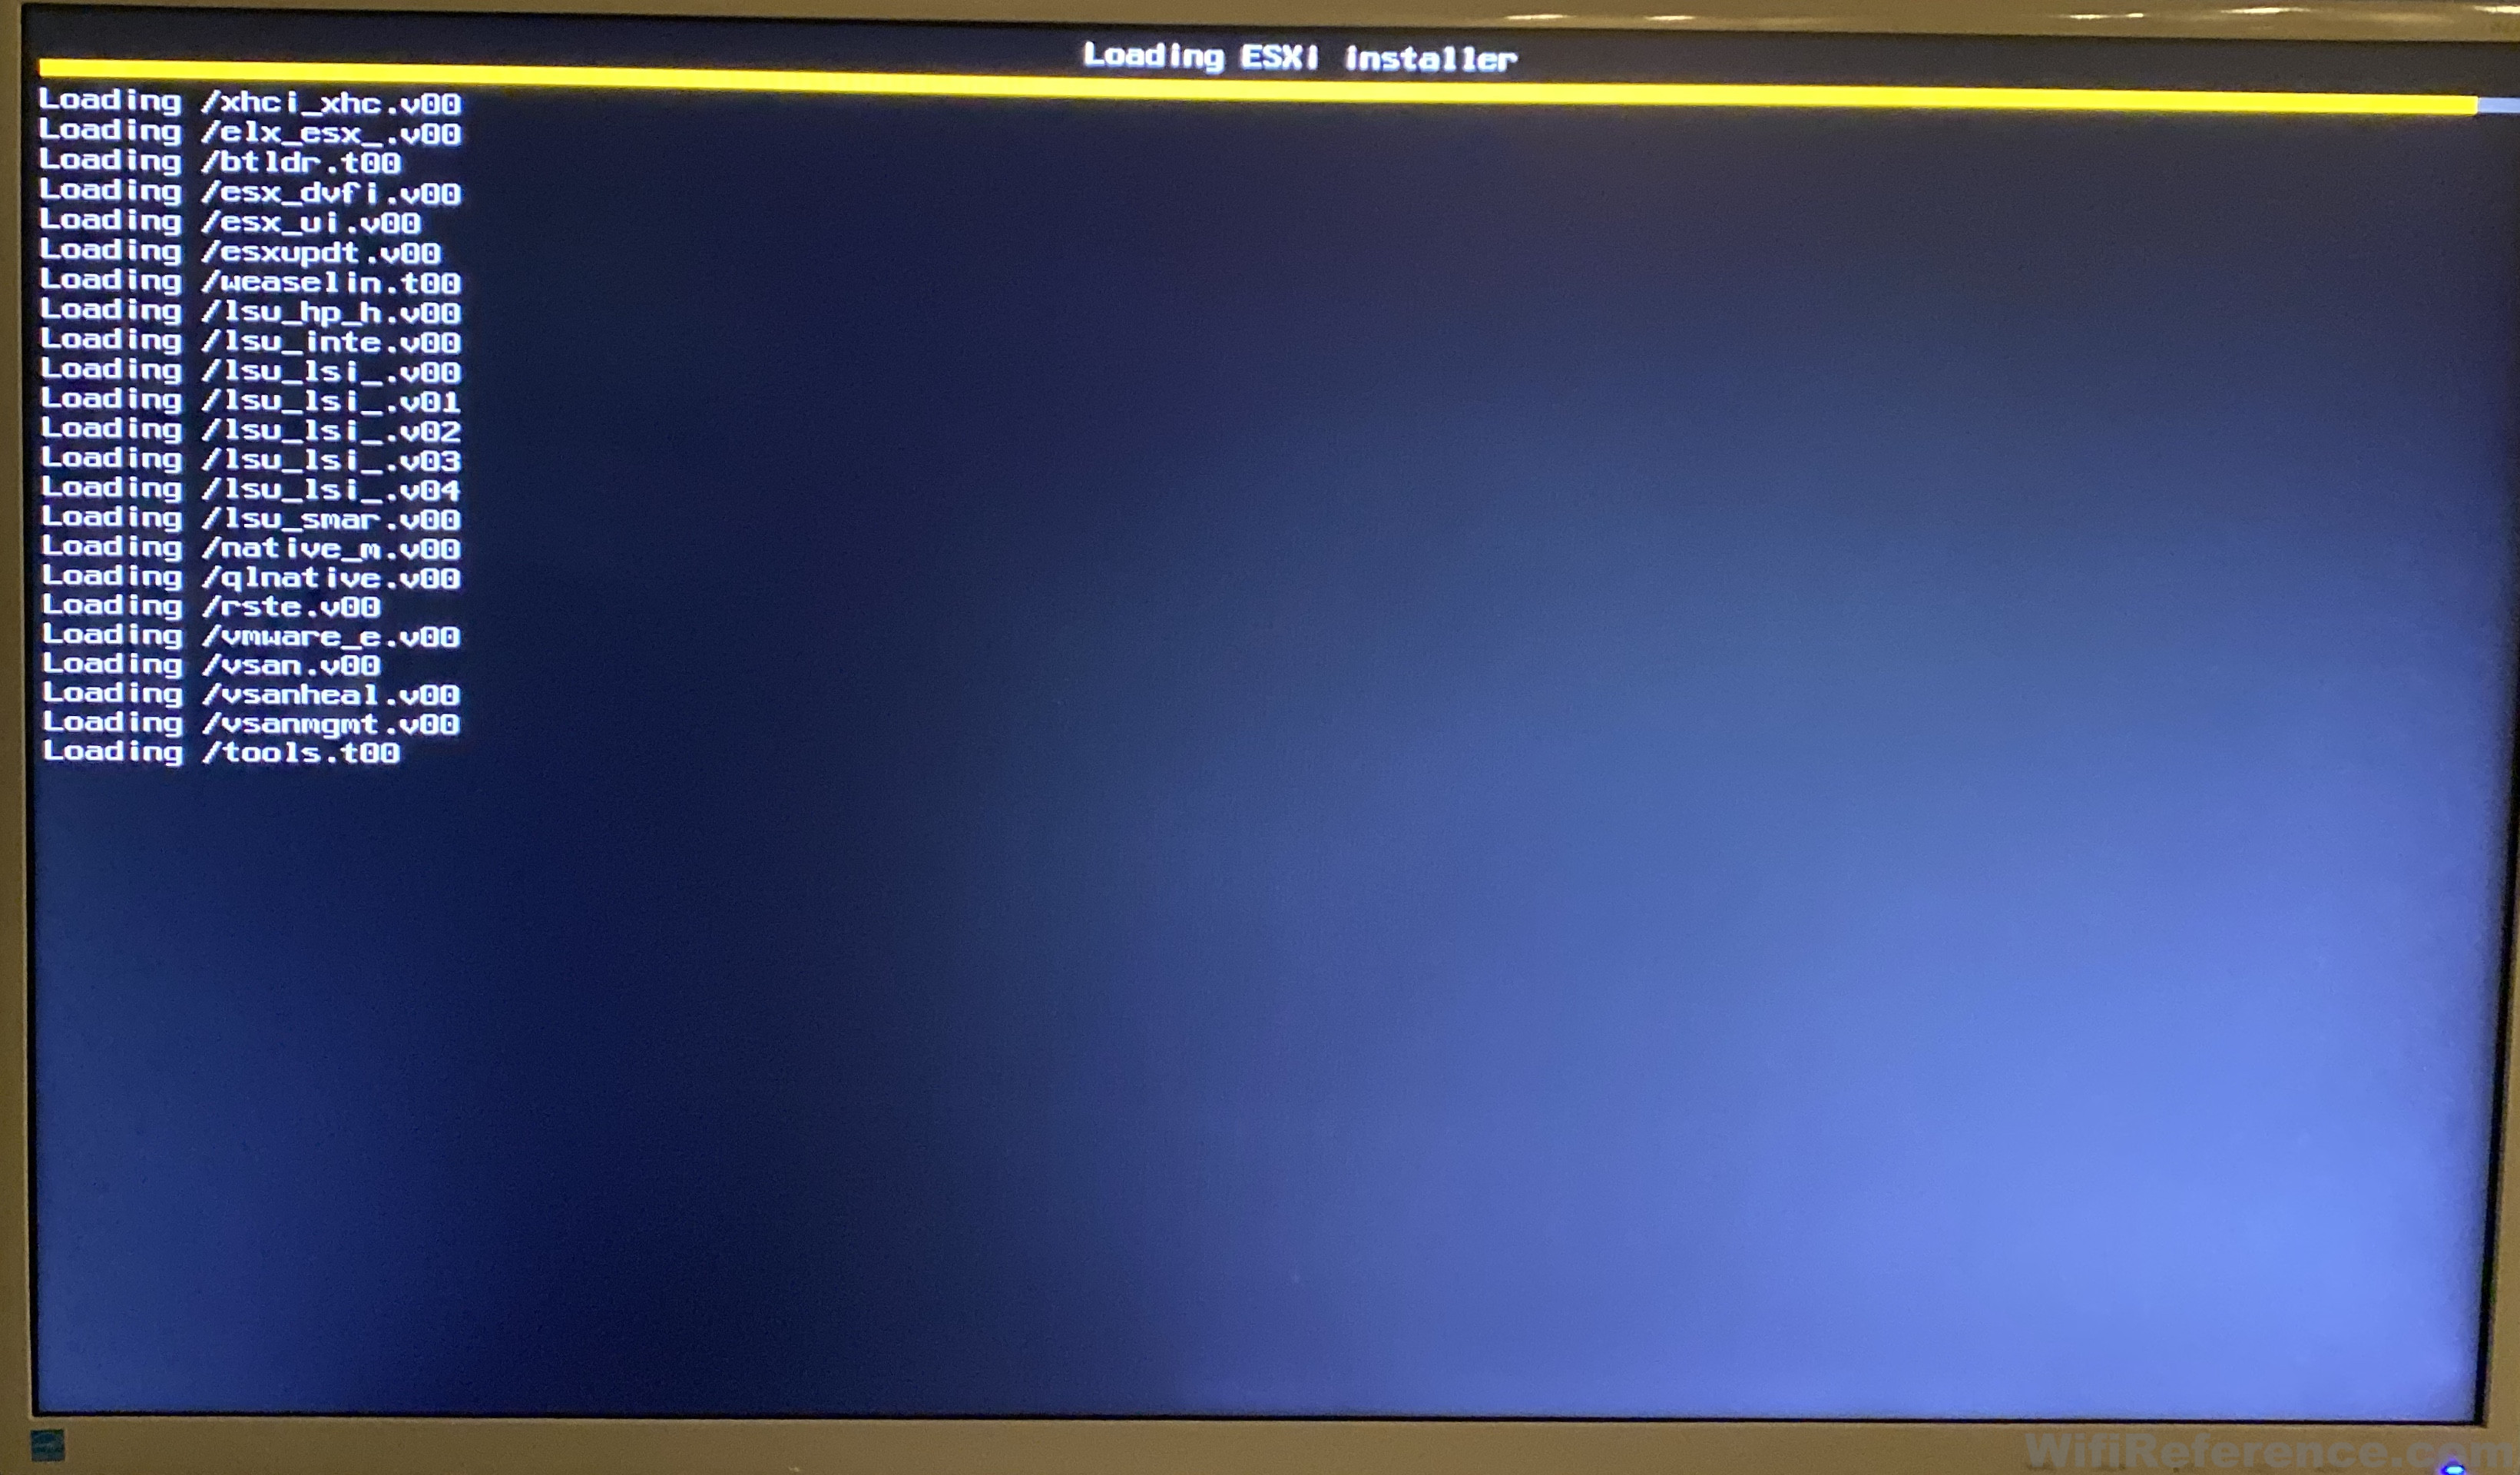
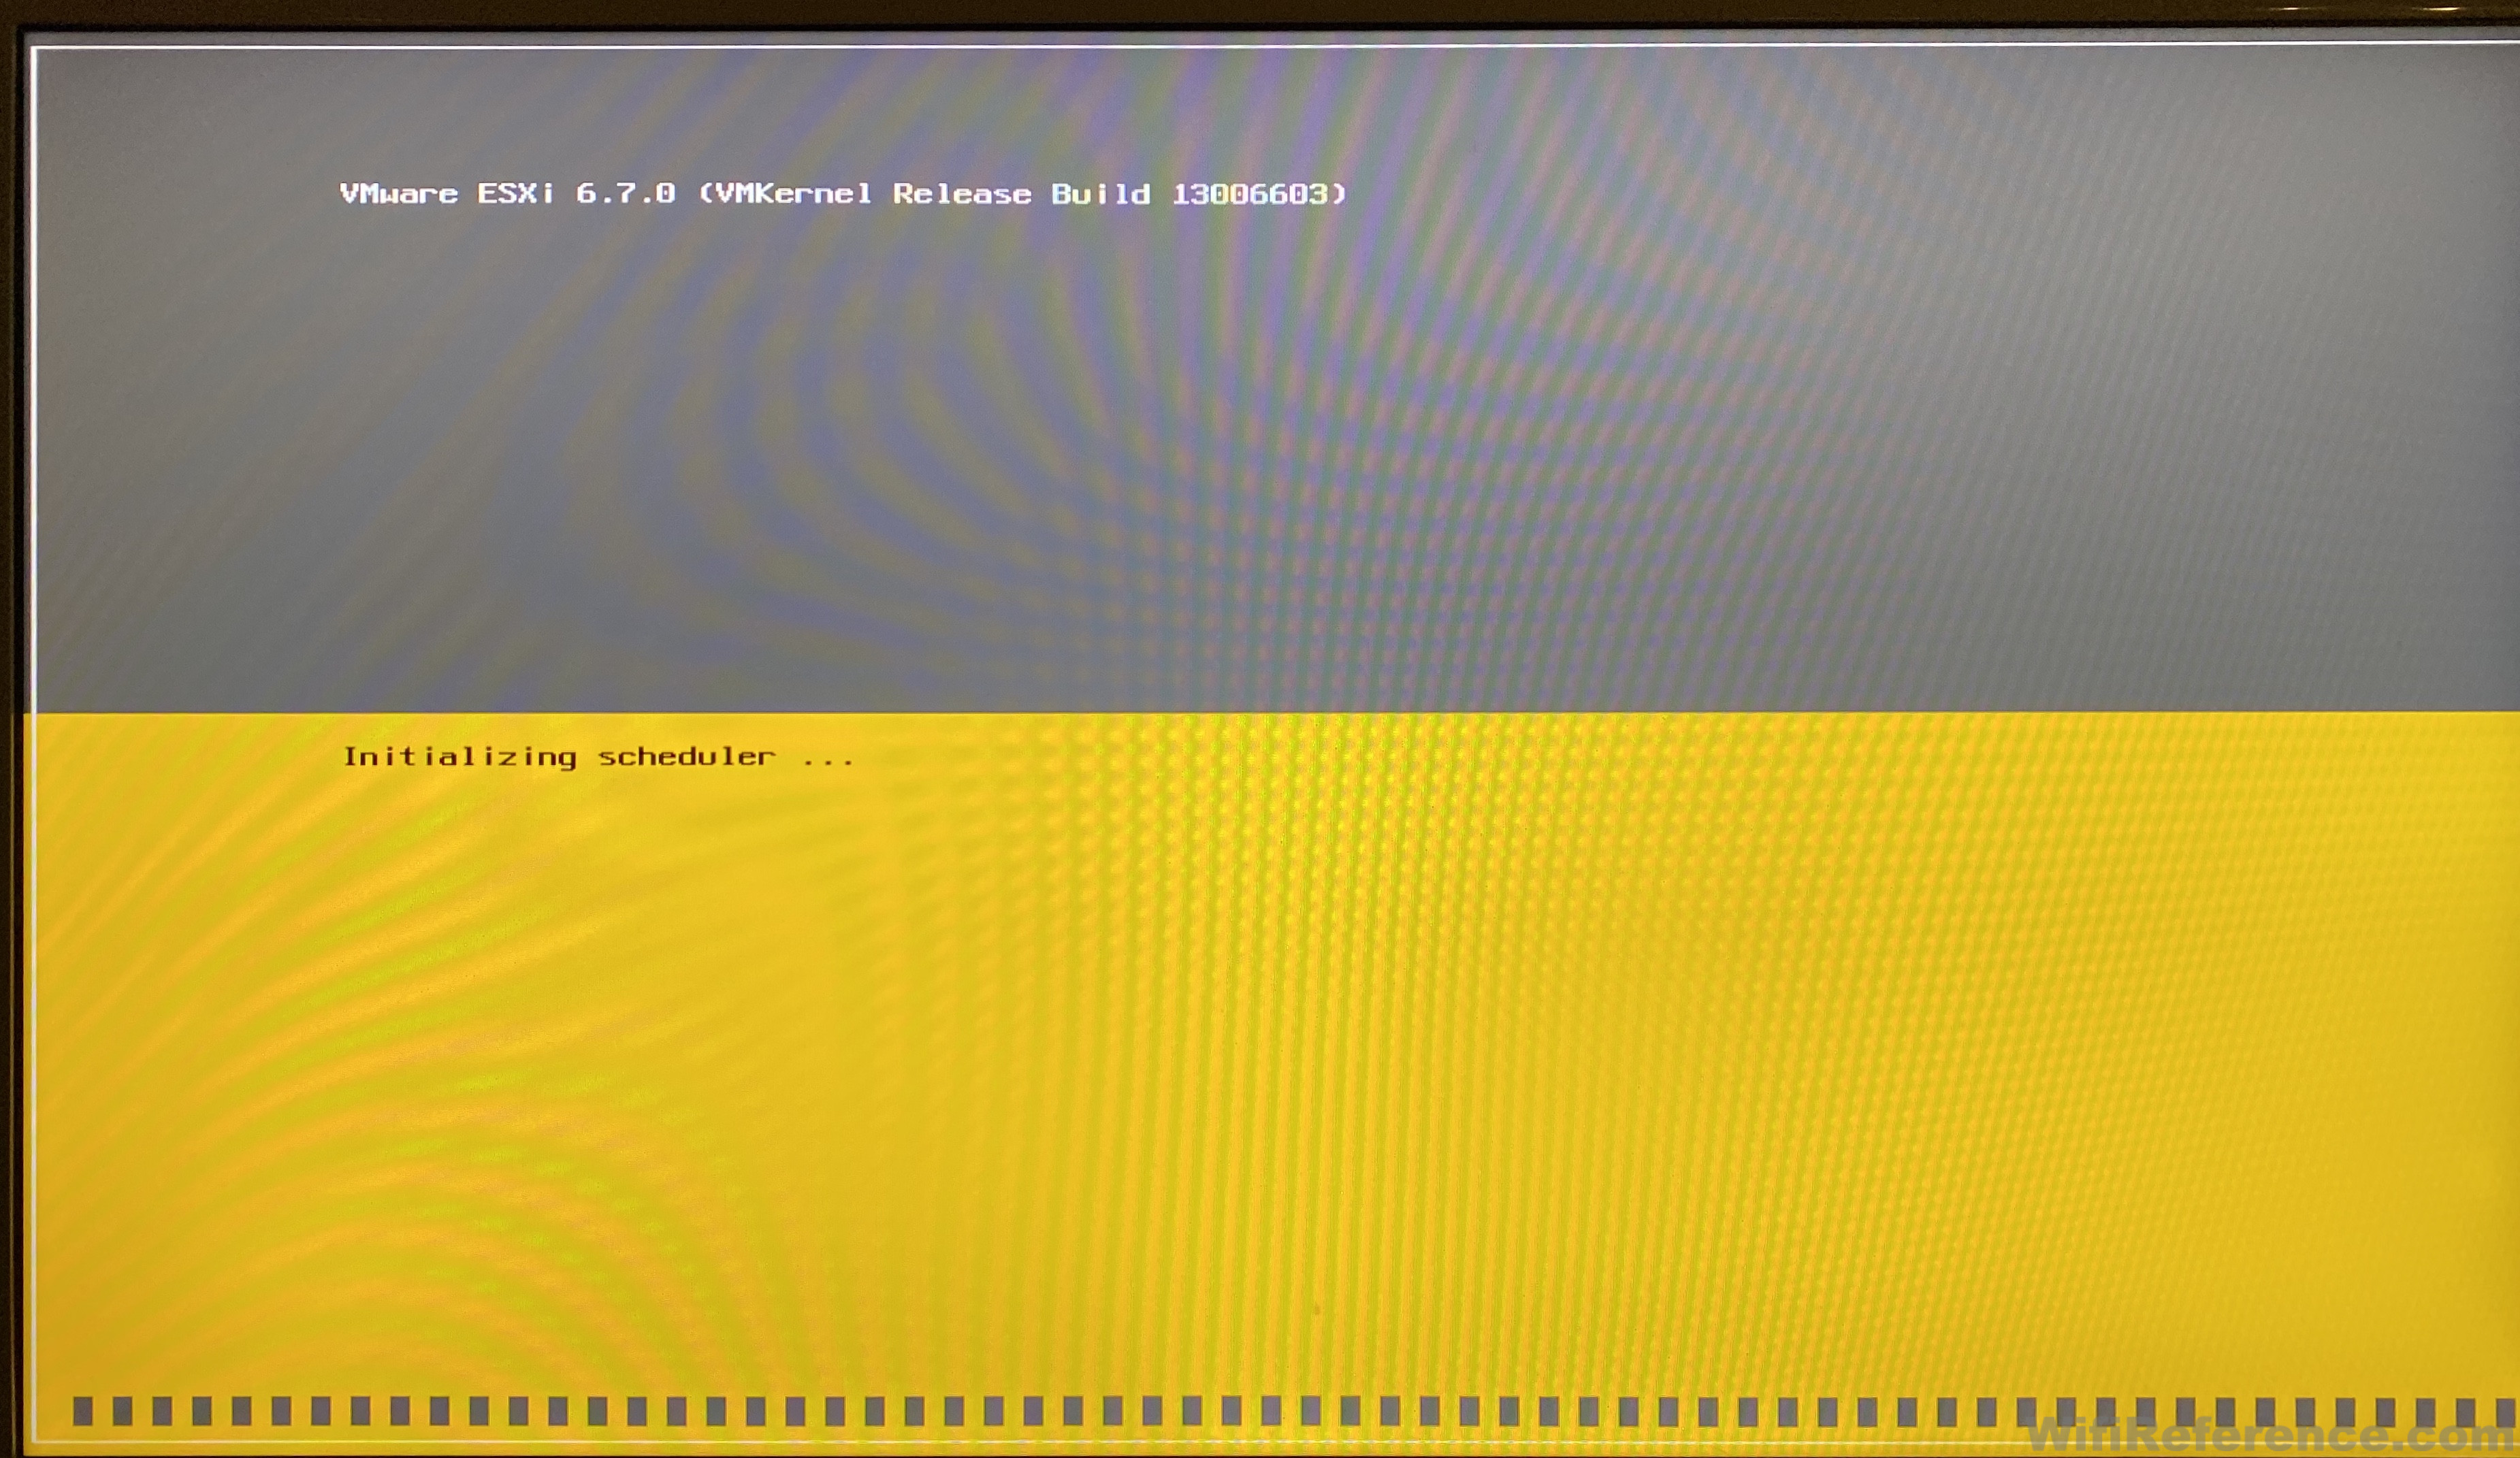
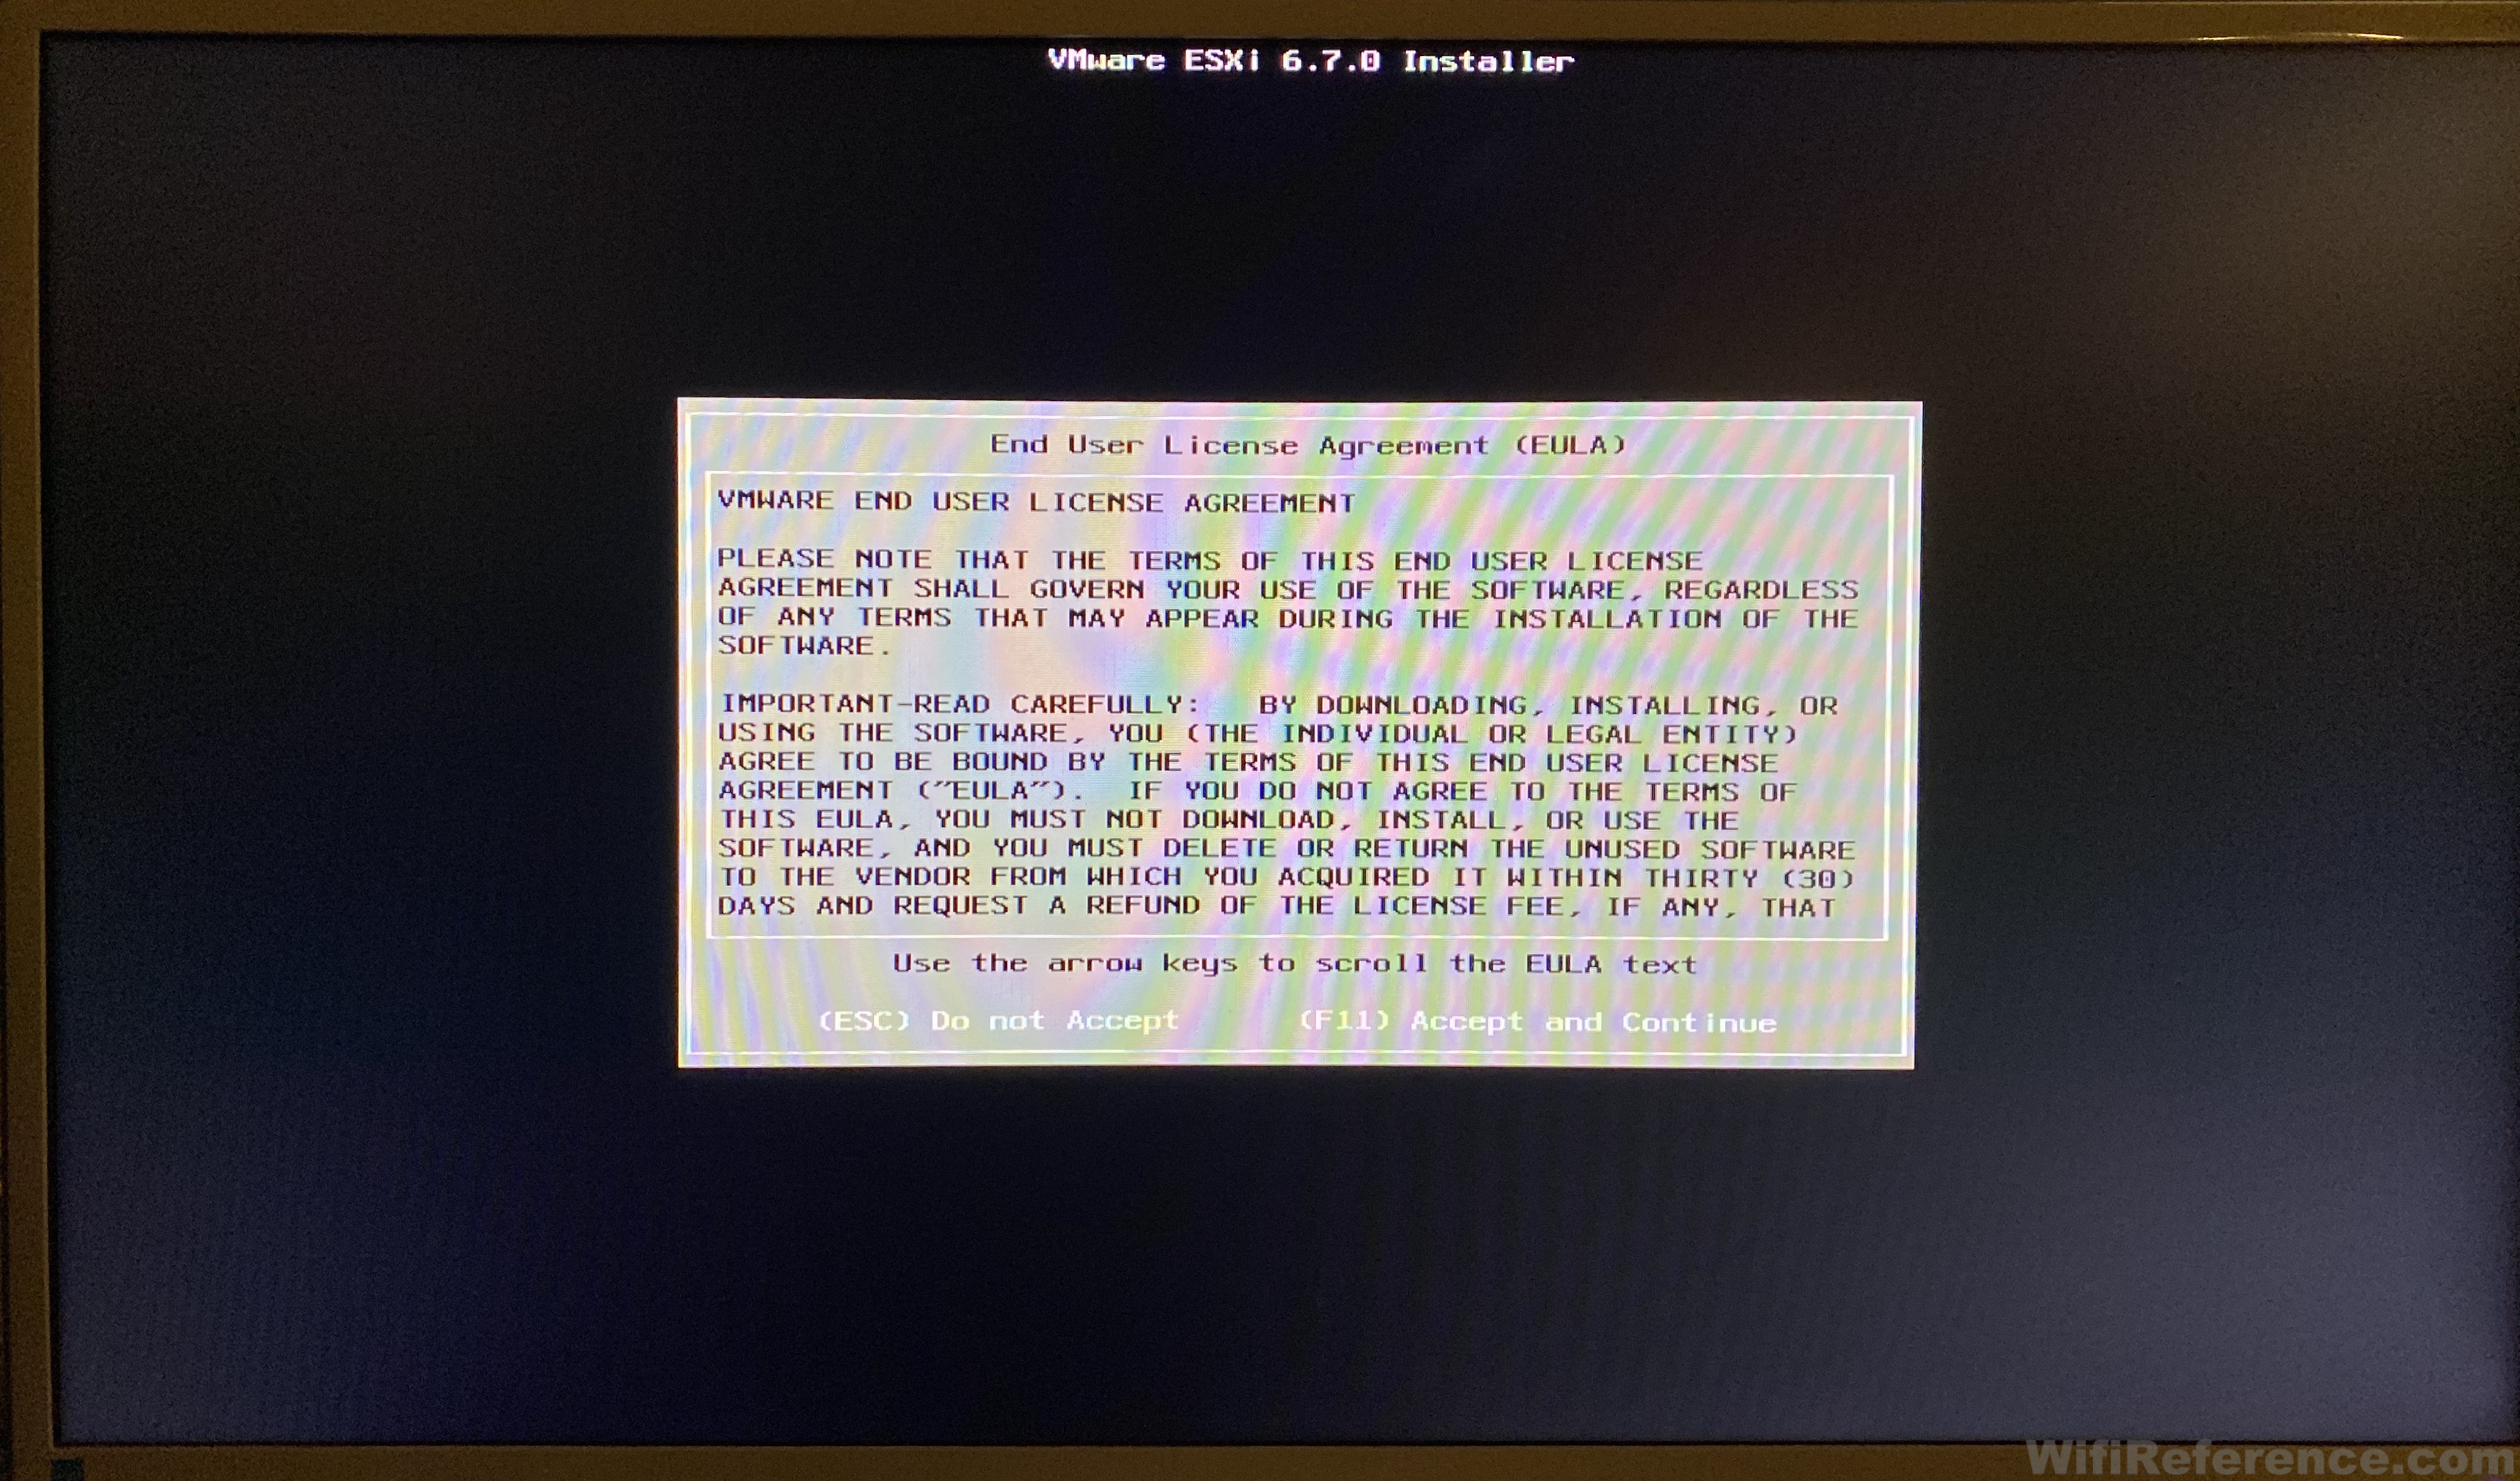
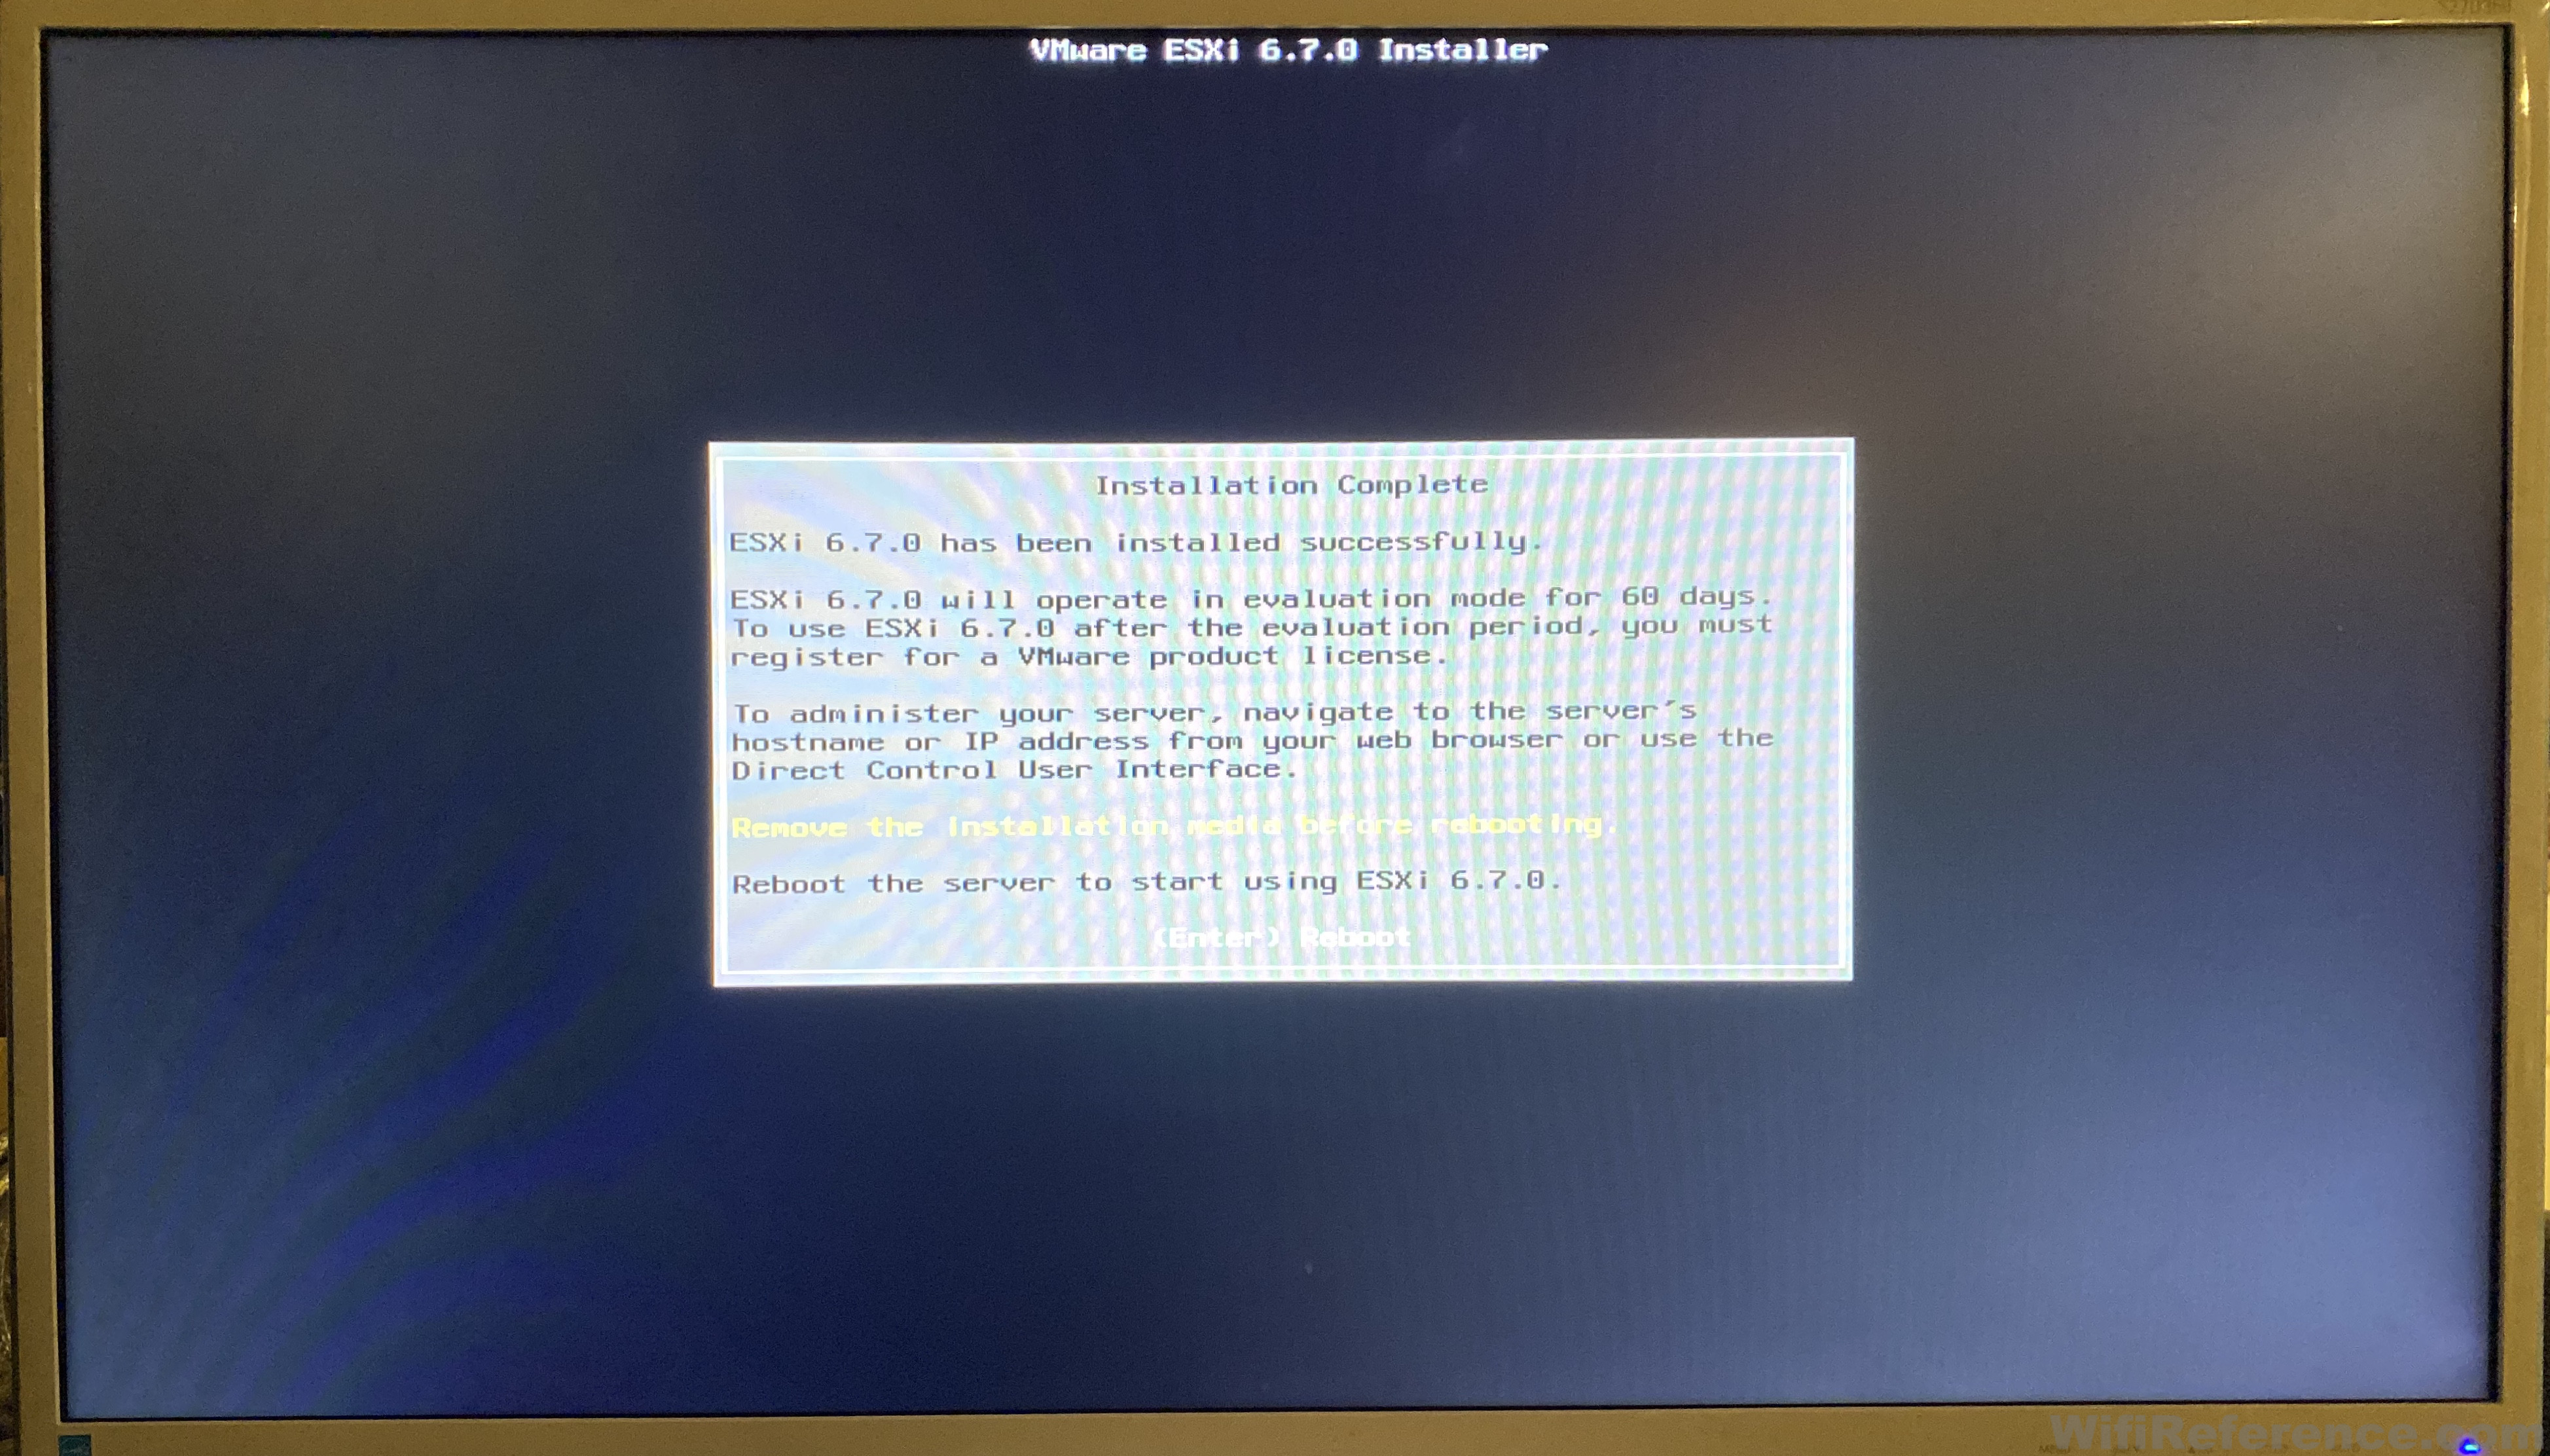
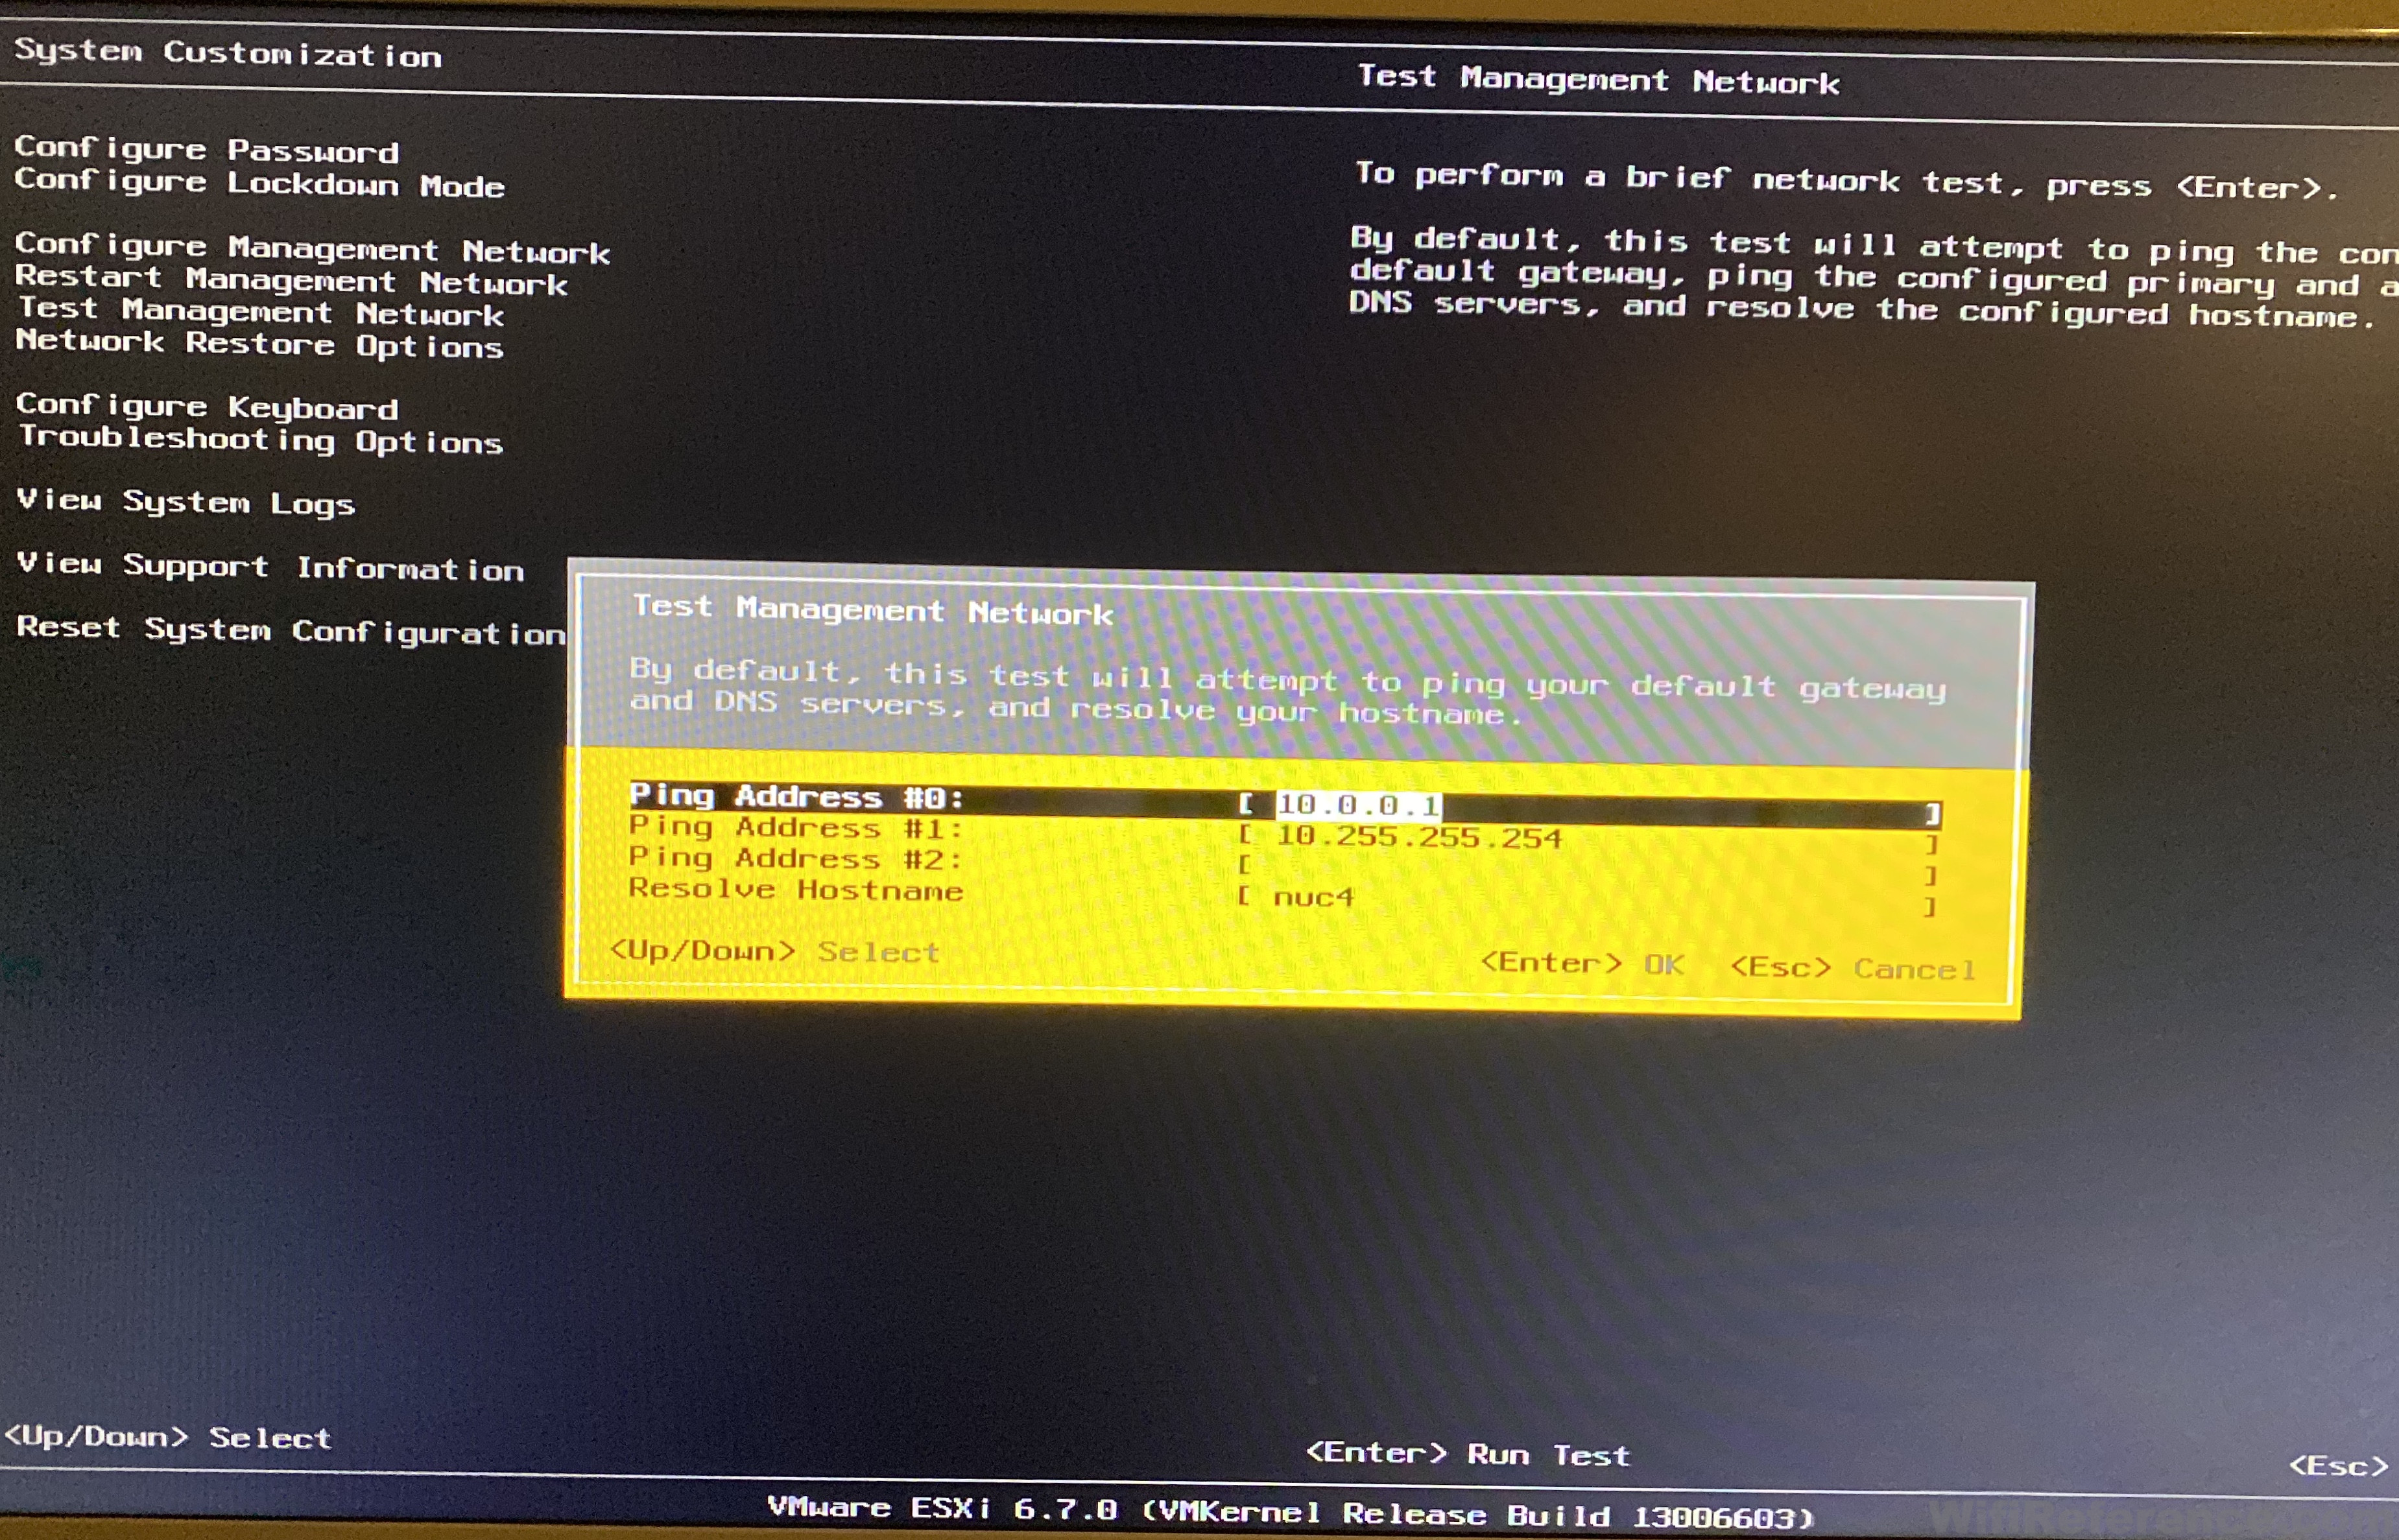
Boot off the USB thumb drive and allow the installer to start.
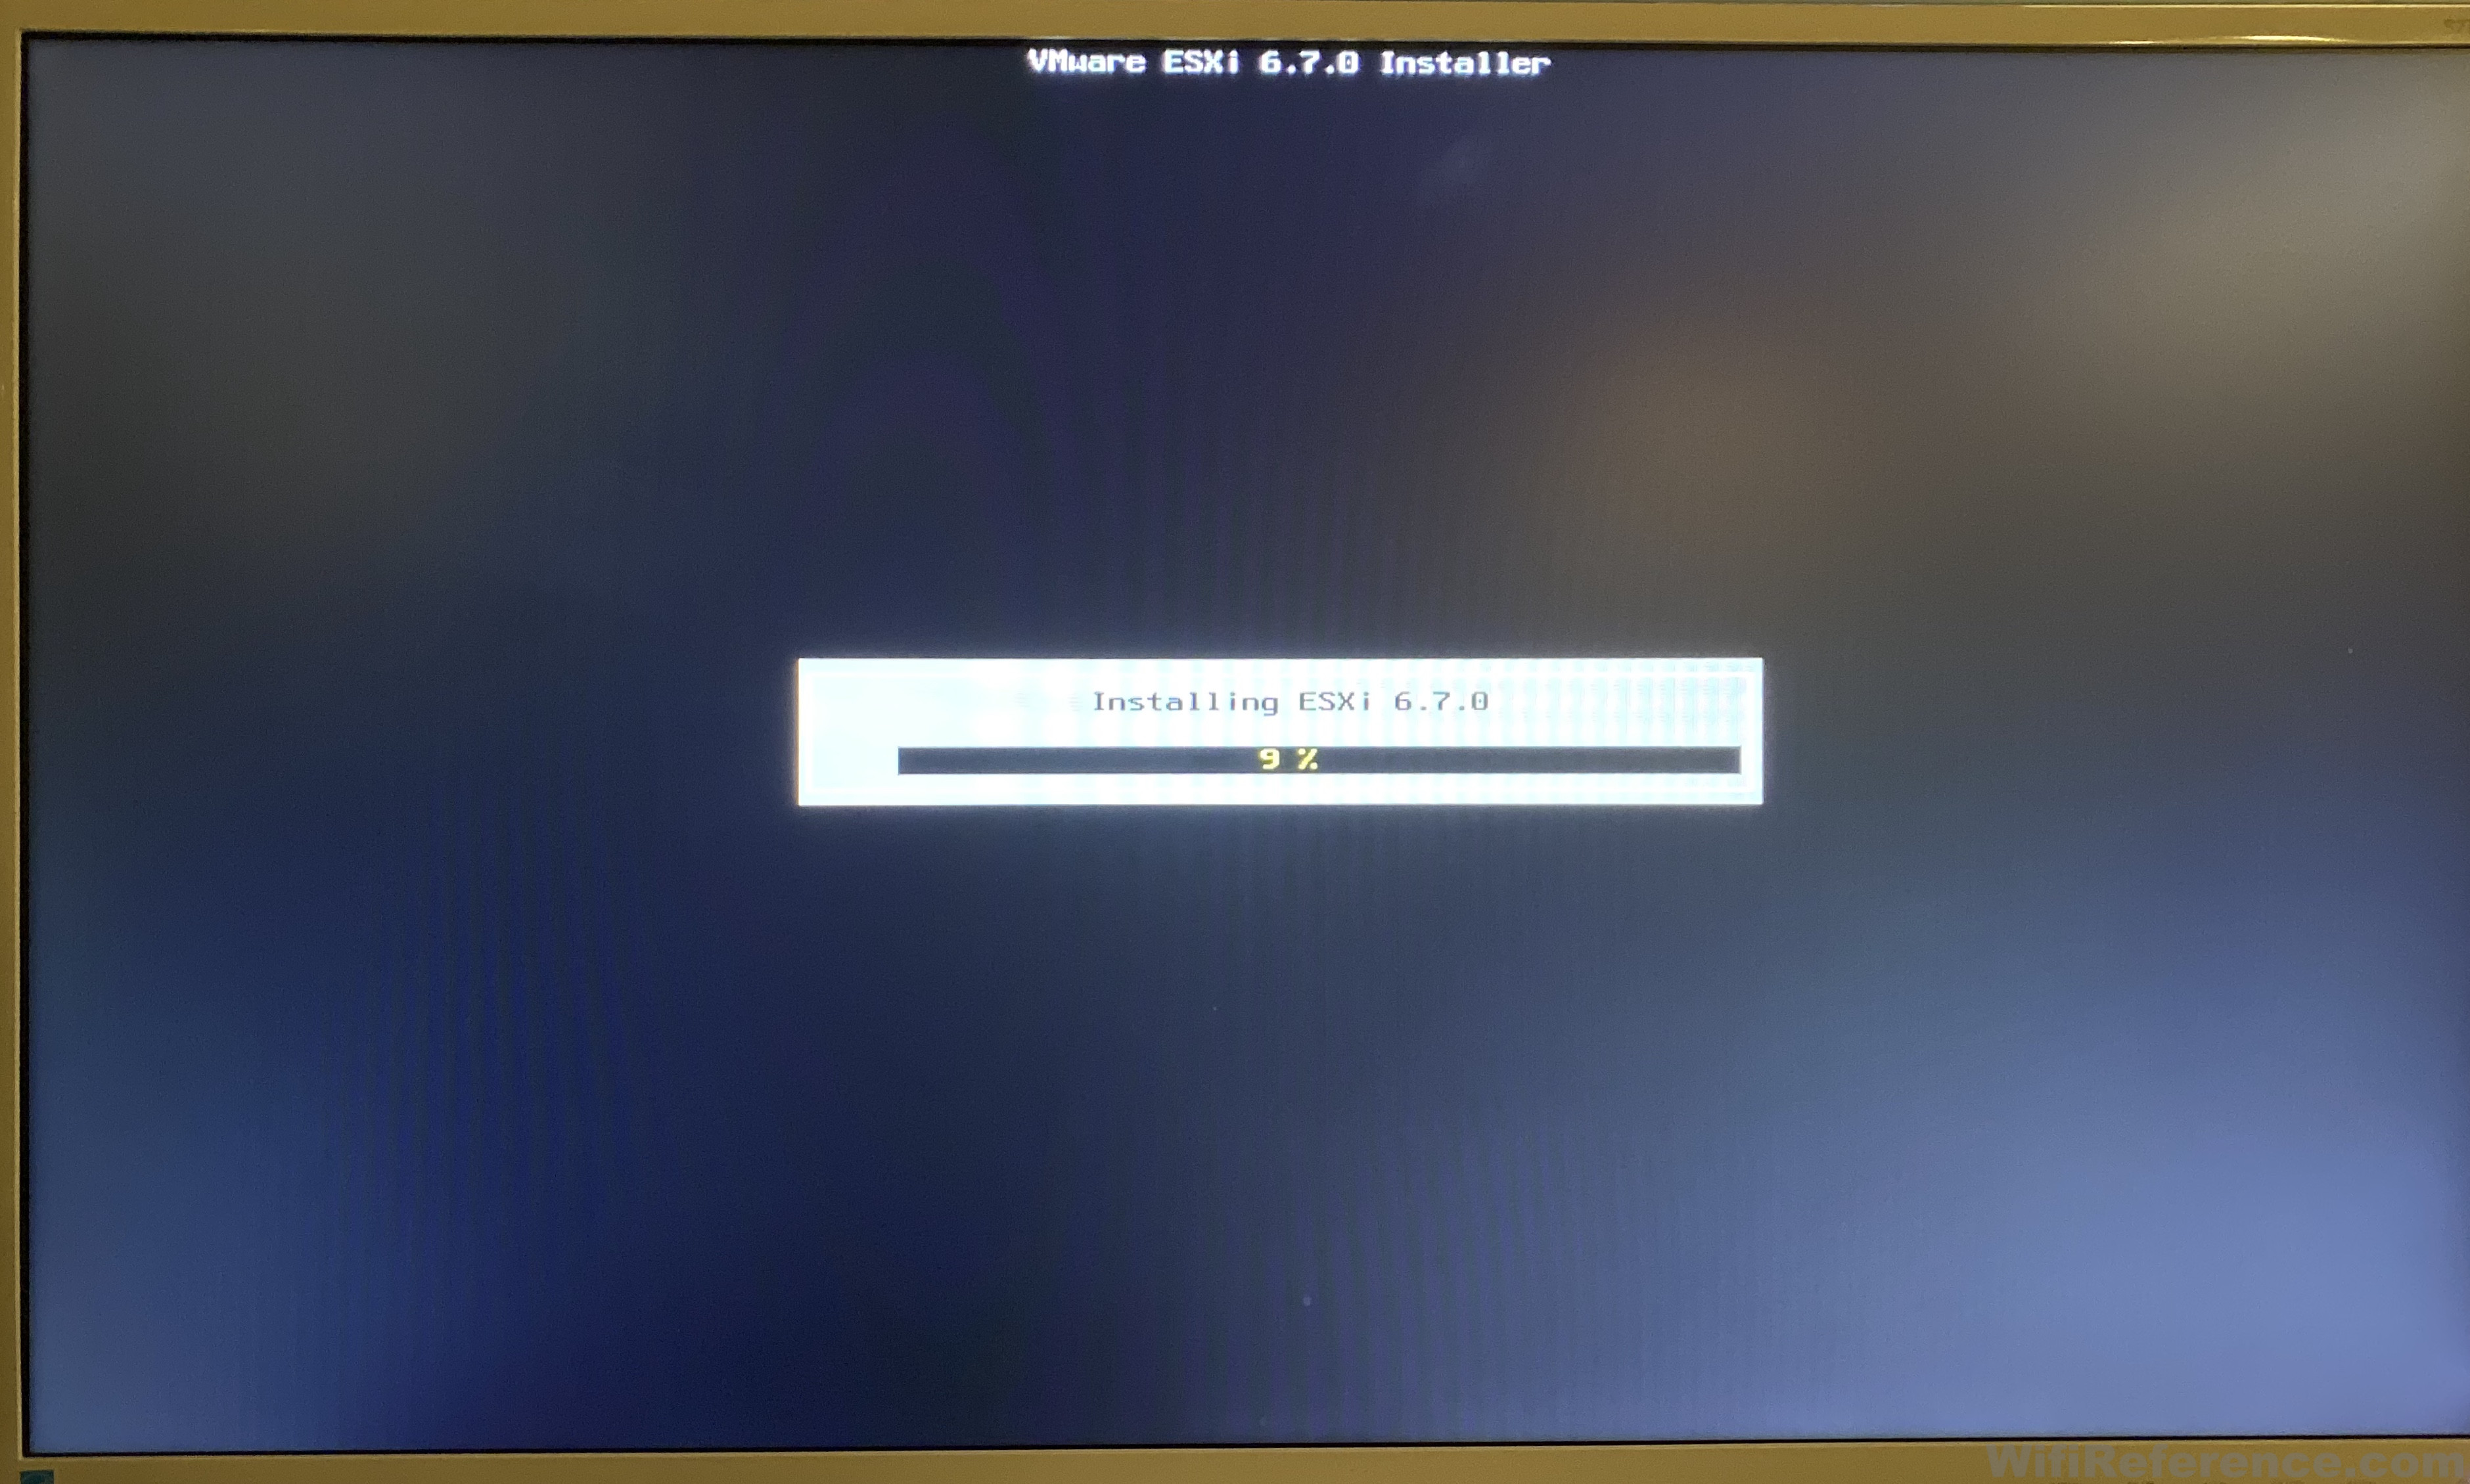
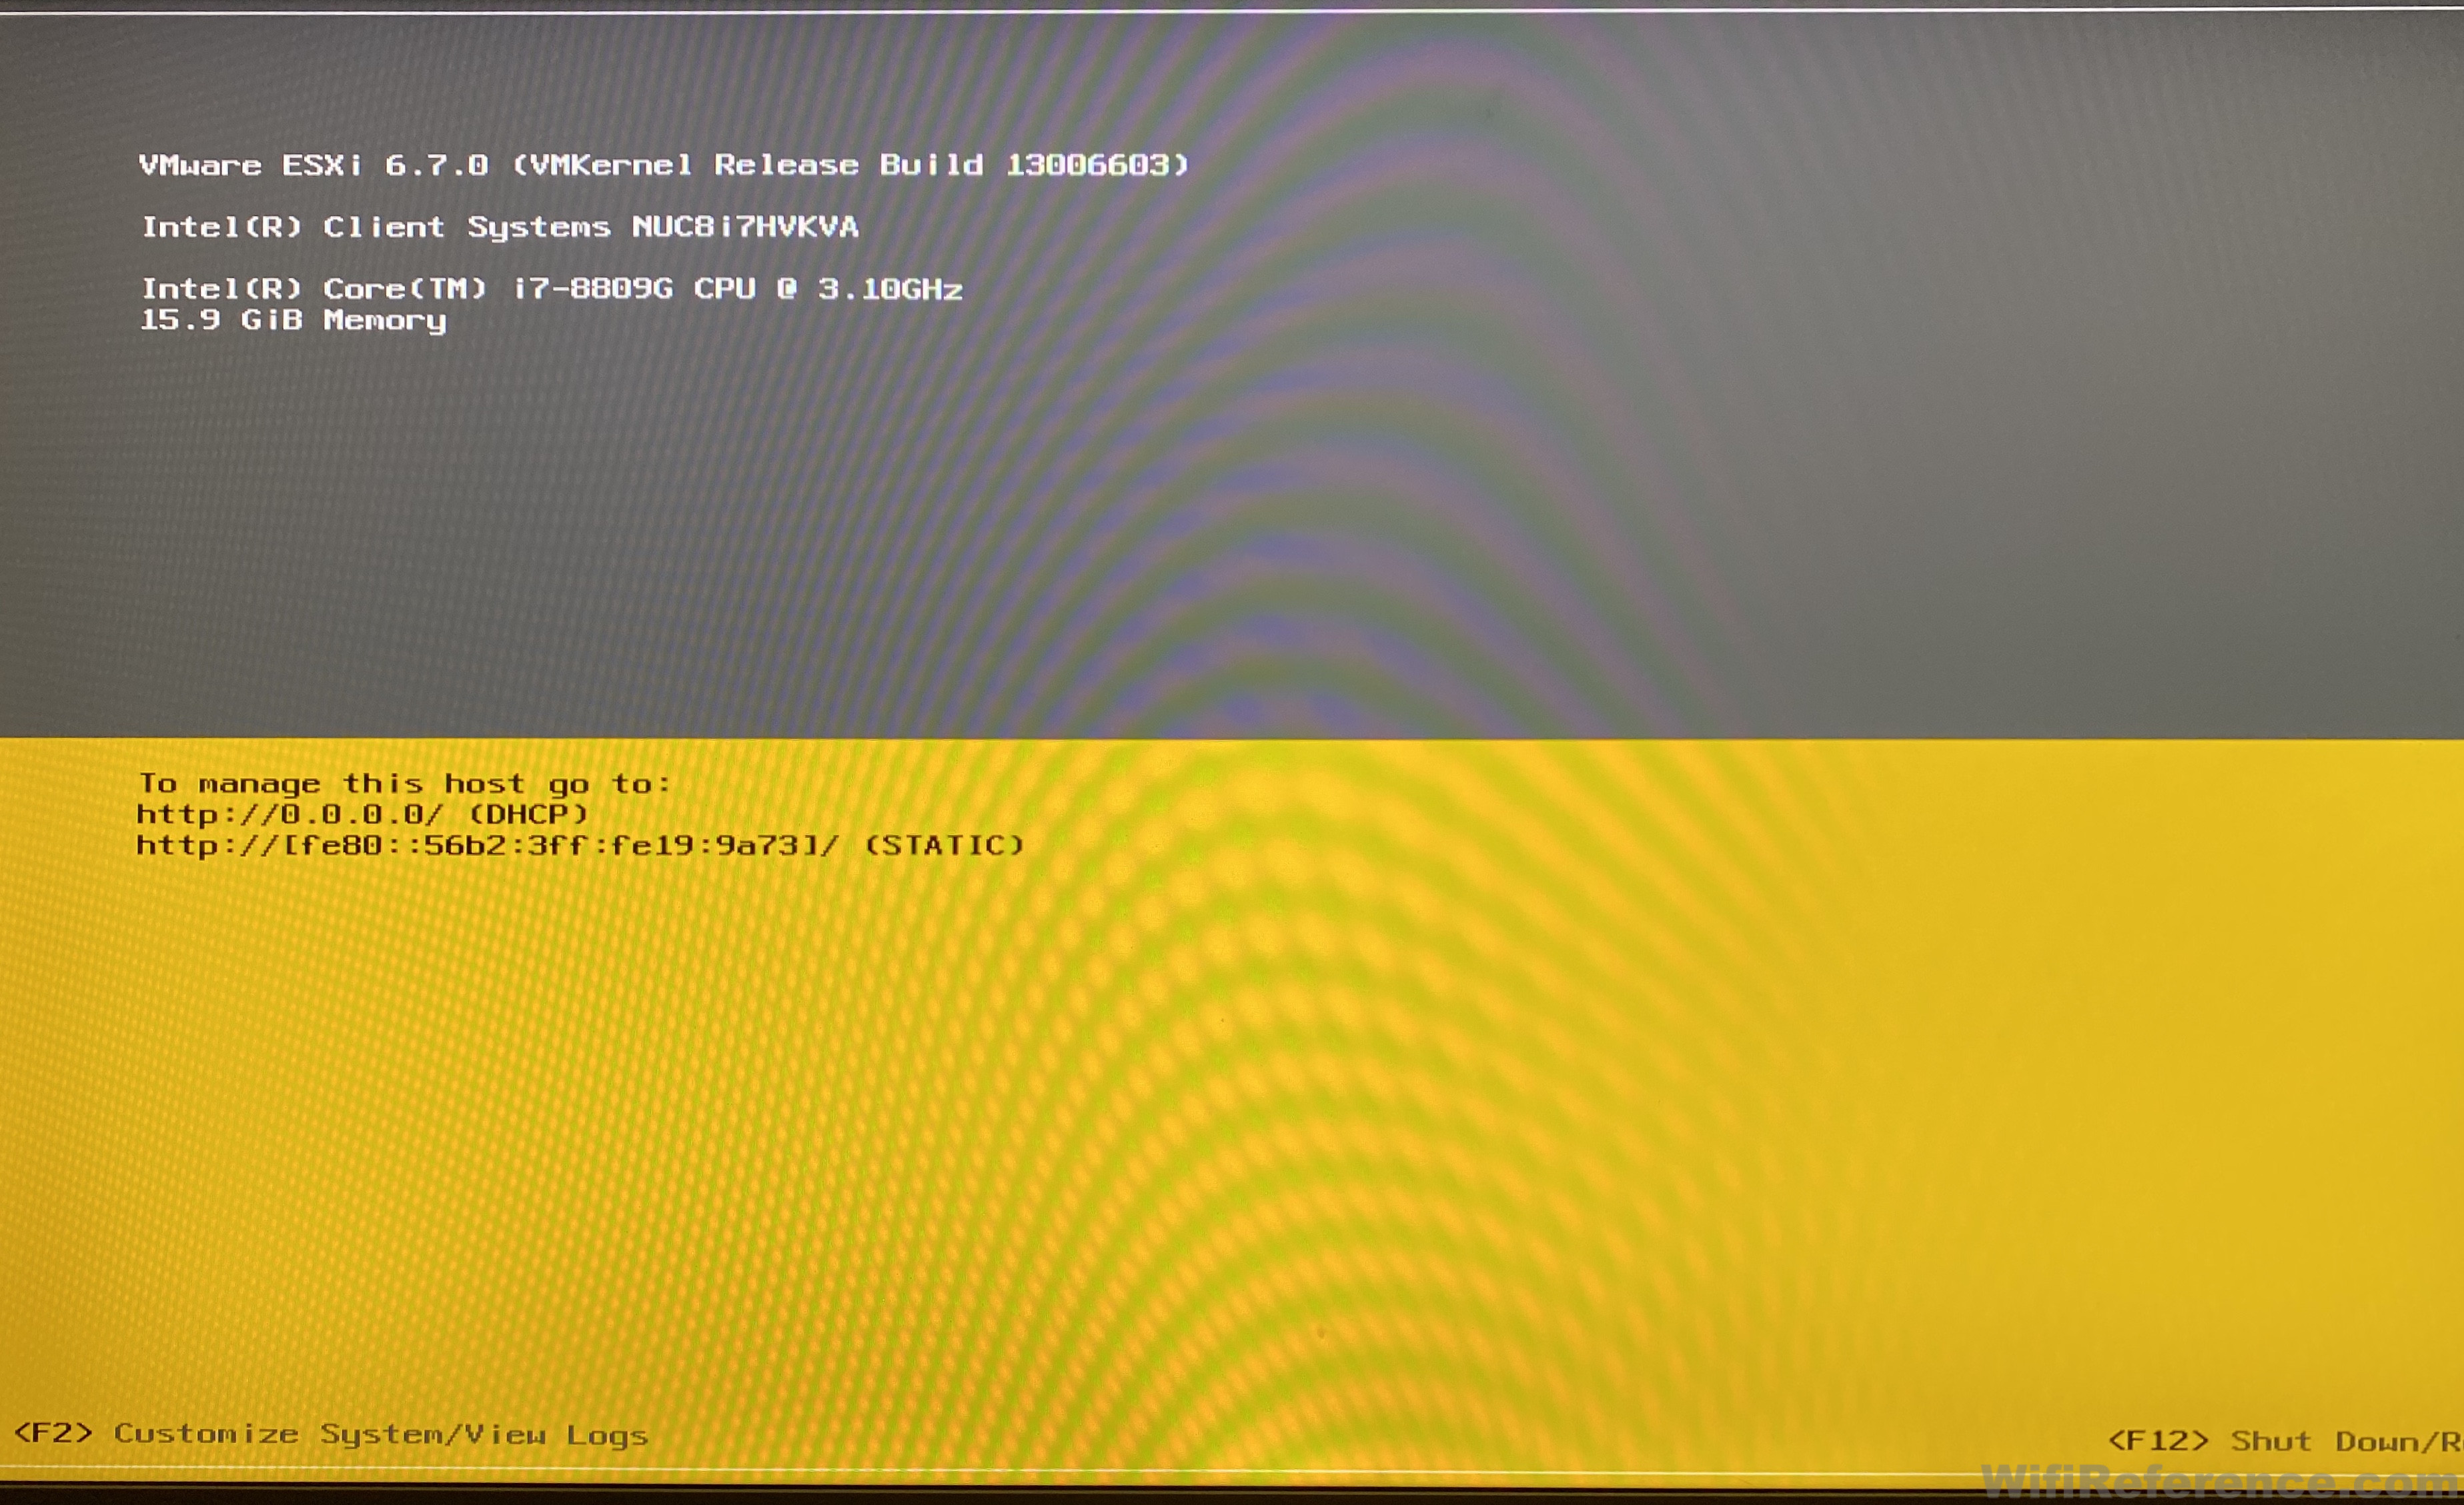
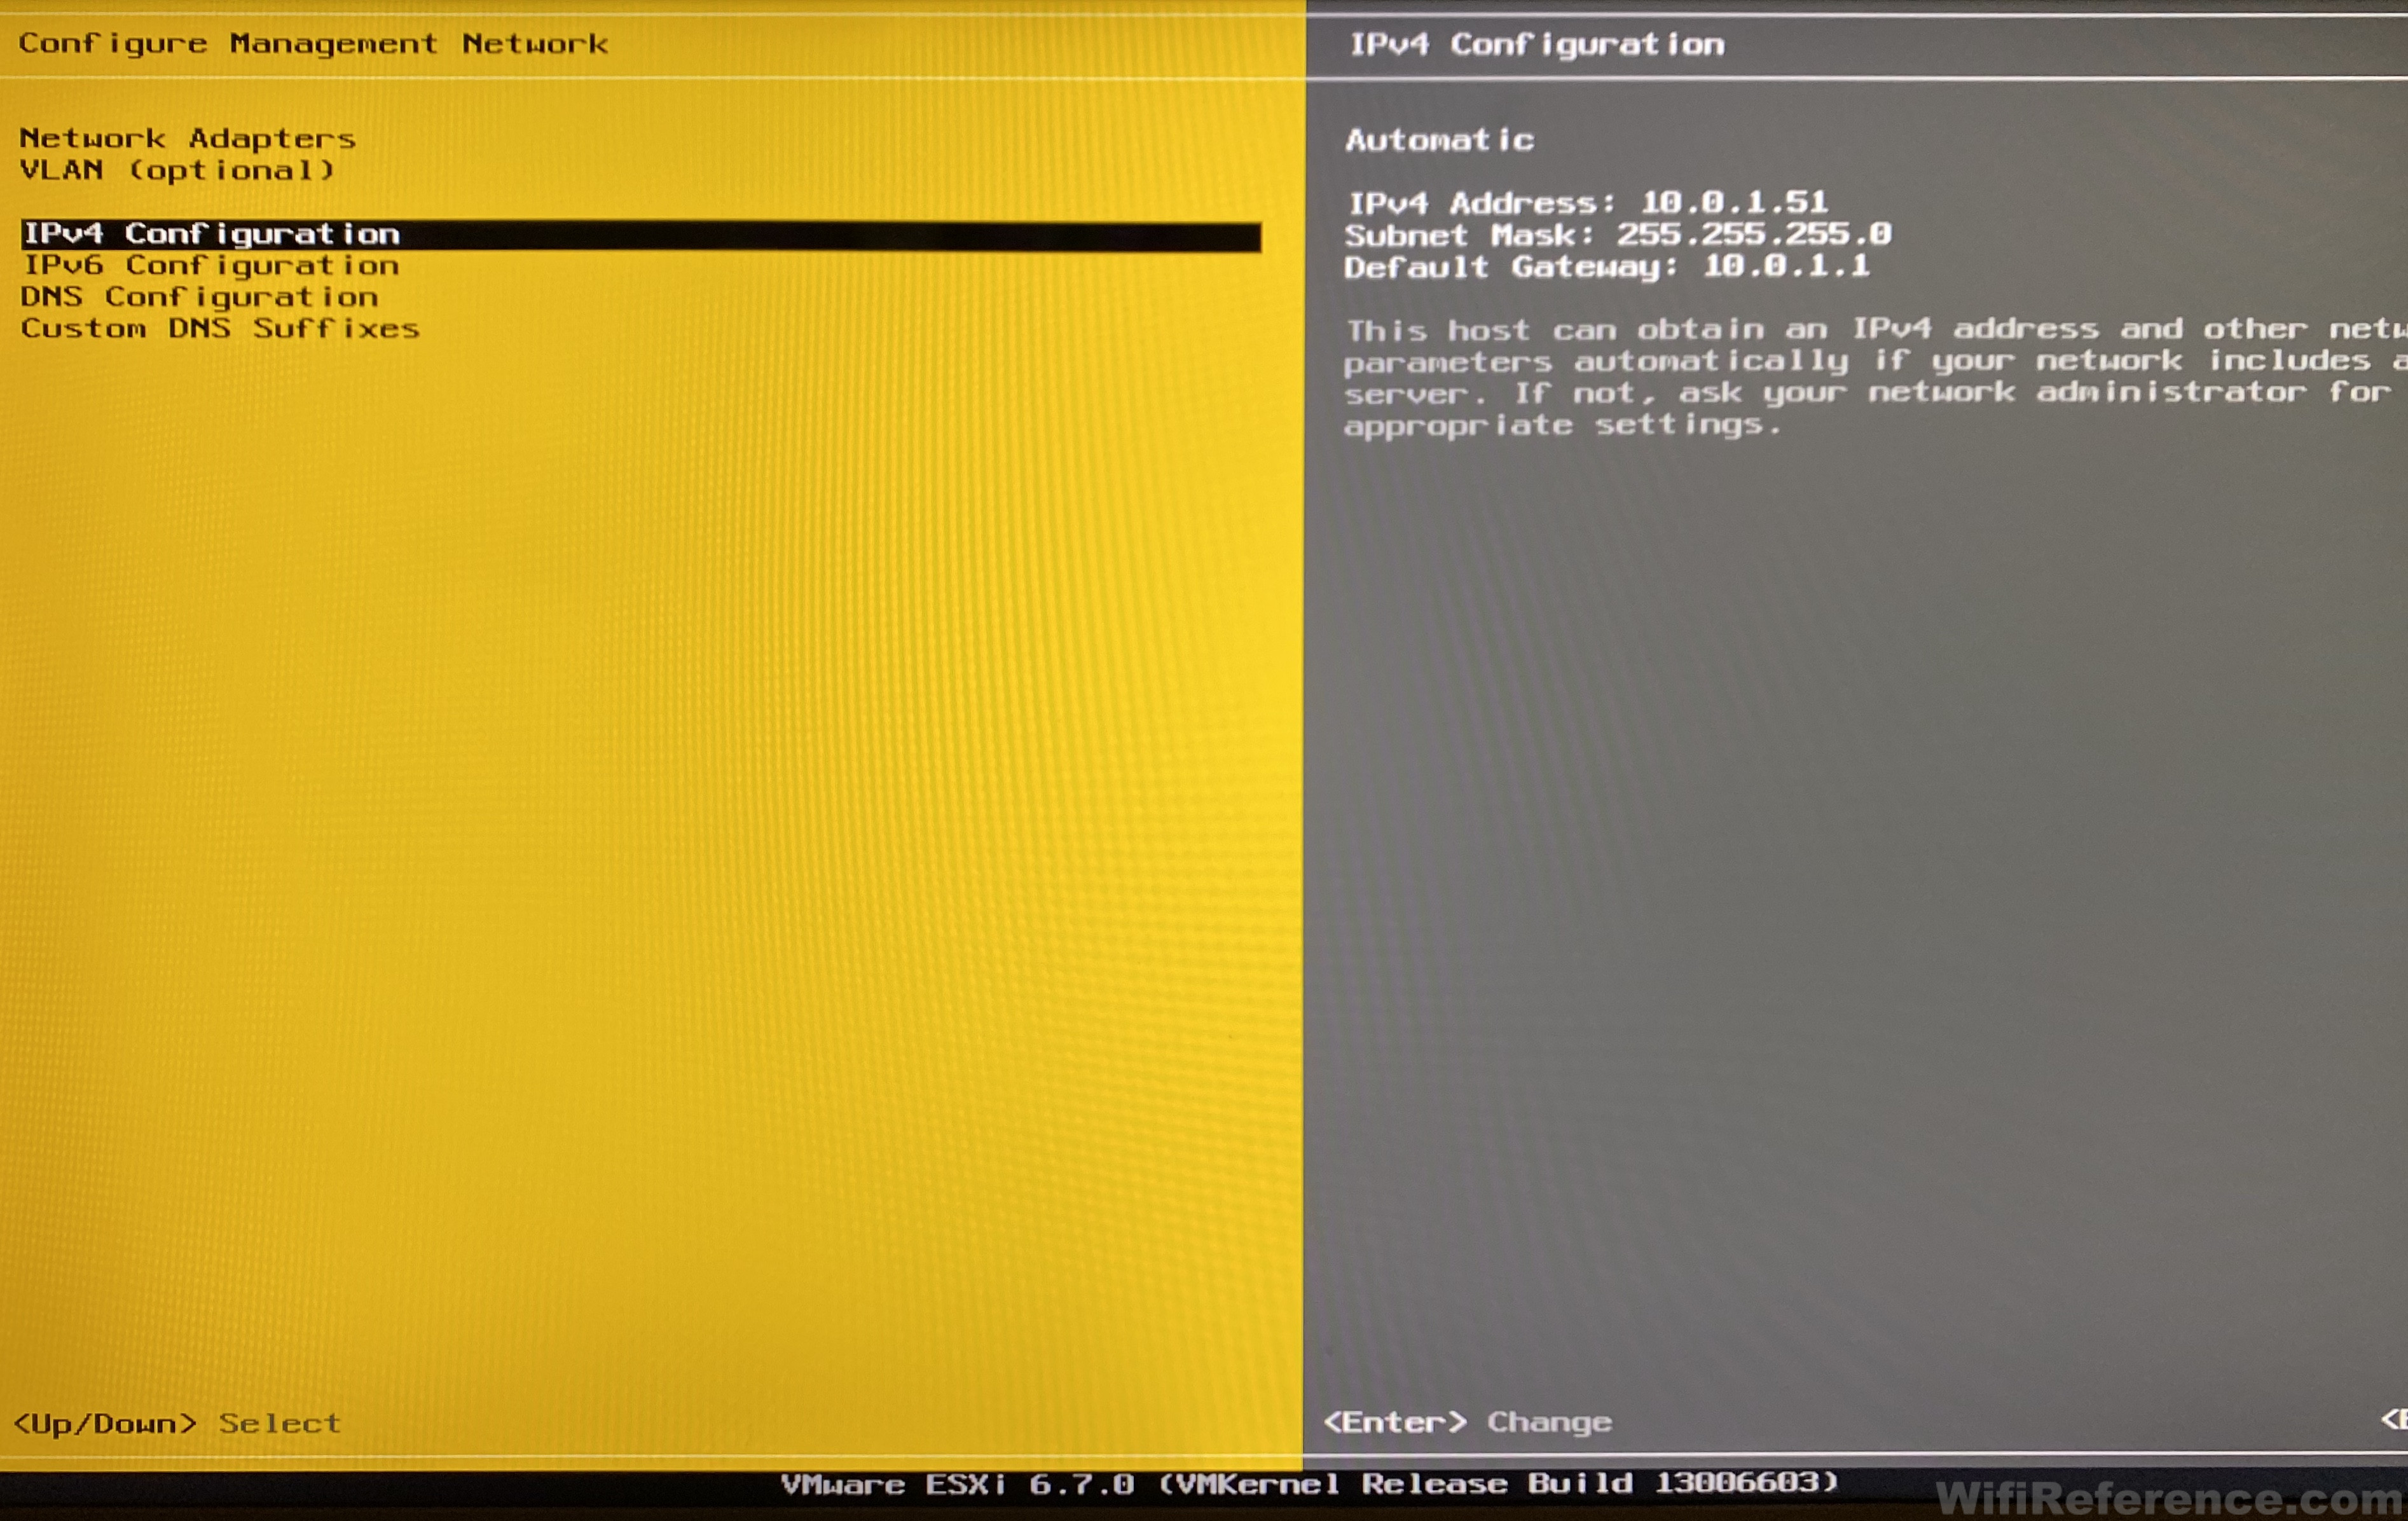
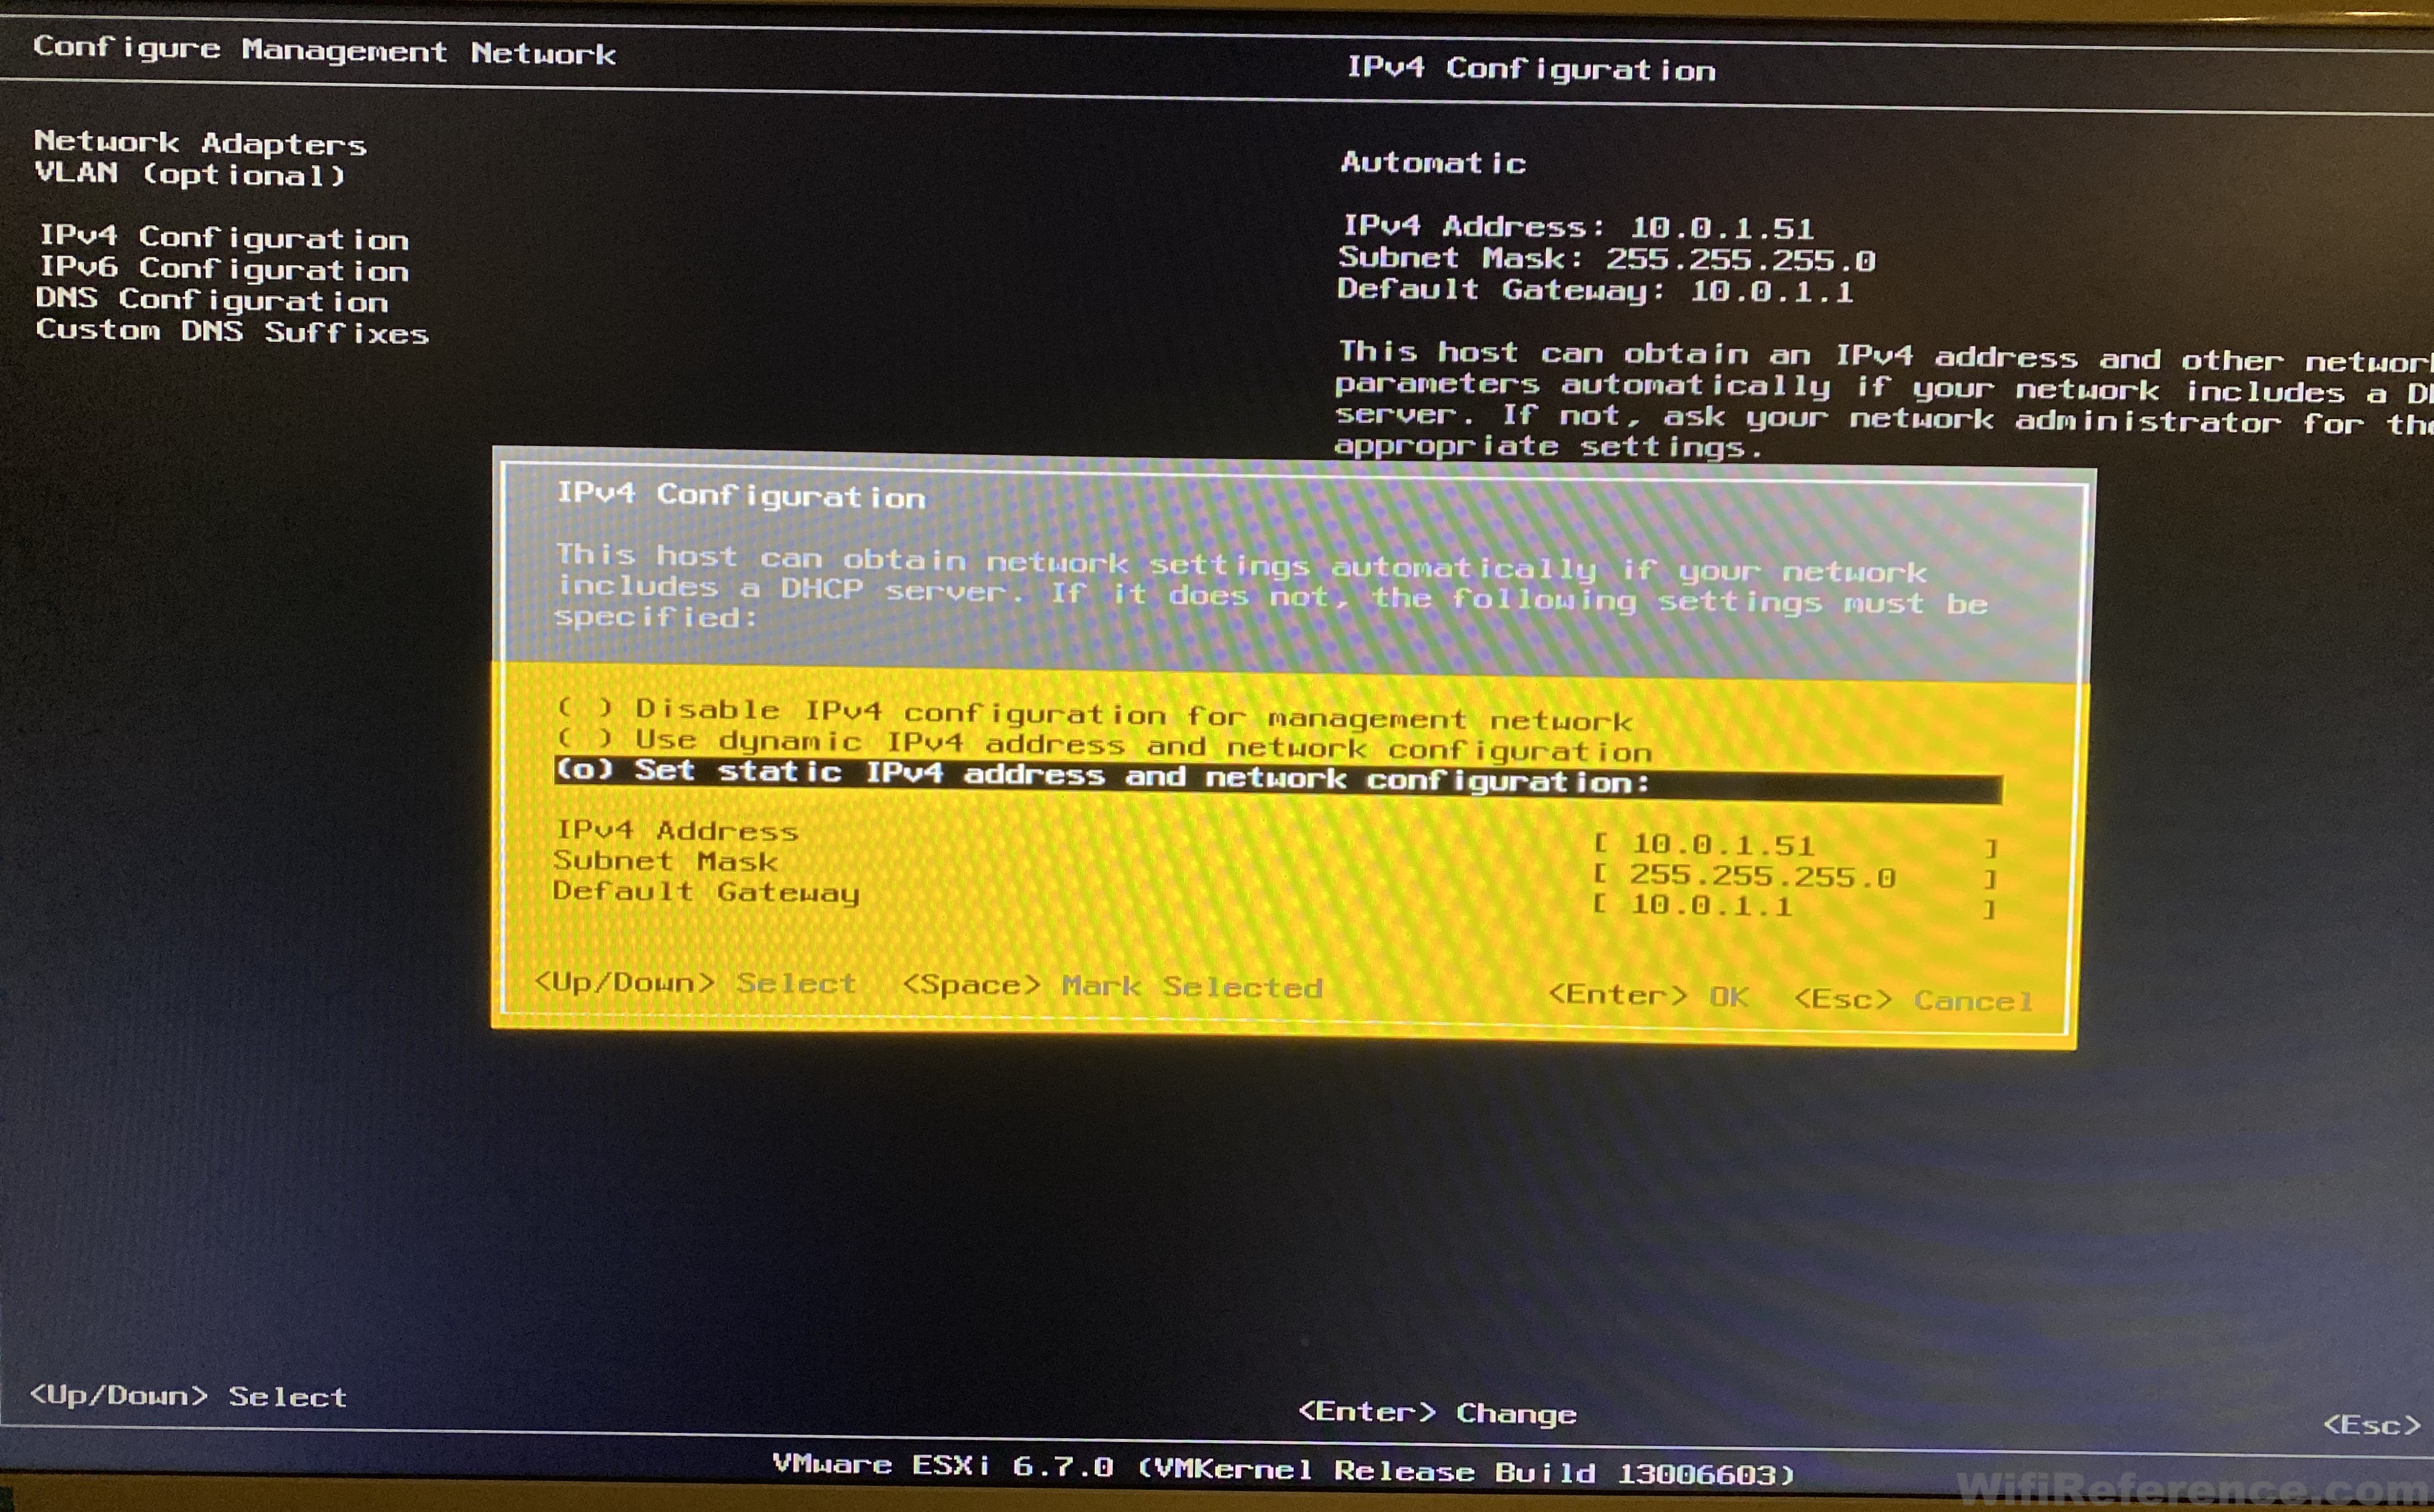
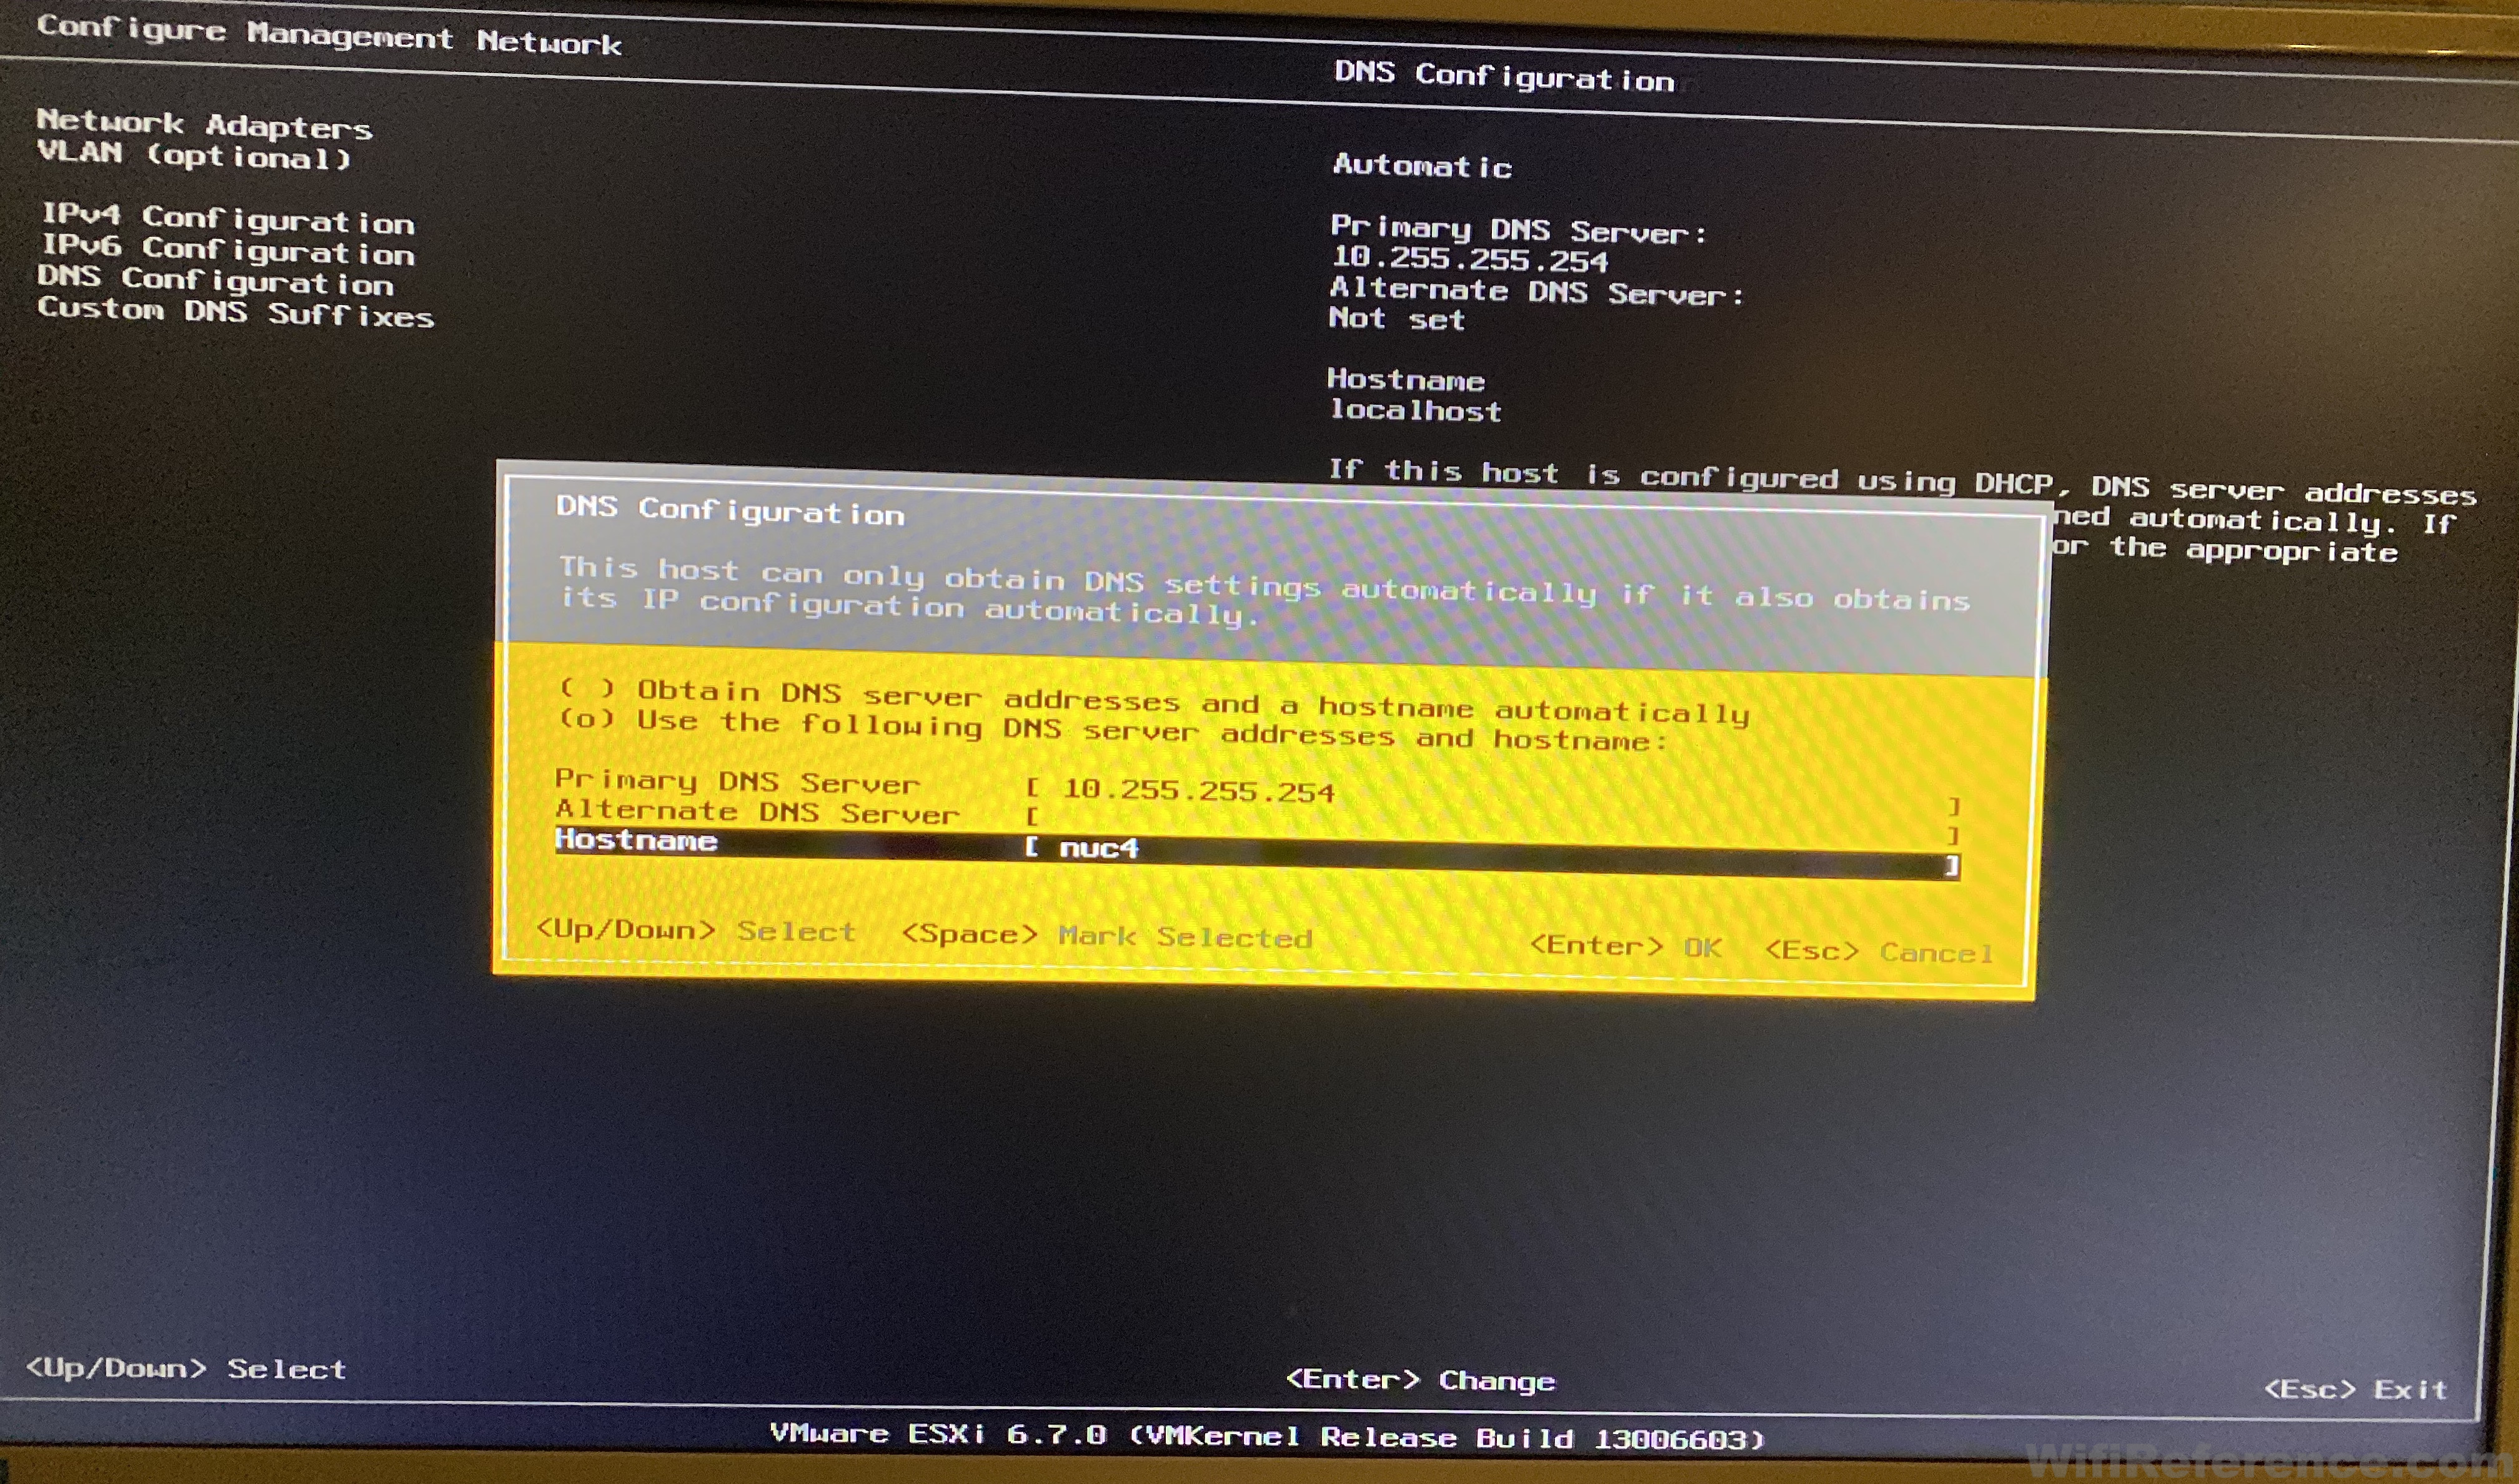
Once the NUC reboots, you should see a screen similar to this. If DHCP is available on the network the NUC is connected to, you should see an IP address to connect to on the screen. In my case, I need to configure a static IP address. I will outline that process here.
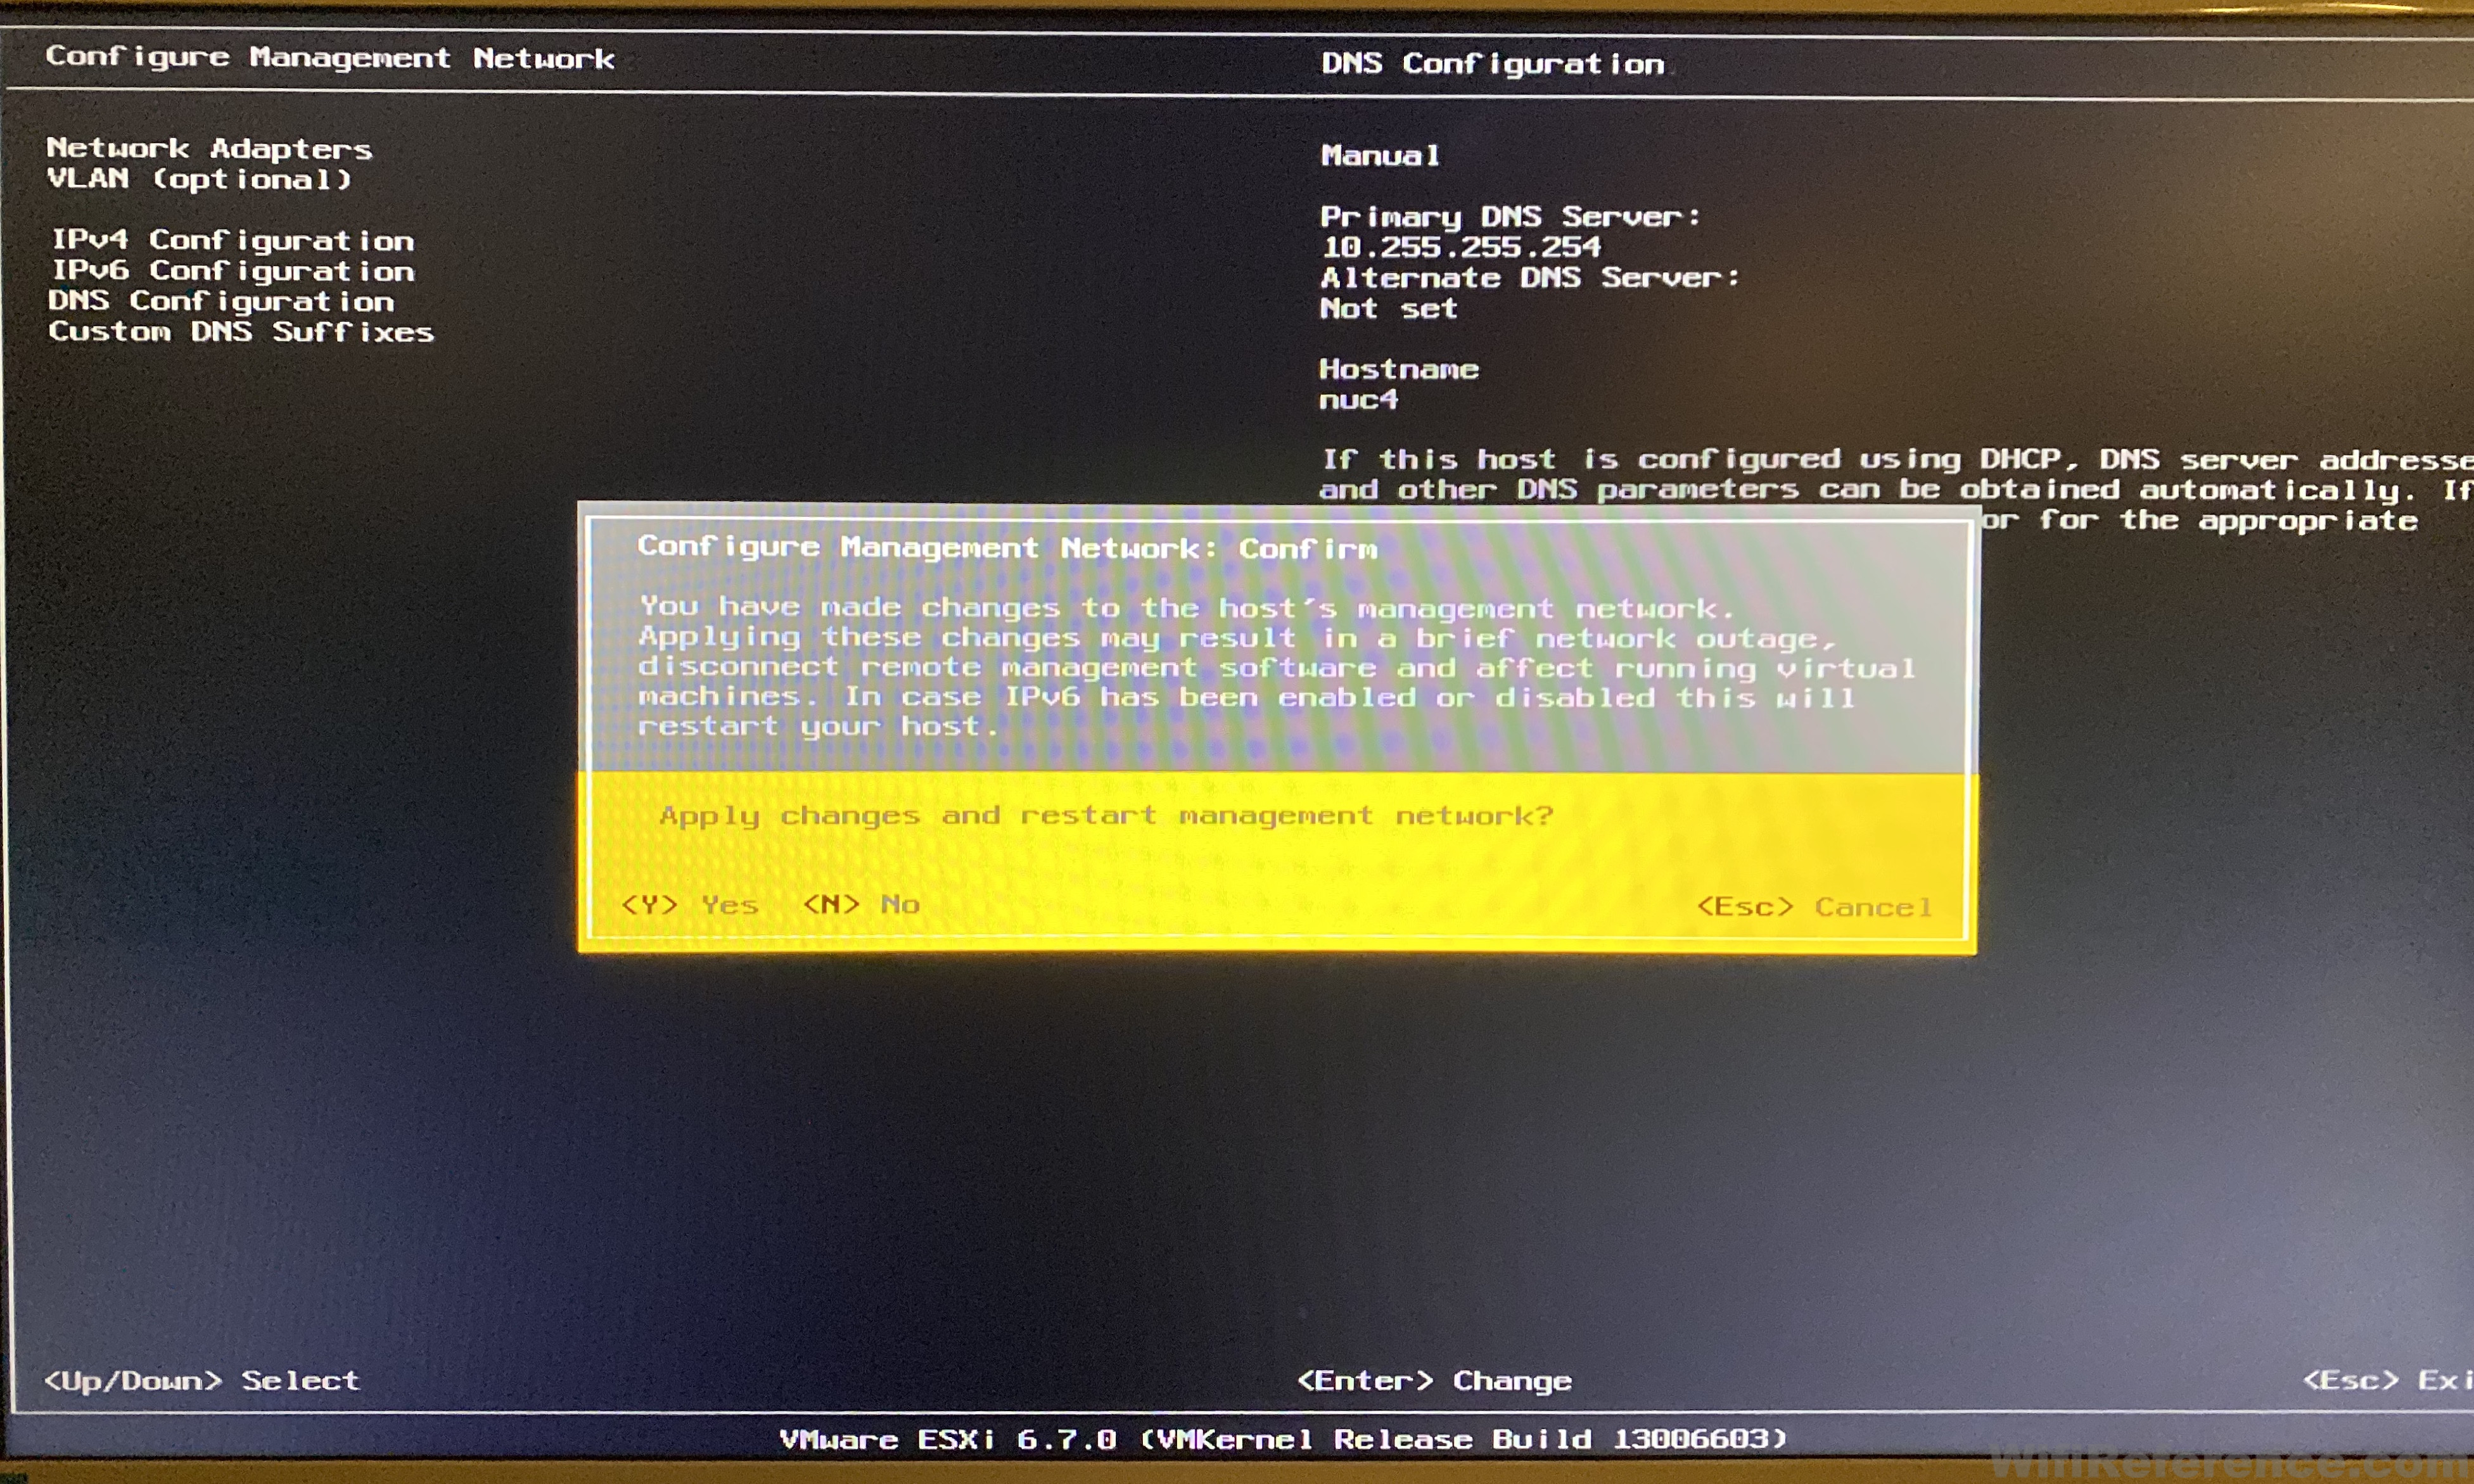
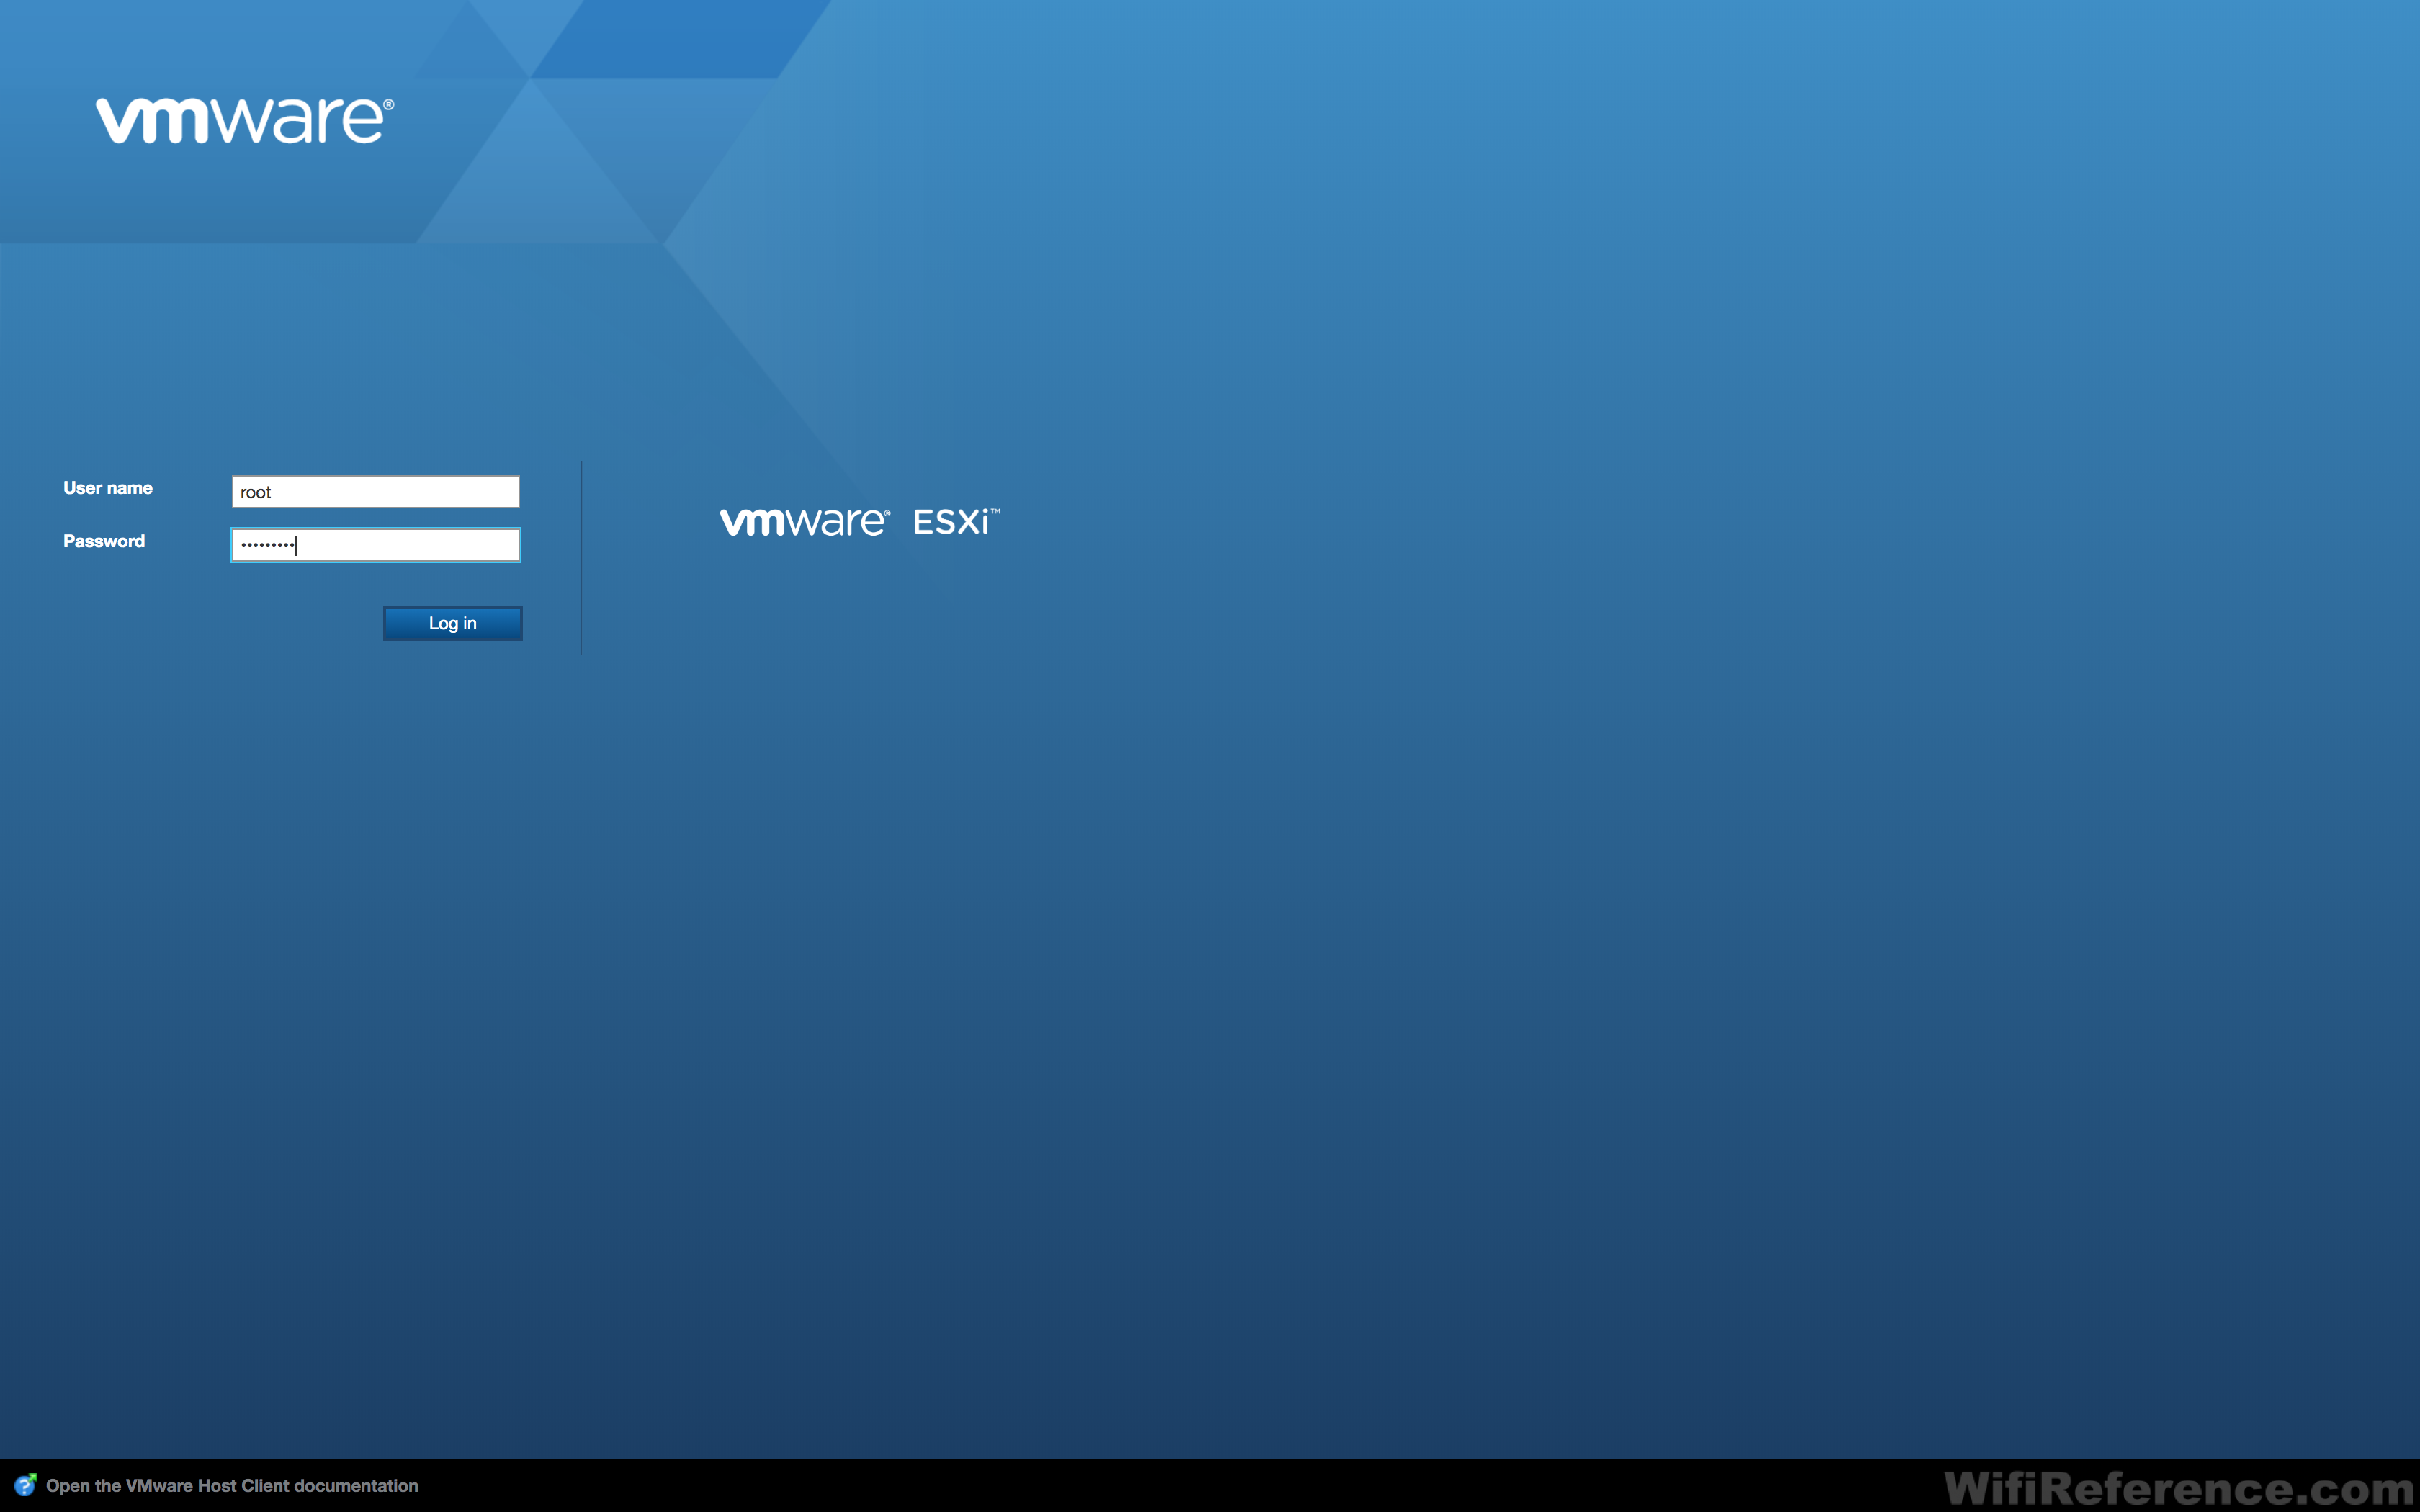
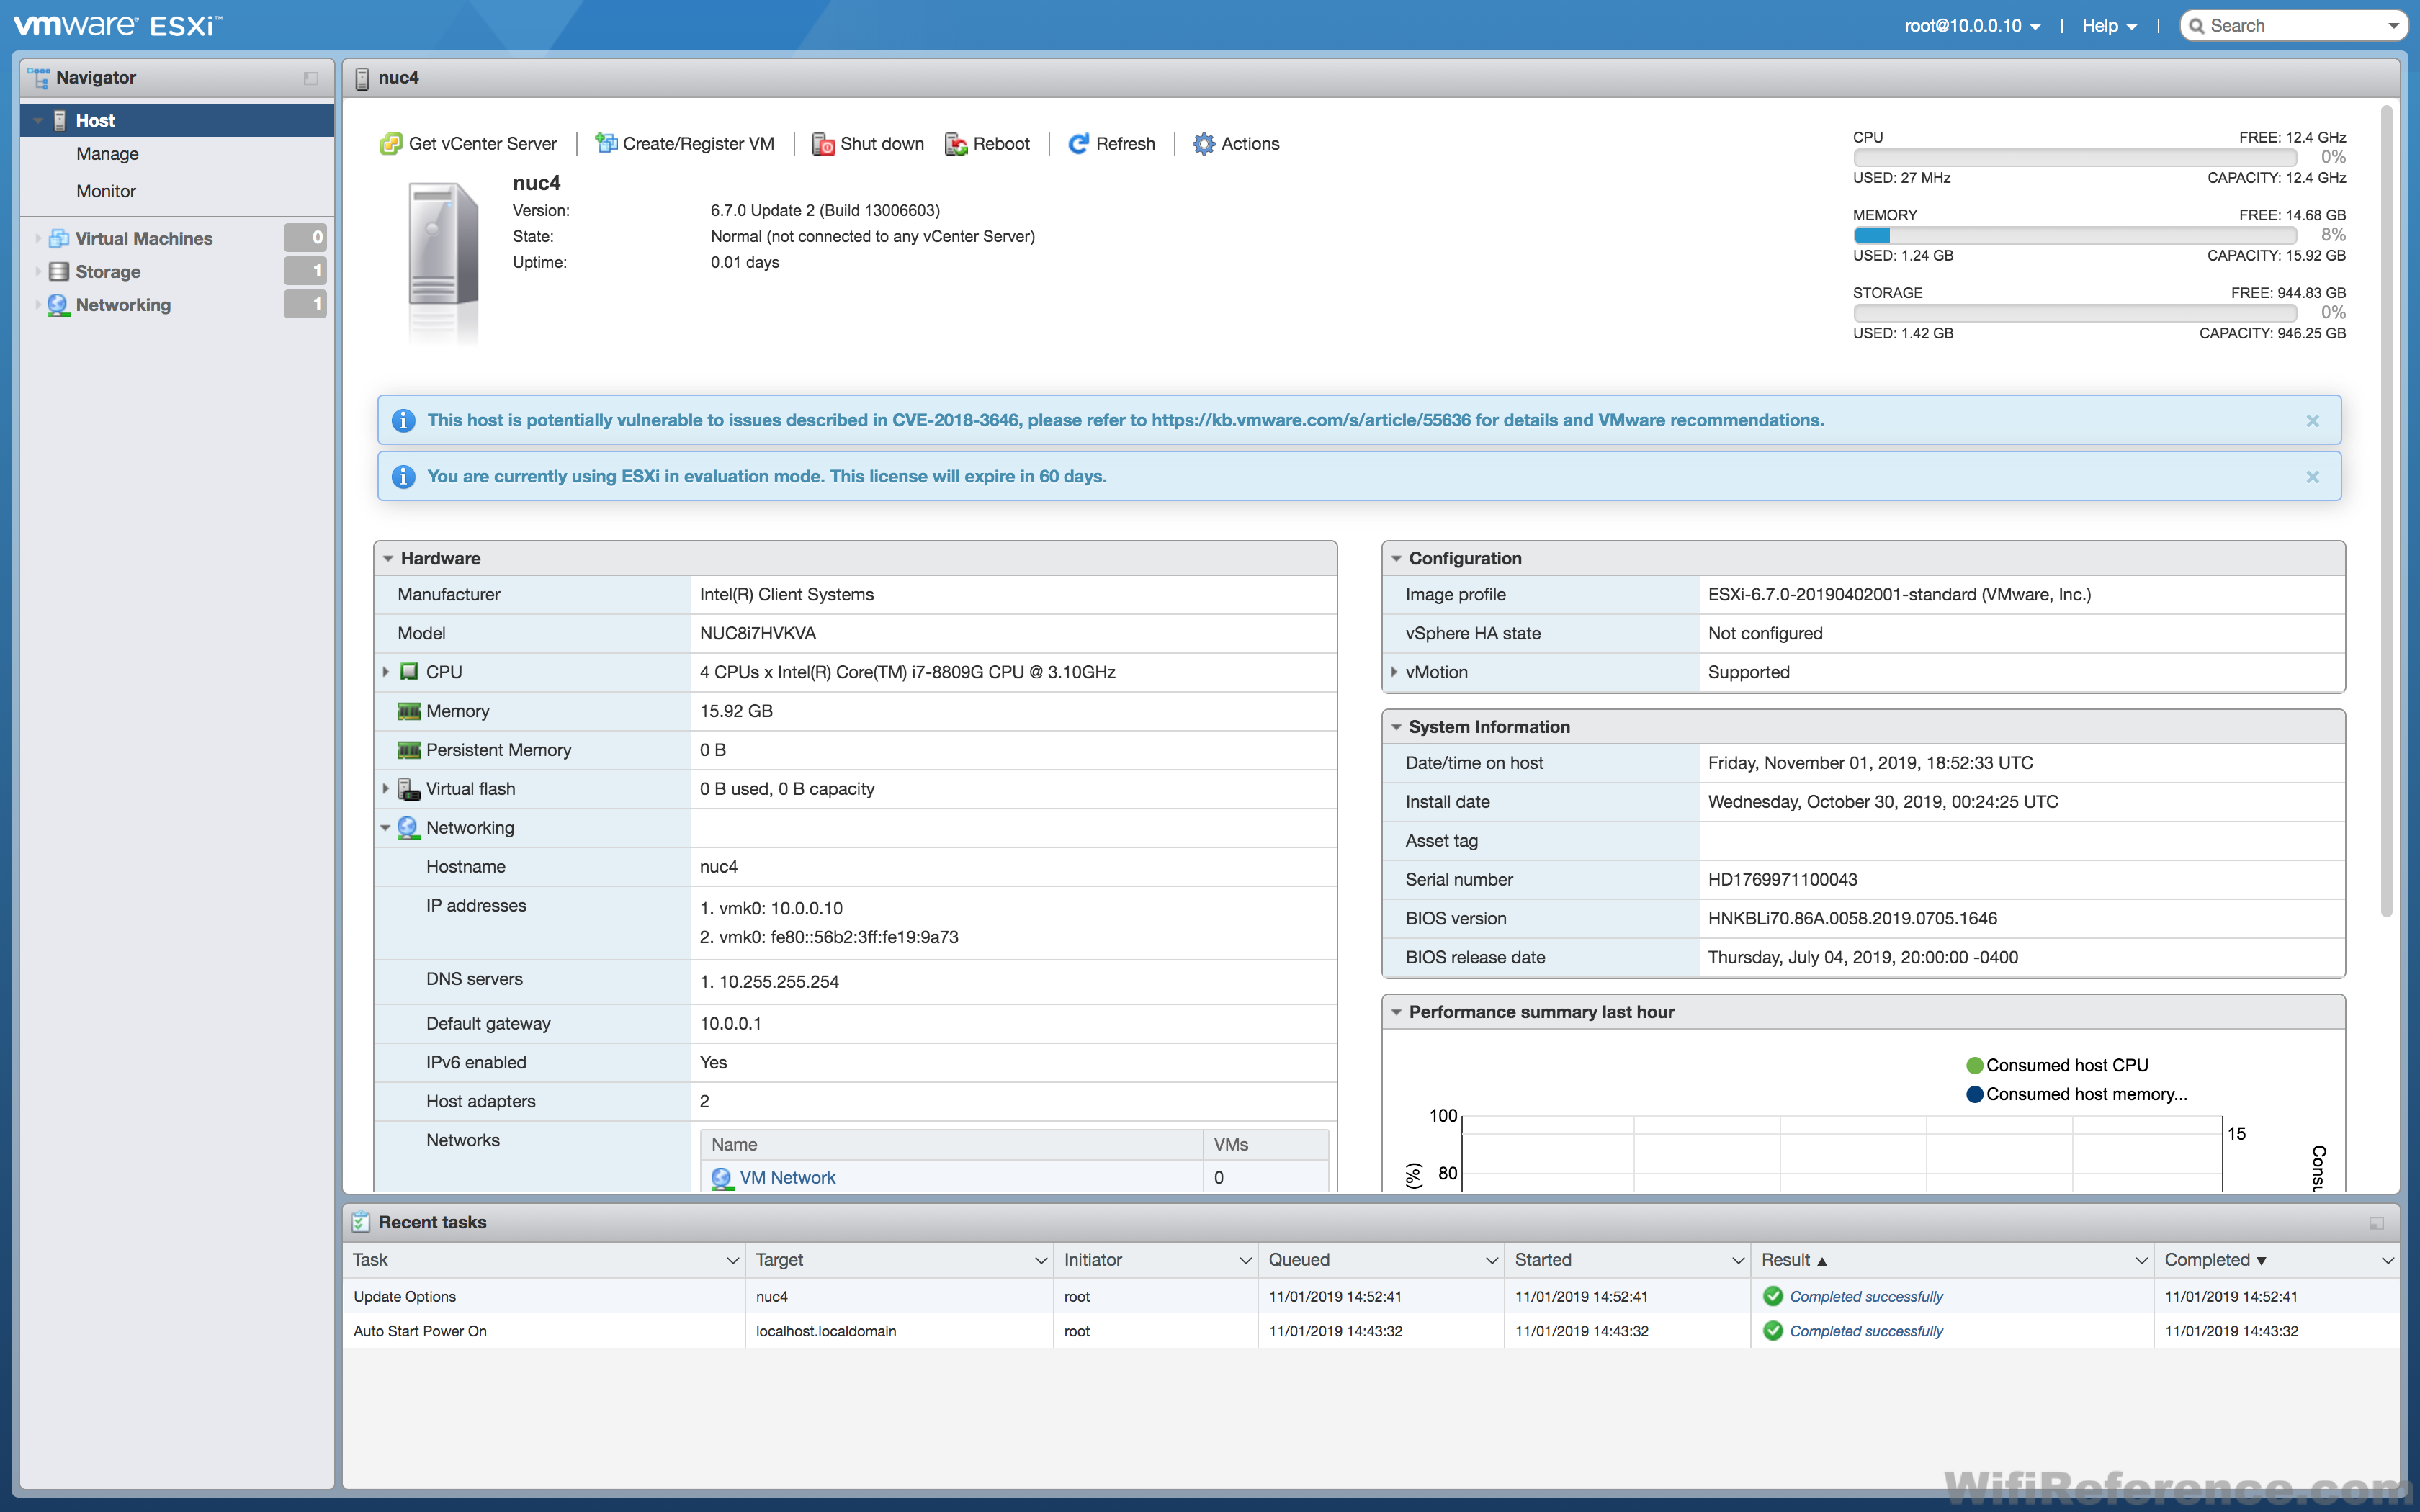
At this point, ESXi is installed and configured for first use! Connect to the web interface with HTTPS to proceed.
Configuring and Deploying the Cisco Catalyst 9800-CL with ESXi on the Intel NUC
I previously covered the process of installing a Catalyst 9800-CL in VMware in great detail in this article: http://www.wifireference.com/2019/08/24/cisco-catalyst-9800-cl-deployment-guide/. However, that article assumed you already had ESXi up and running. I will cover the initial basics of that configuration here.
Configuring ESXi Networking for use with the Catalyst 9800-CL
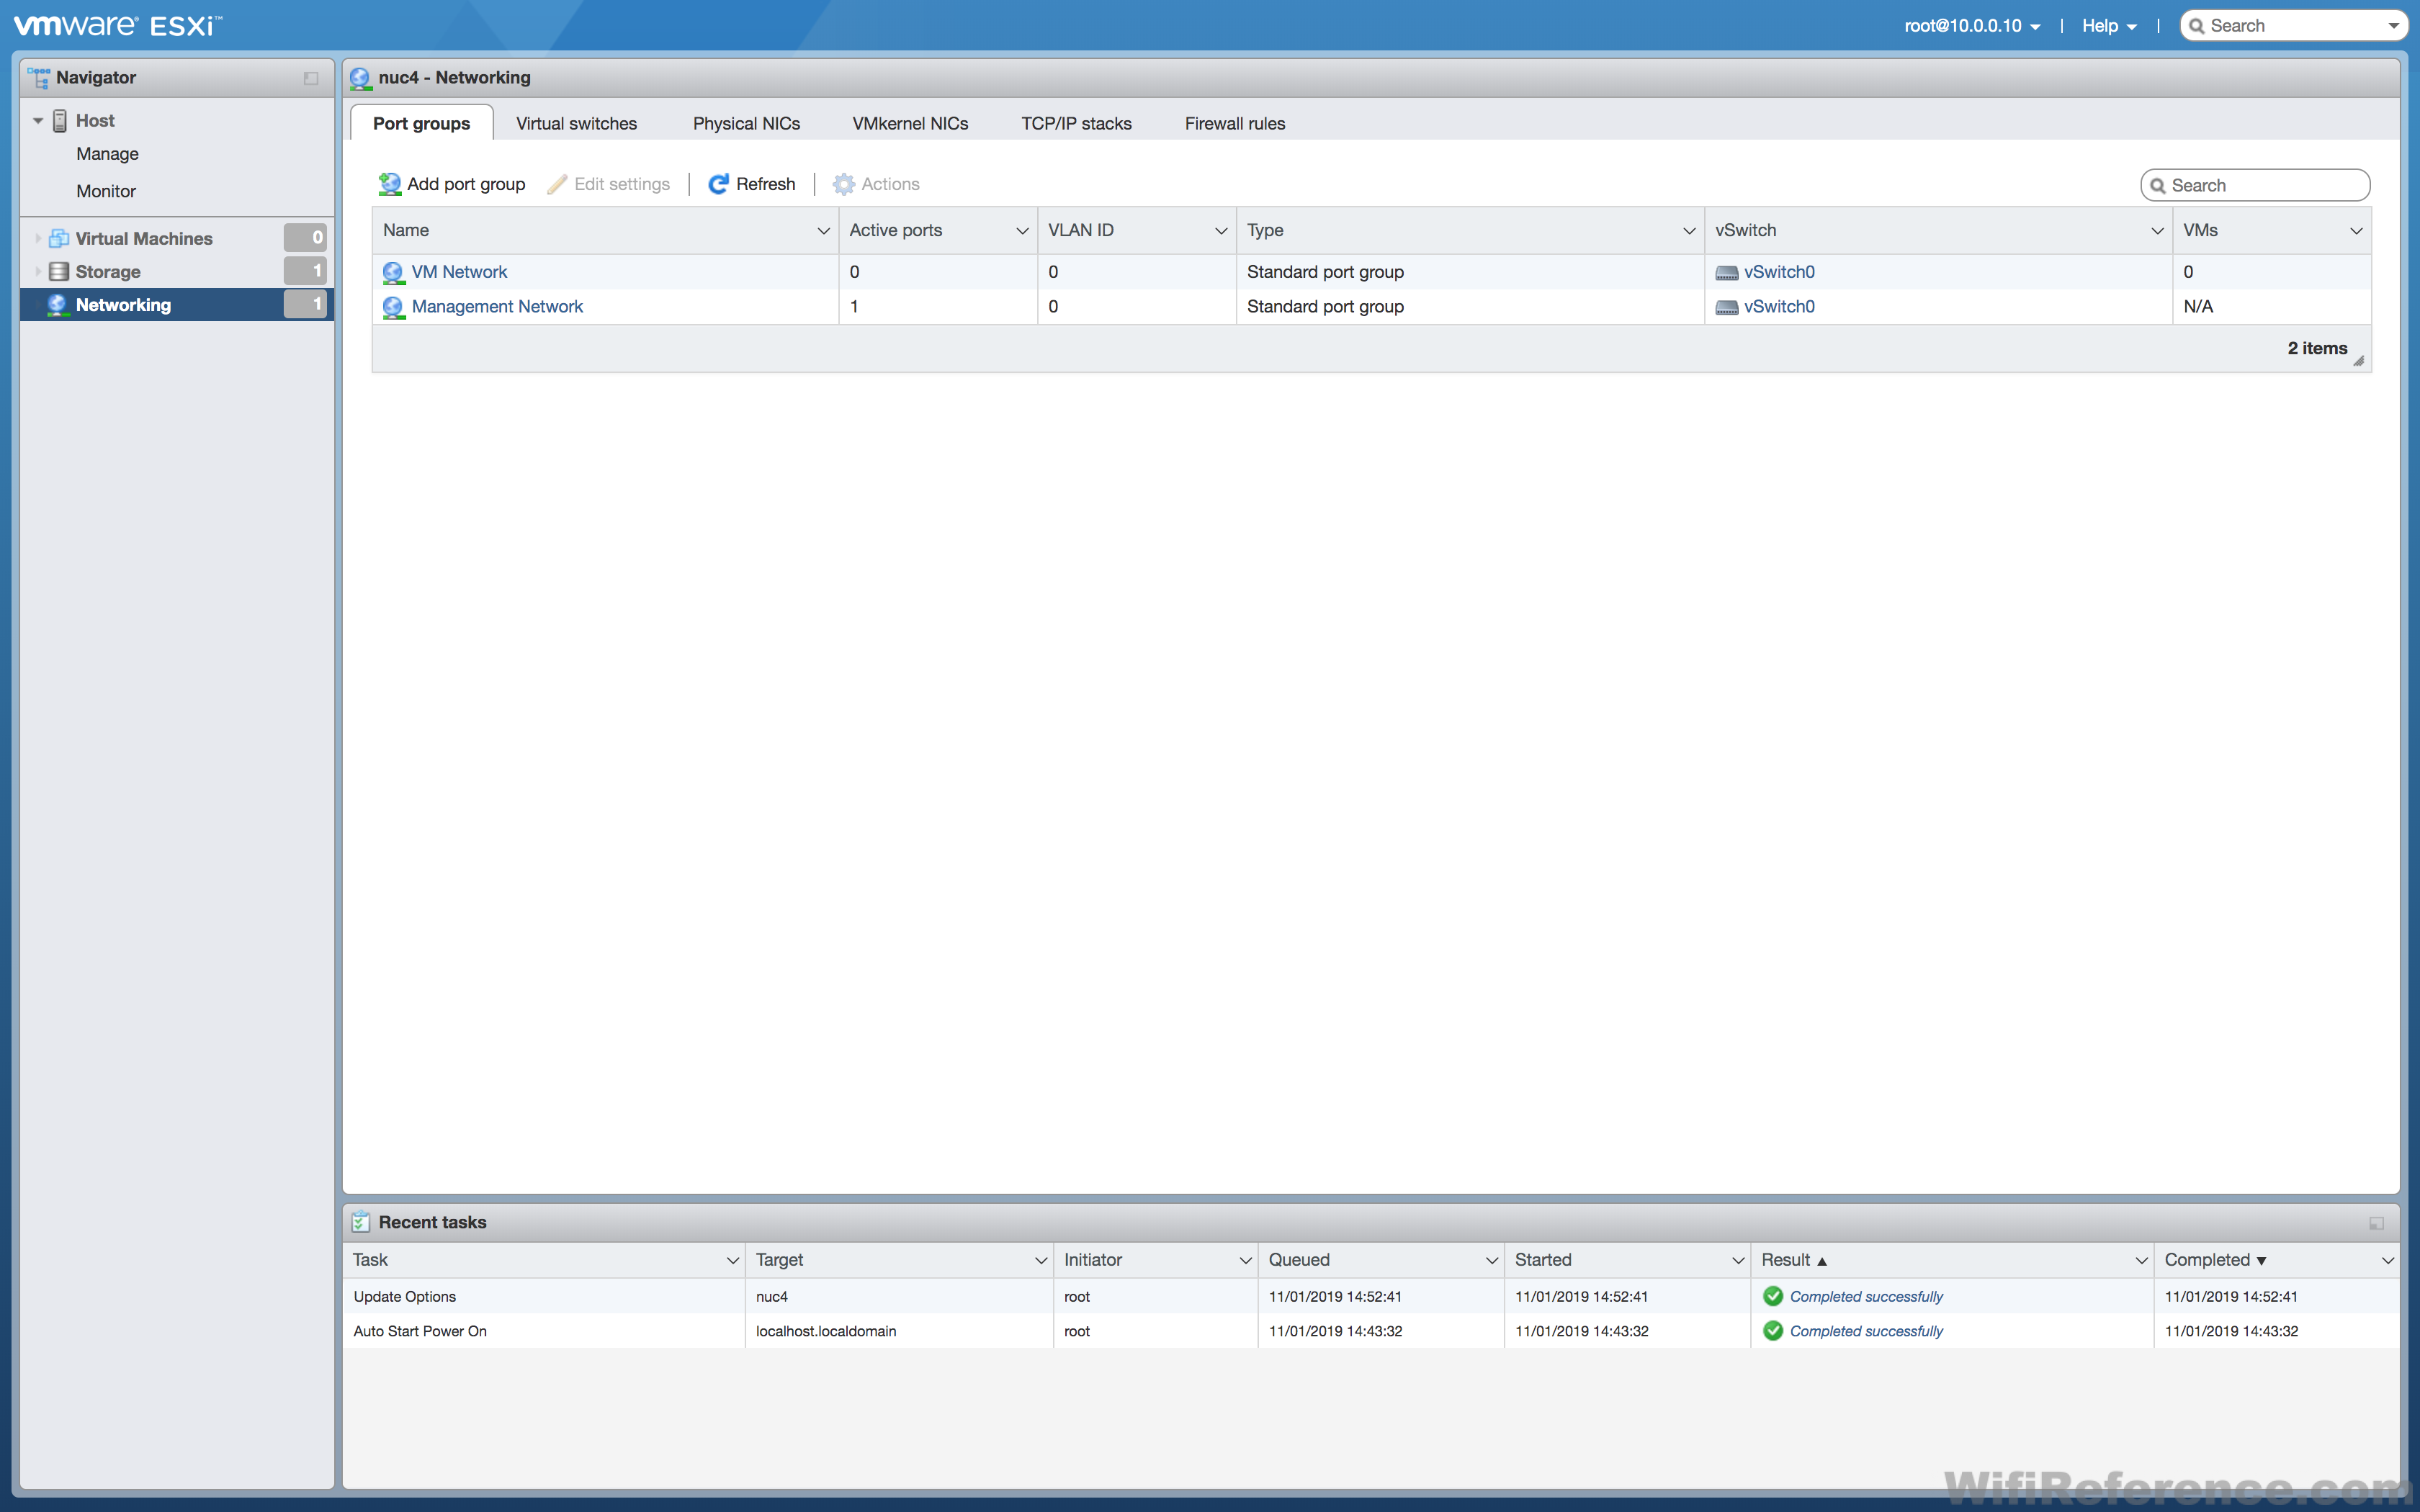
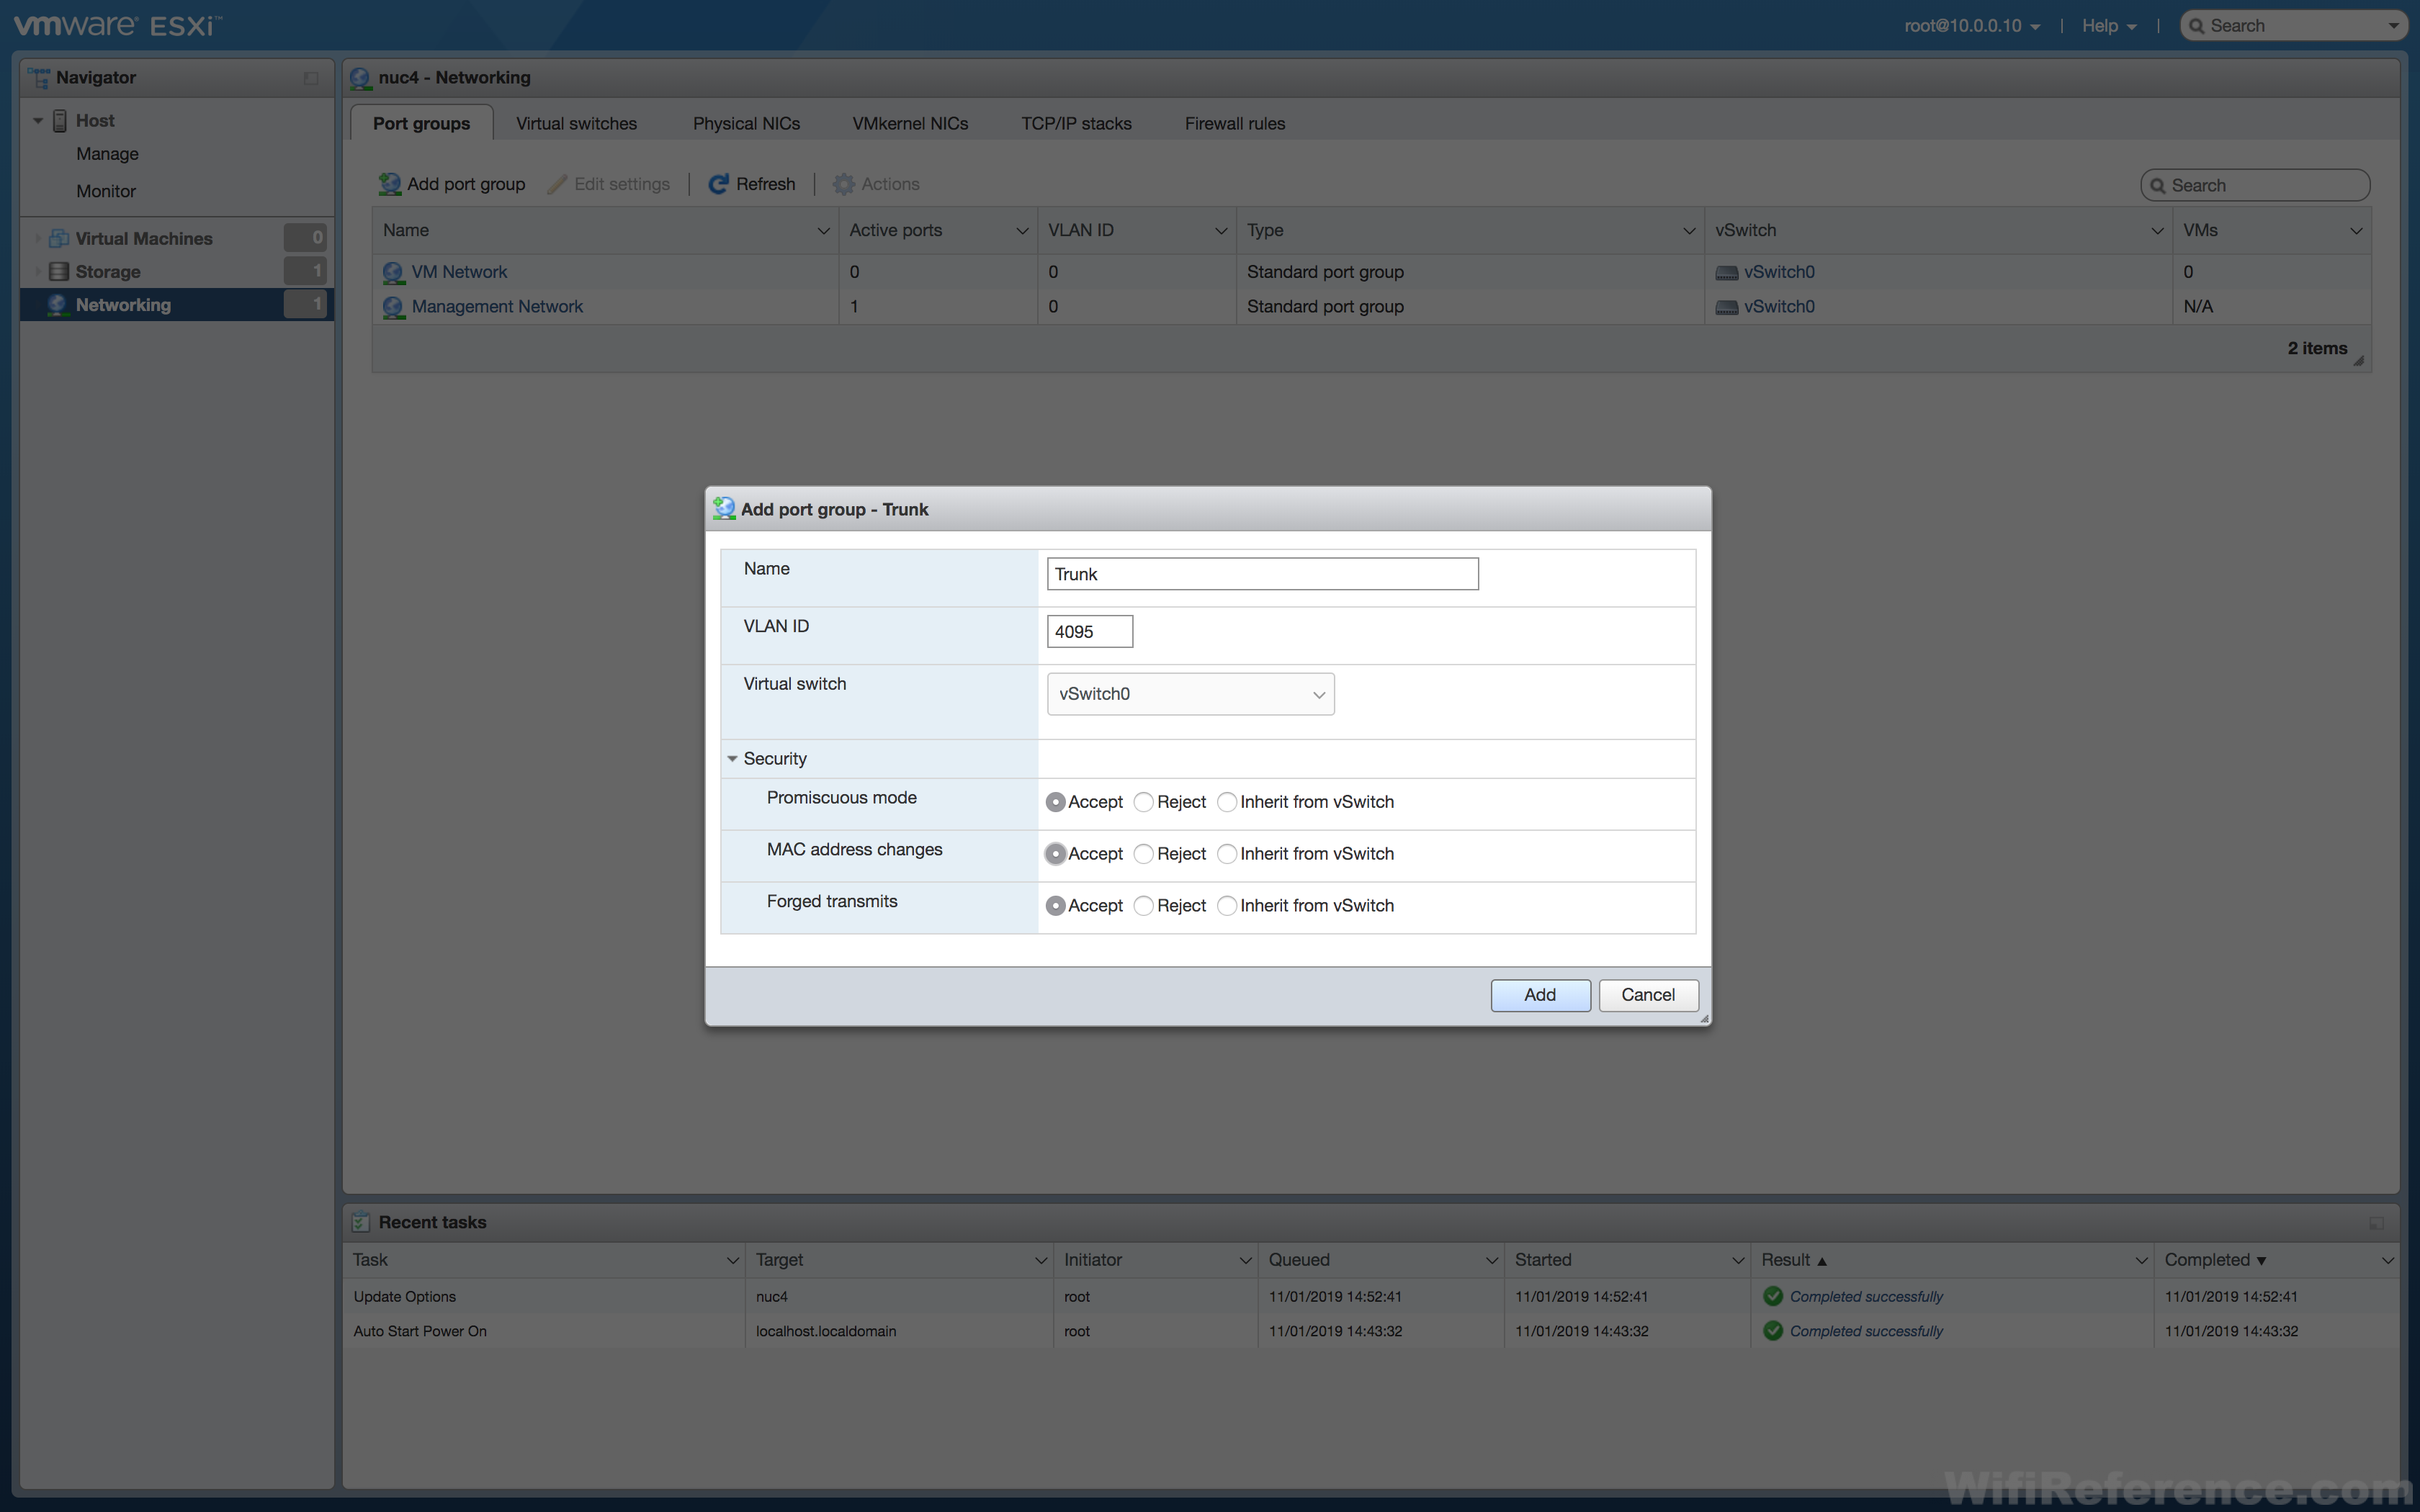
Name the port group Trunk
Set the VLAN ID to 4095 (this signifies “all vlans” or trunking in VMware)
Expand the Security section and choose “Accept” for all 3 items. This is very important.
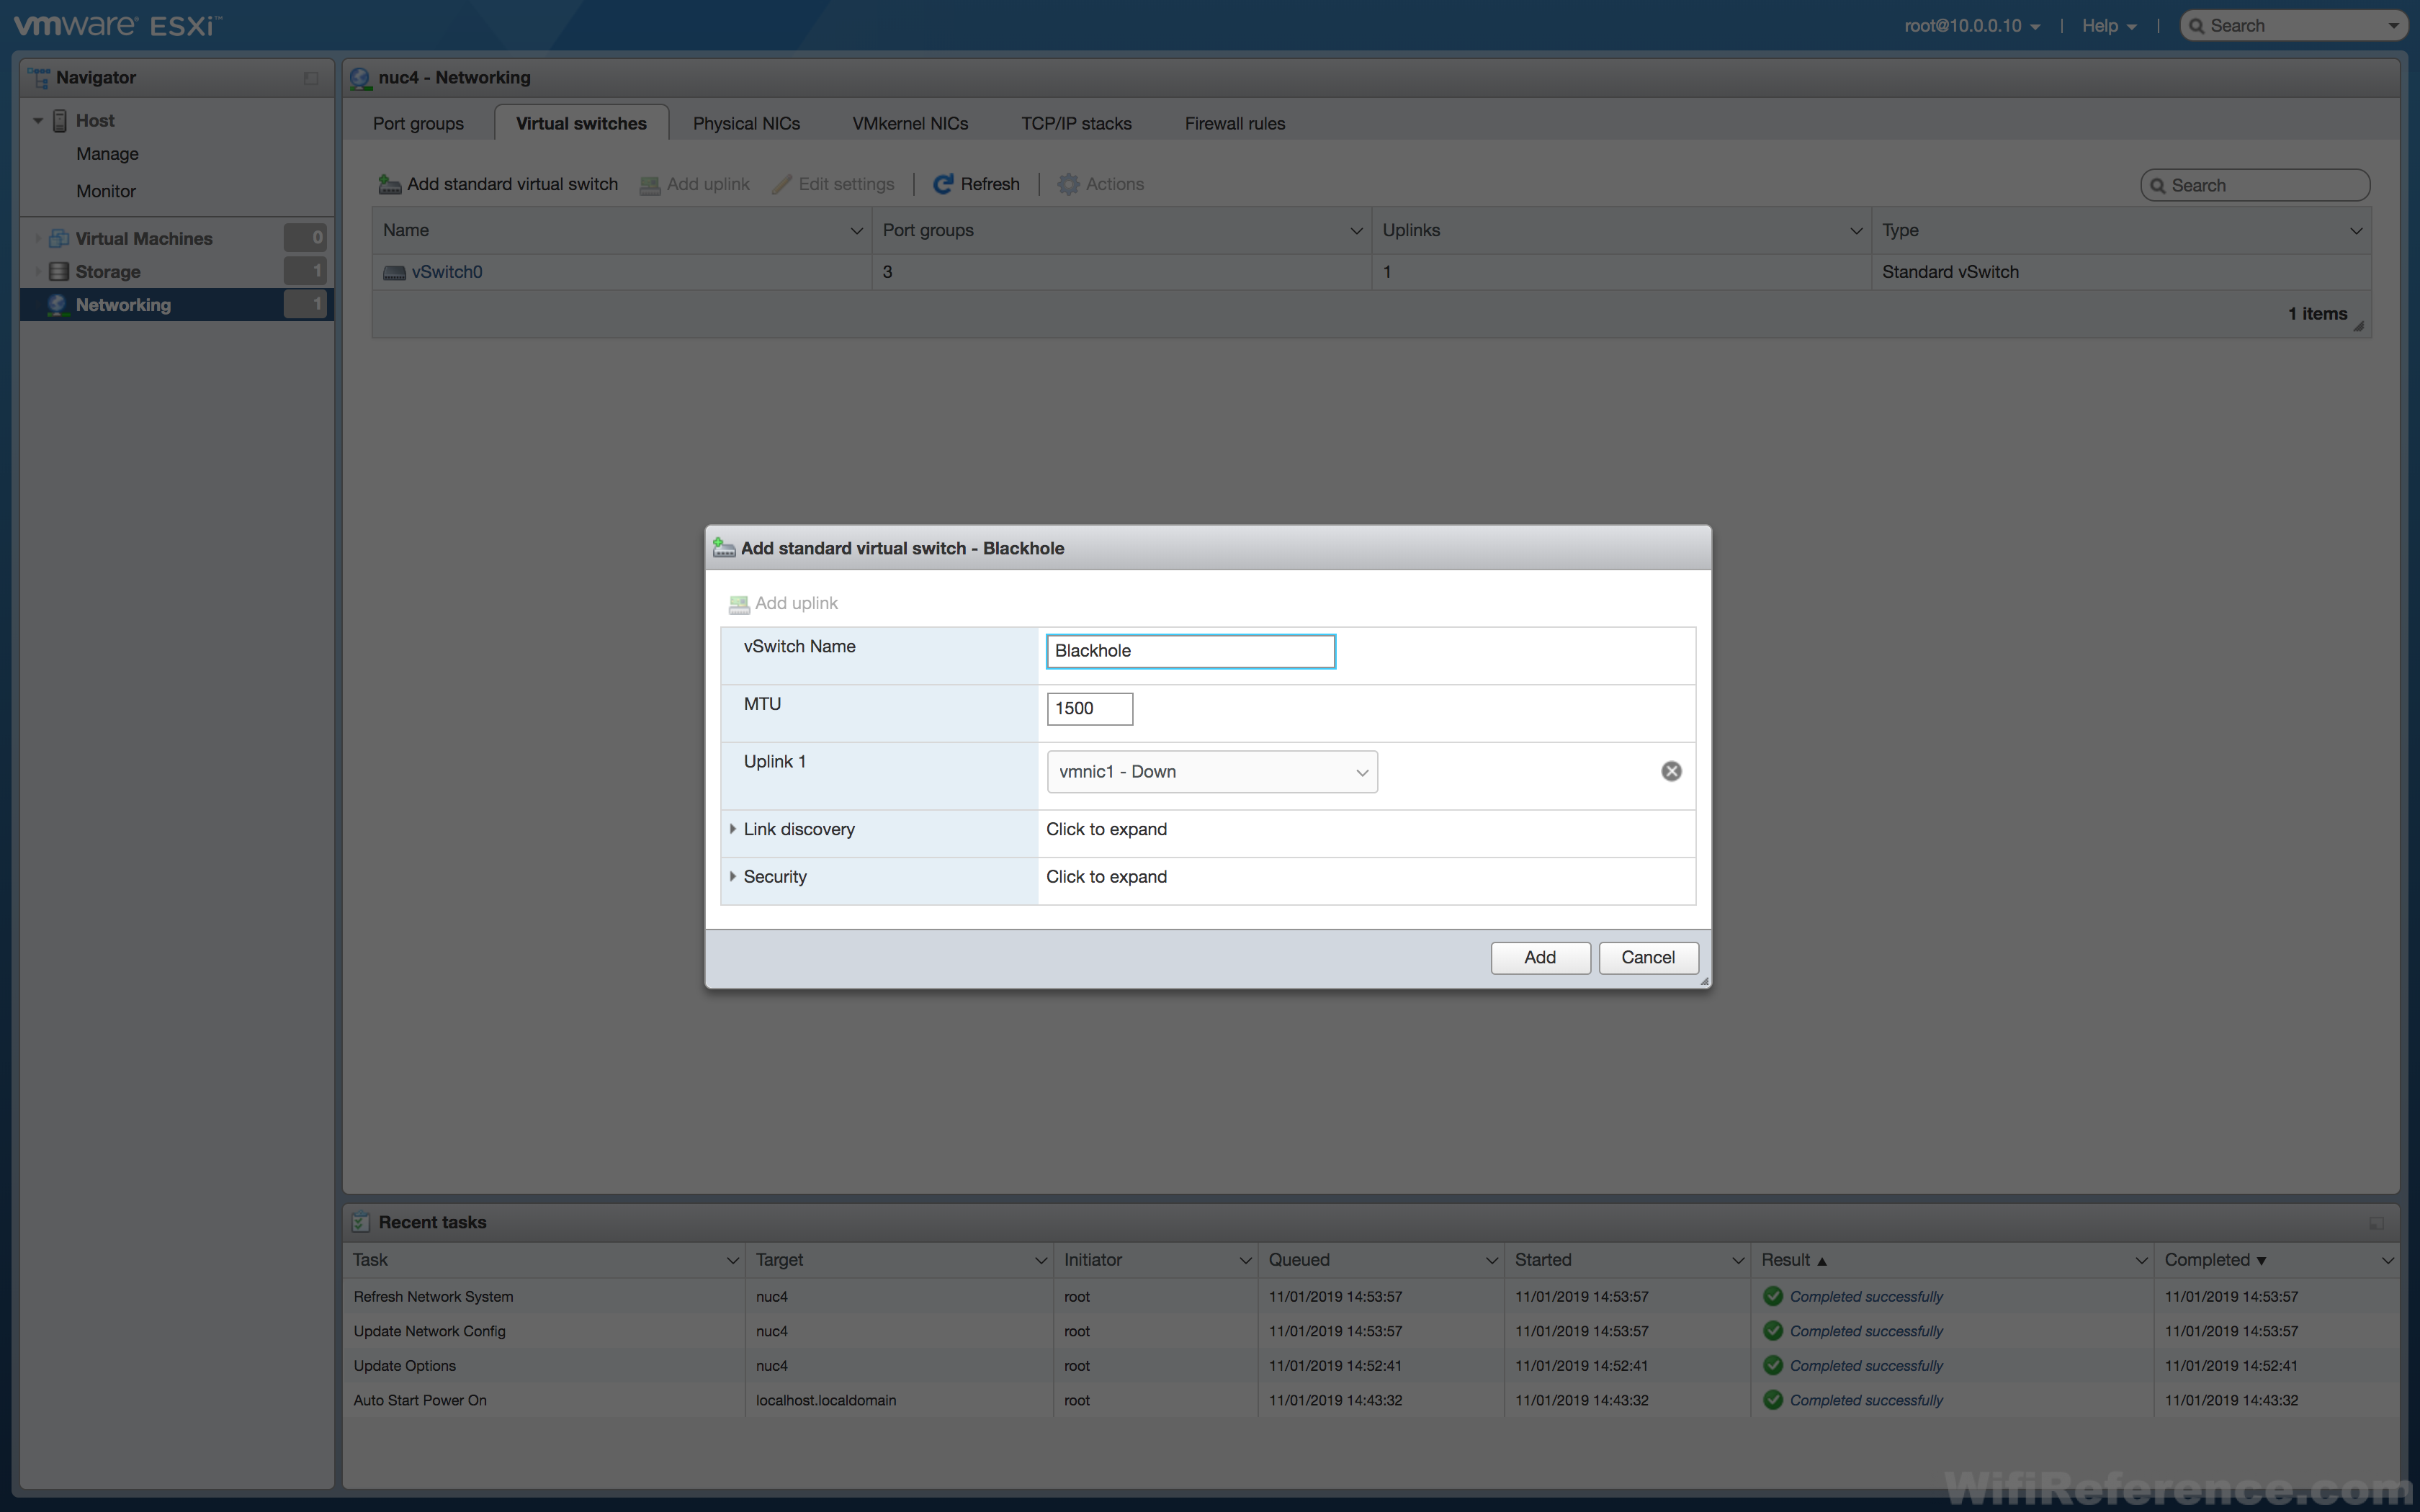
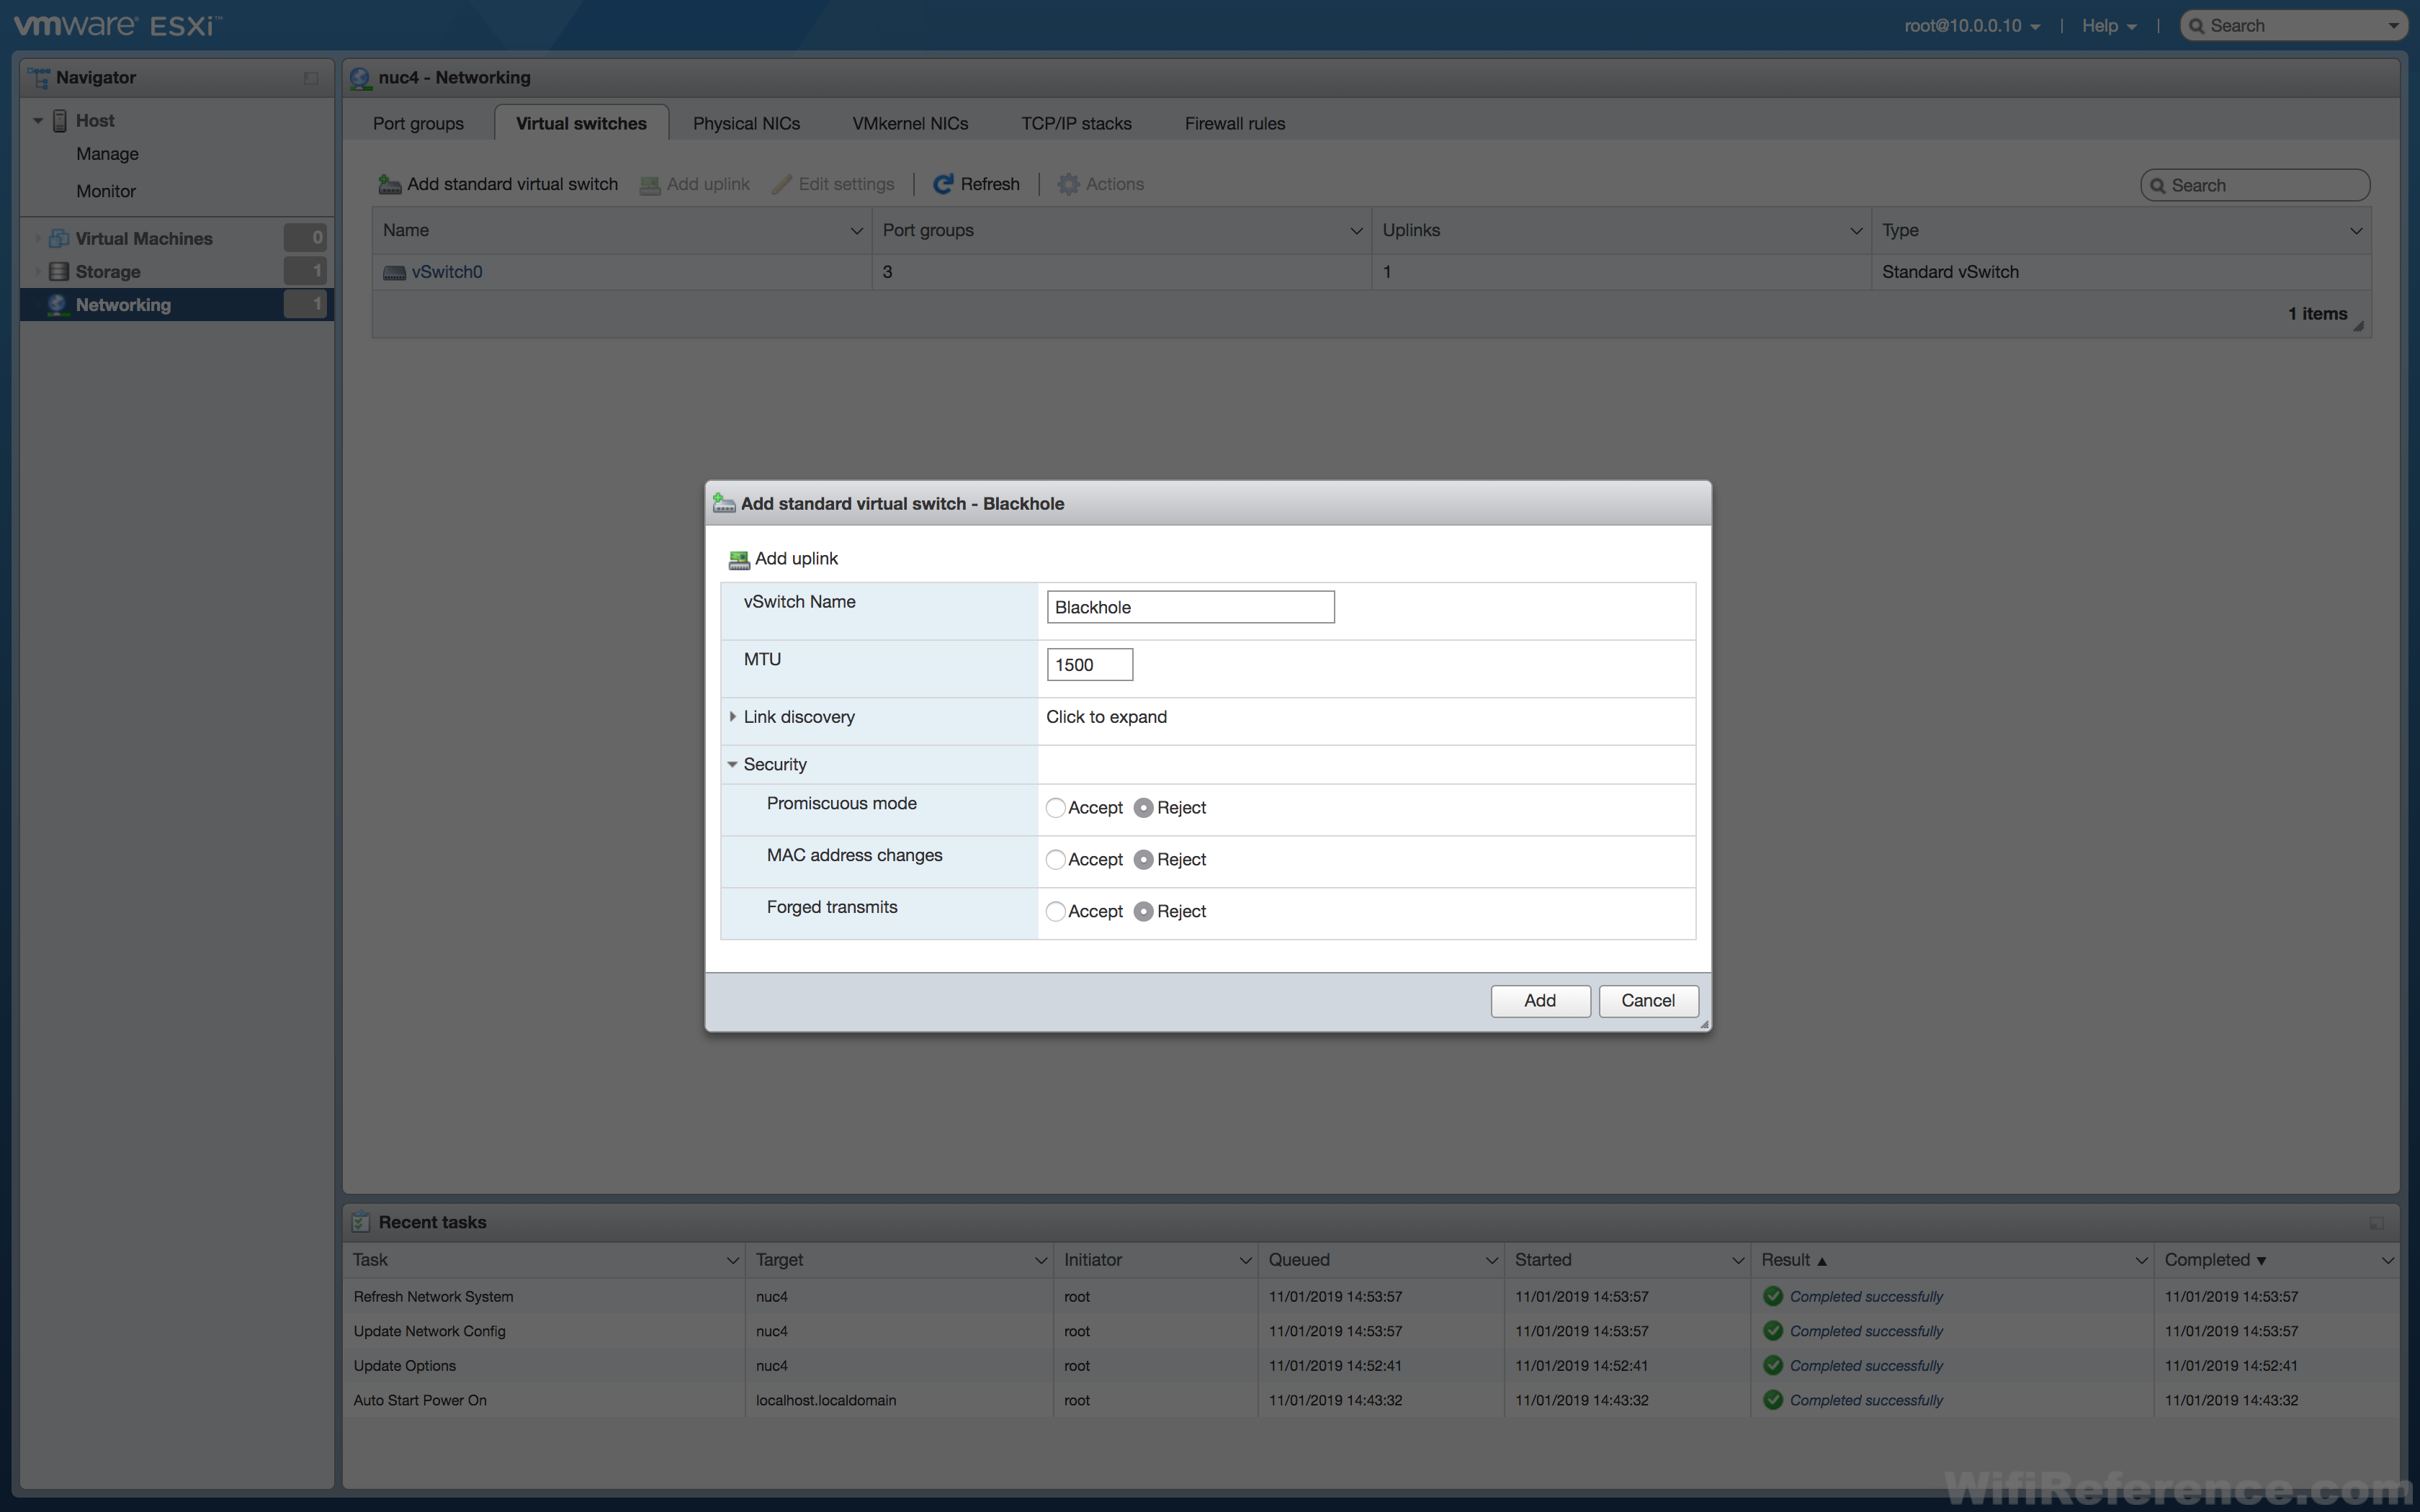
Name the vSwitch Blackhole
Do not click Add yet.
We have a few more changes to make, because the purpose of this vSwitch is to provide absolutely no network connectivity outside the vSwitch itself. The SSO heartbeat messages between the controllers only need to be able to communicate with each other; they should not have network connectivity outside of that.

Note: You may not see this if you do not have more than one physical NIC on the NUC you are working with. It’s ok if you don’t have an uplink listed here.
Don’t click Add yet.
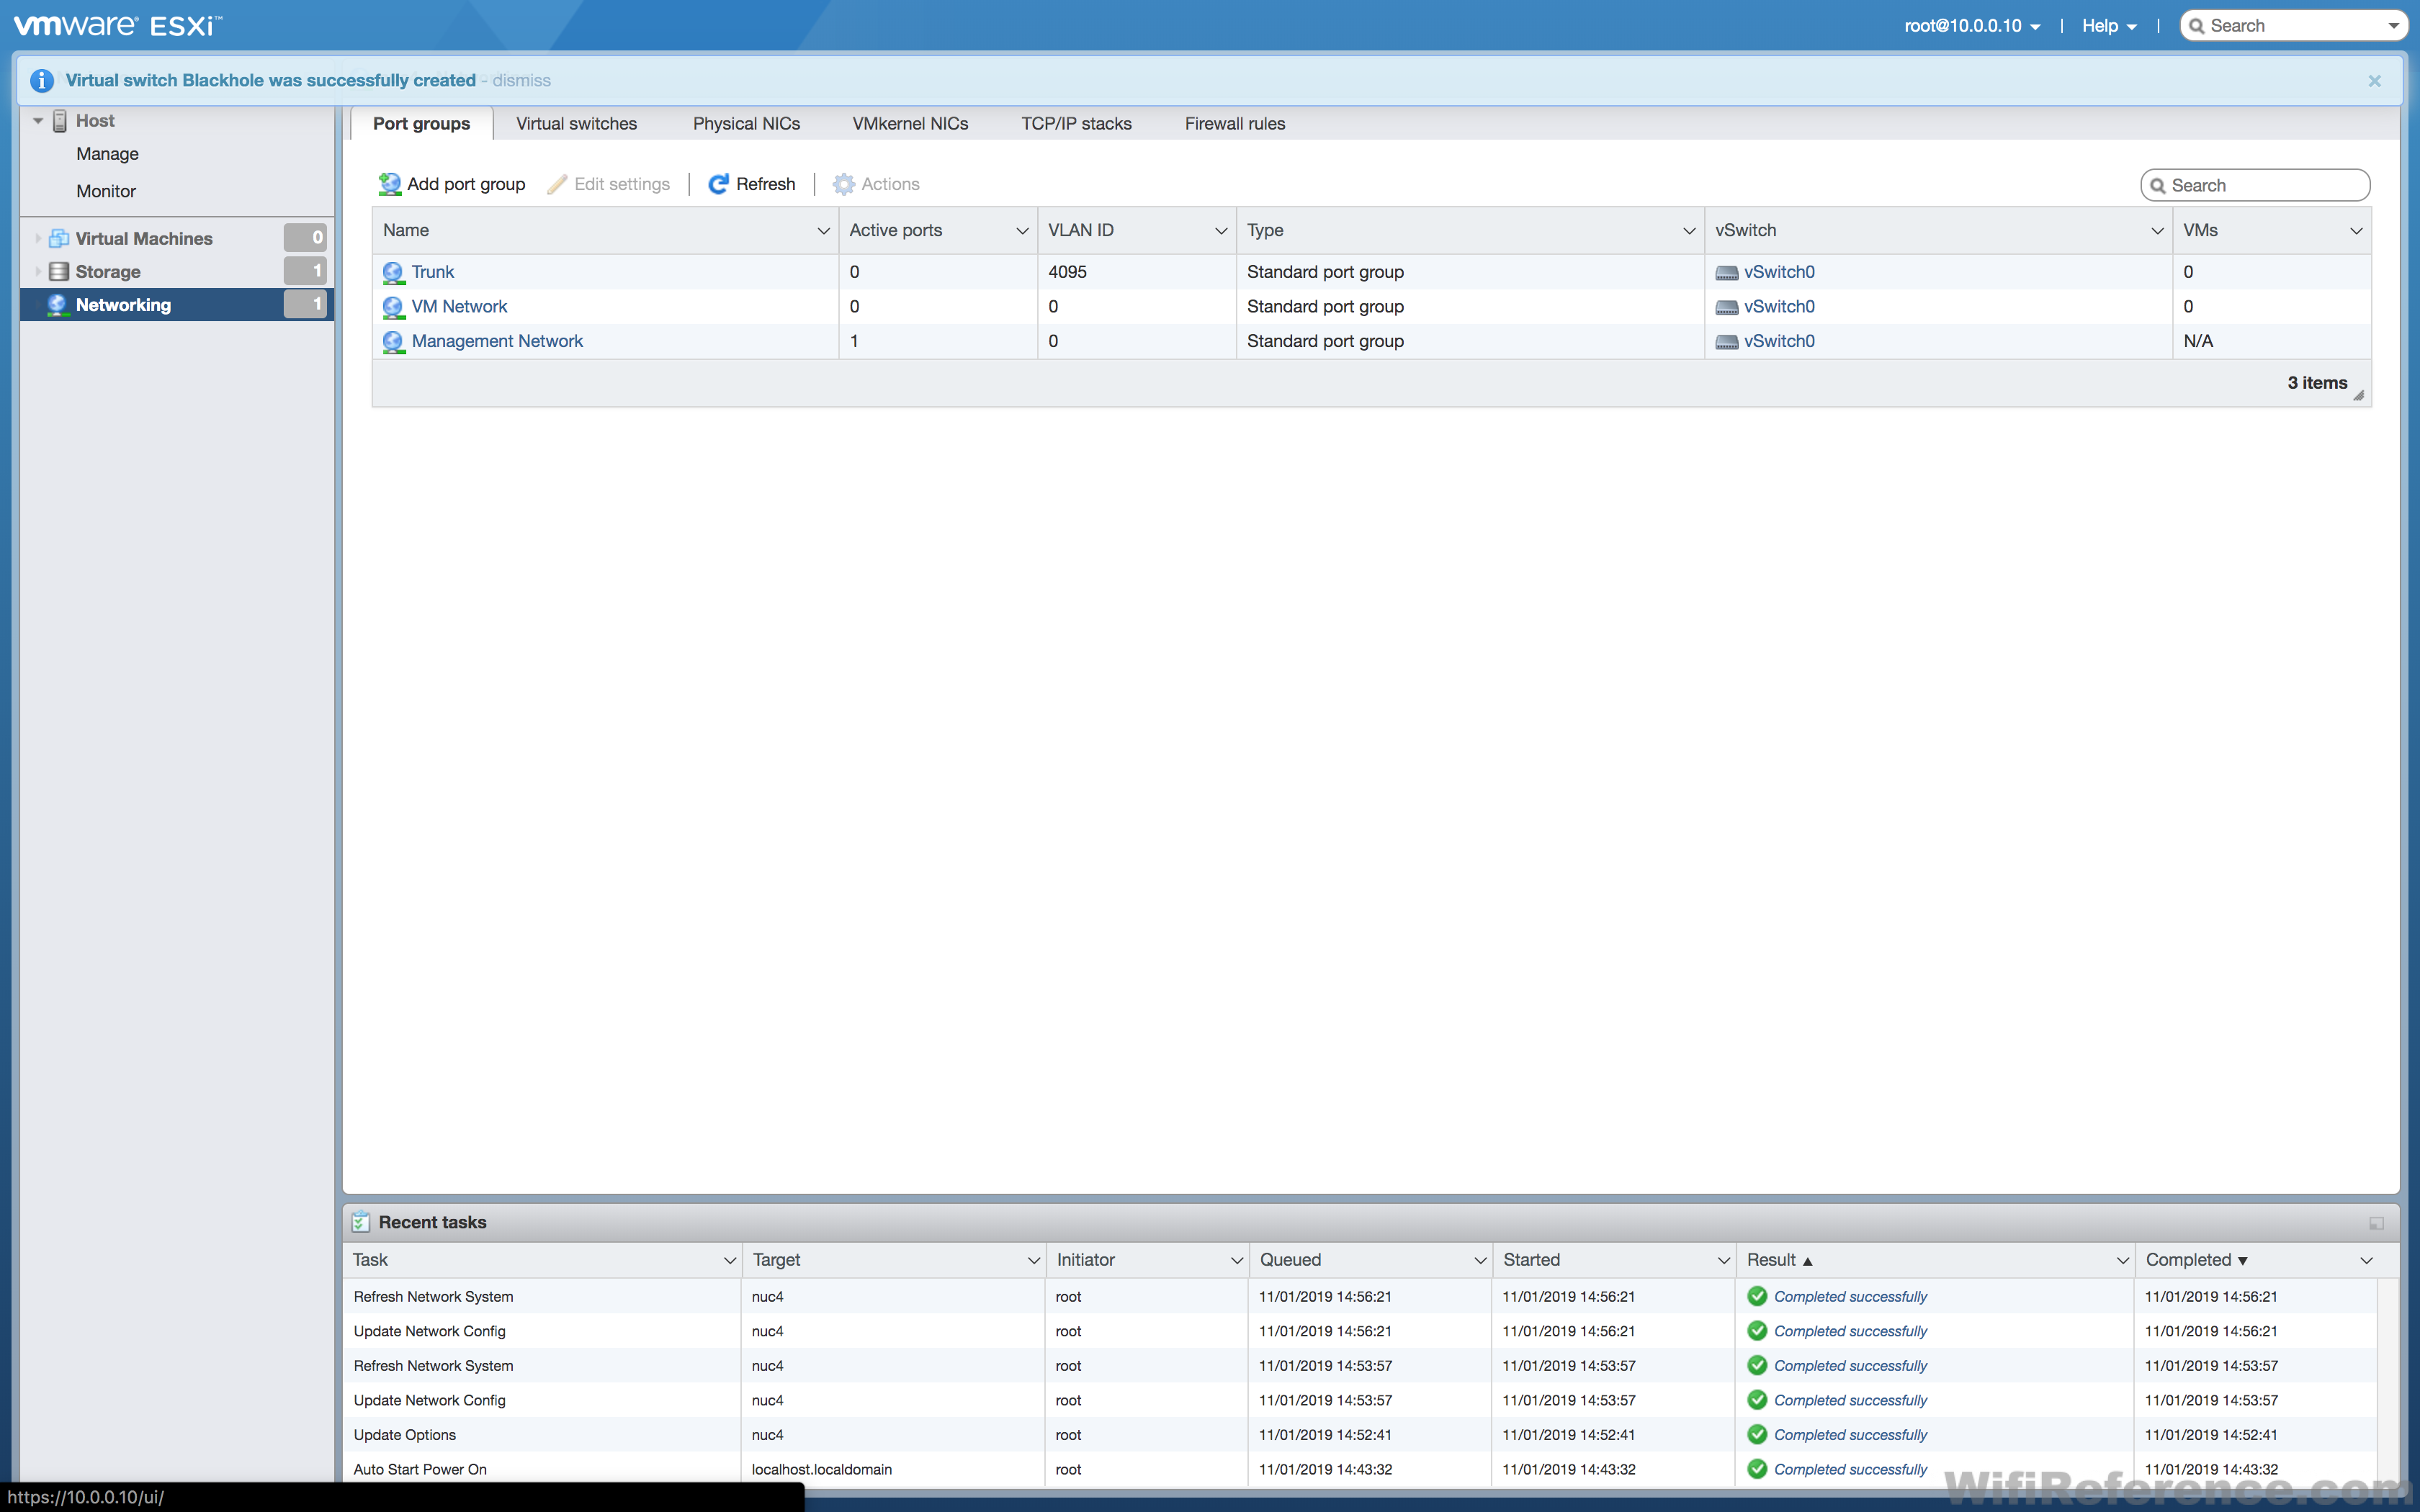
Click Add.
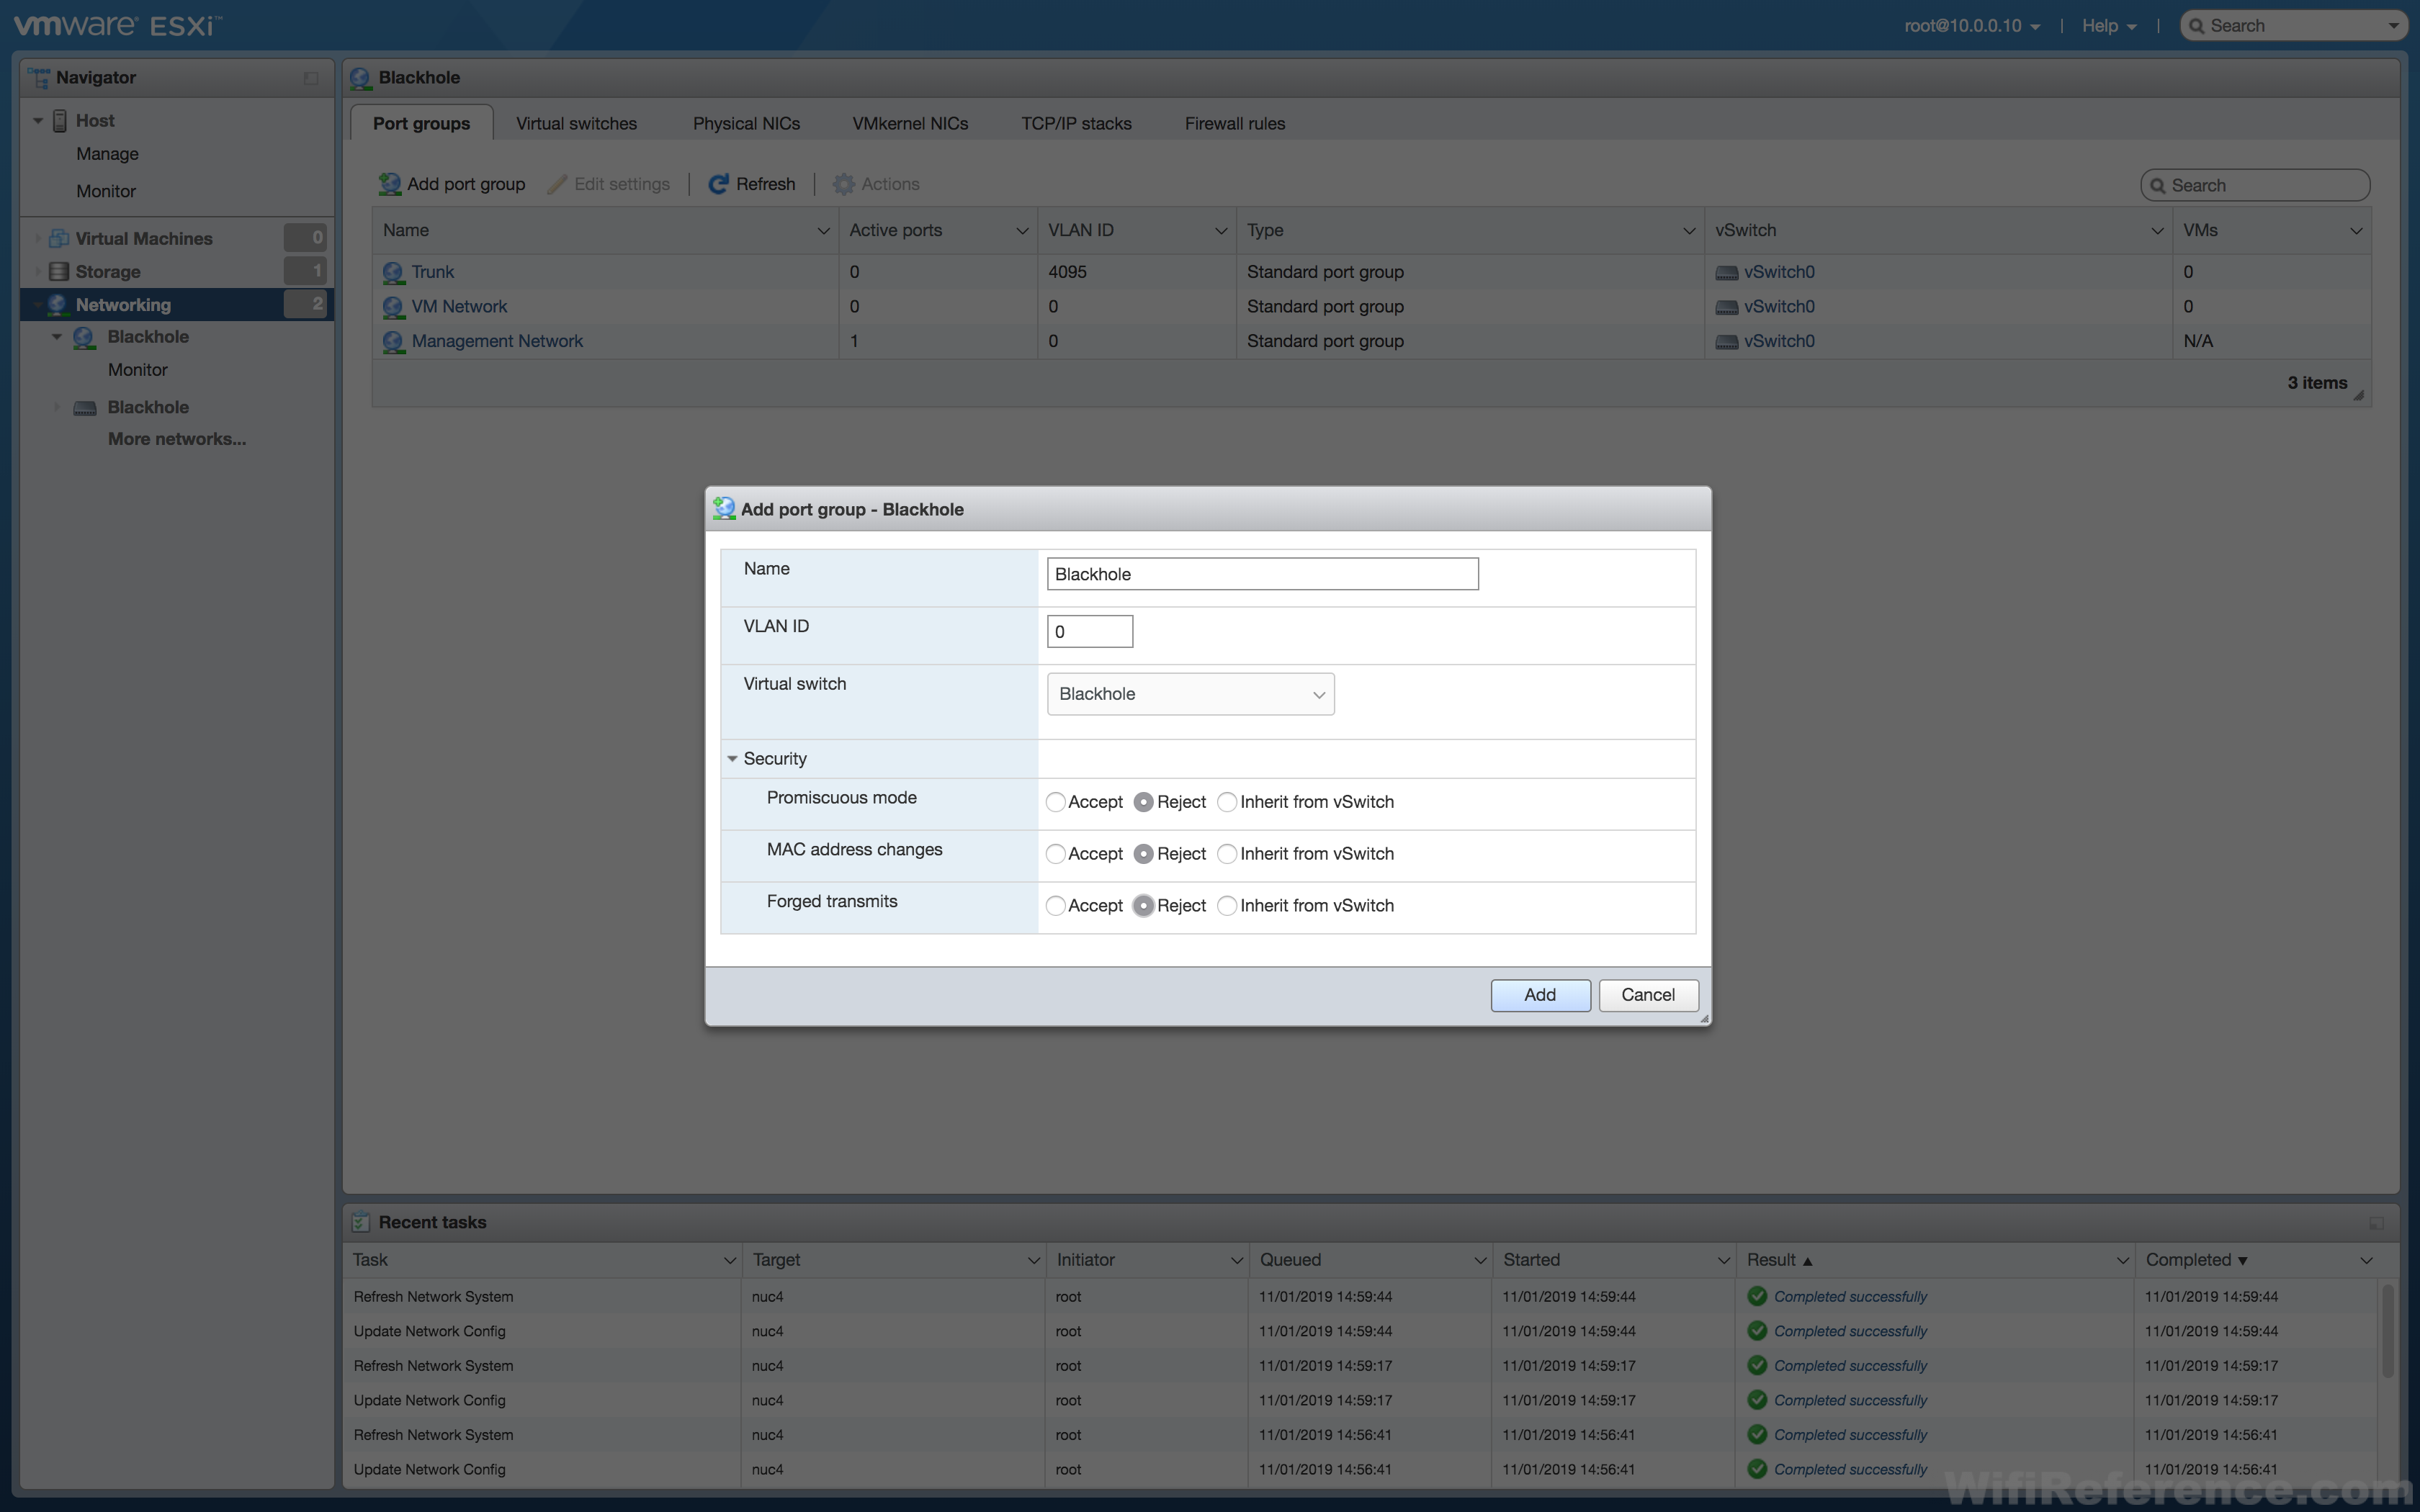
This port group will be used for HA SSO, in the event that you want to use/test it.
Name the port group Blackhole
Set the vSwitch to the Blackhole vSwitch you created earlier
Expand the Security section and choose “Reject” for all 3 items
Click Add.
Deploying the Catalyst 9800-CL OVA in ESXi on the NUC
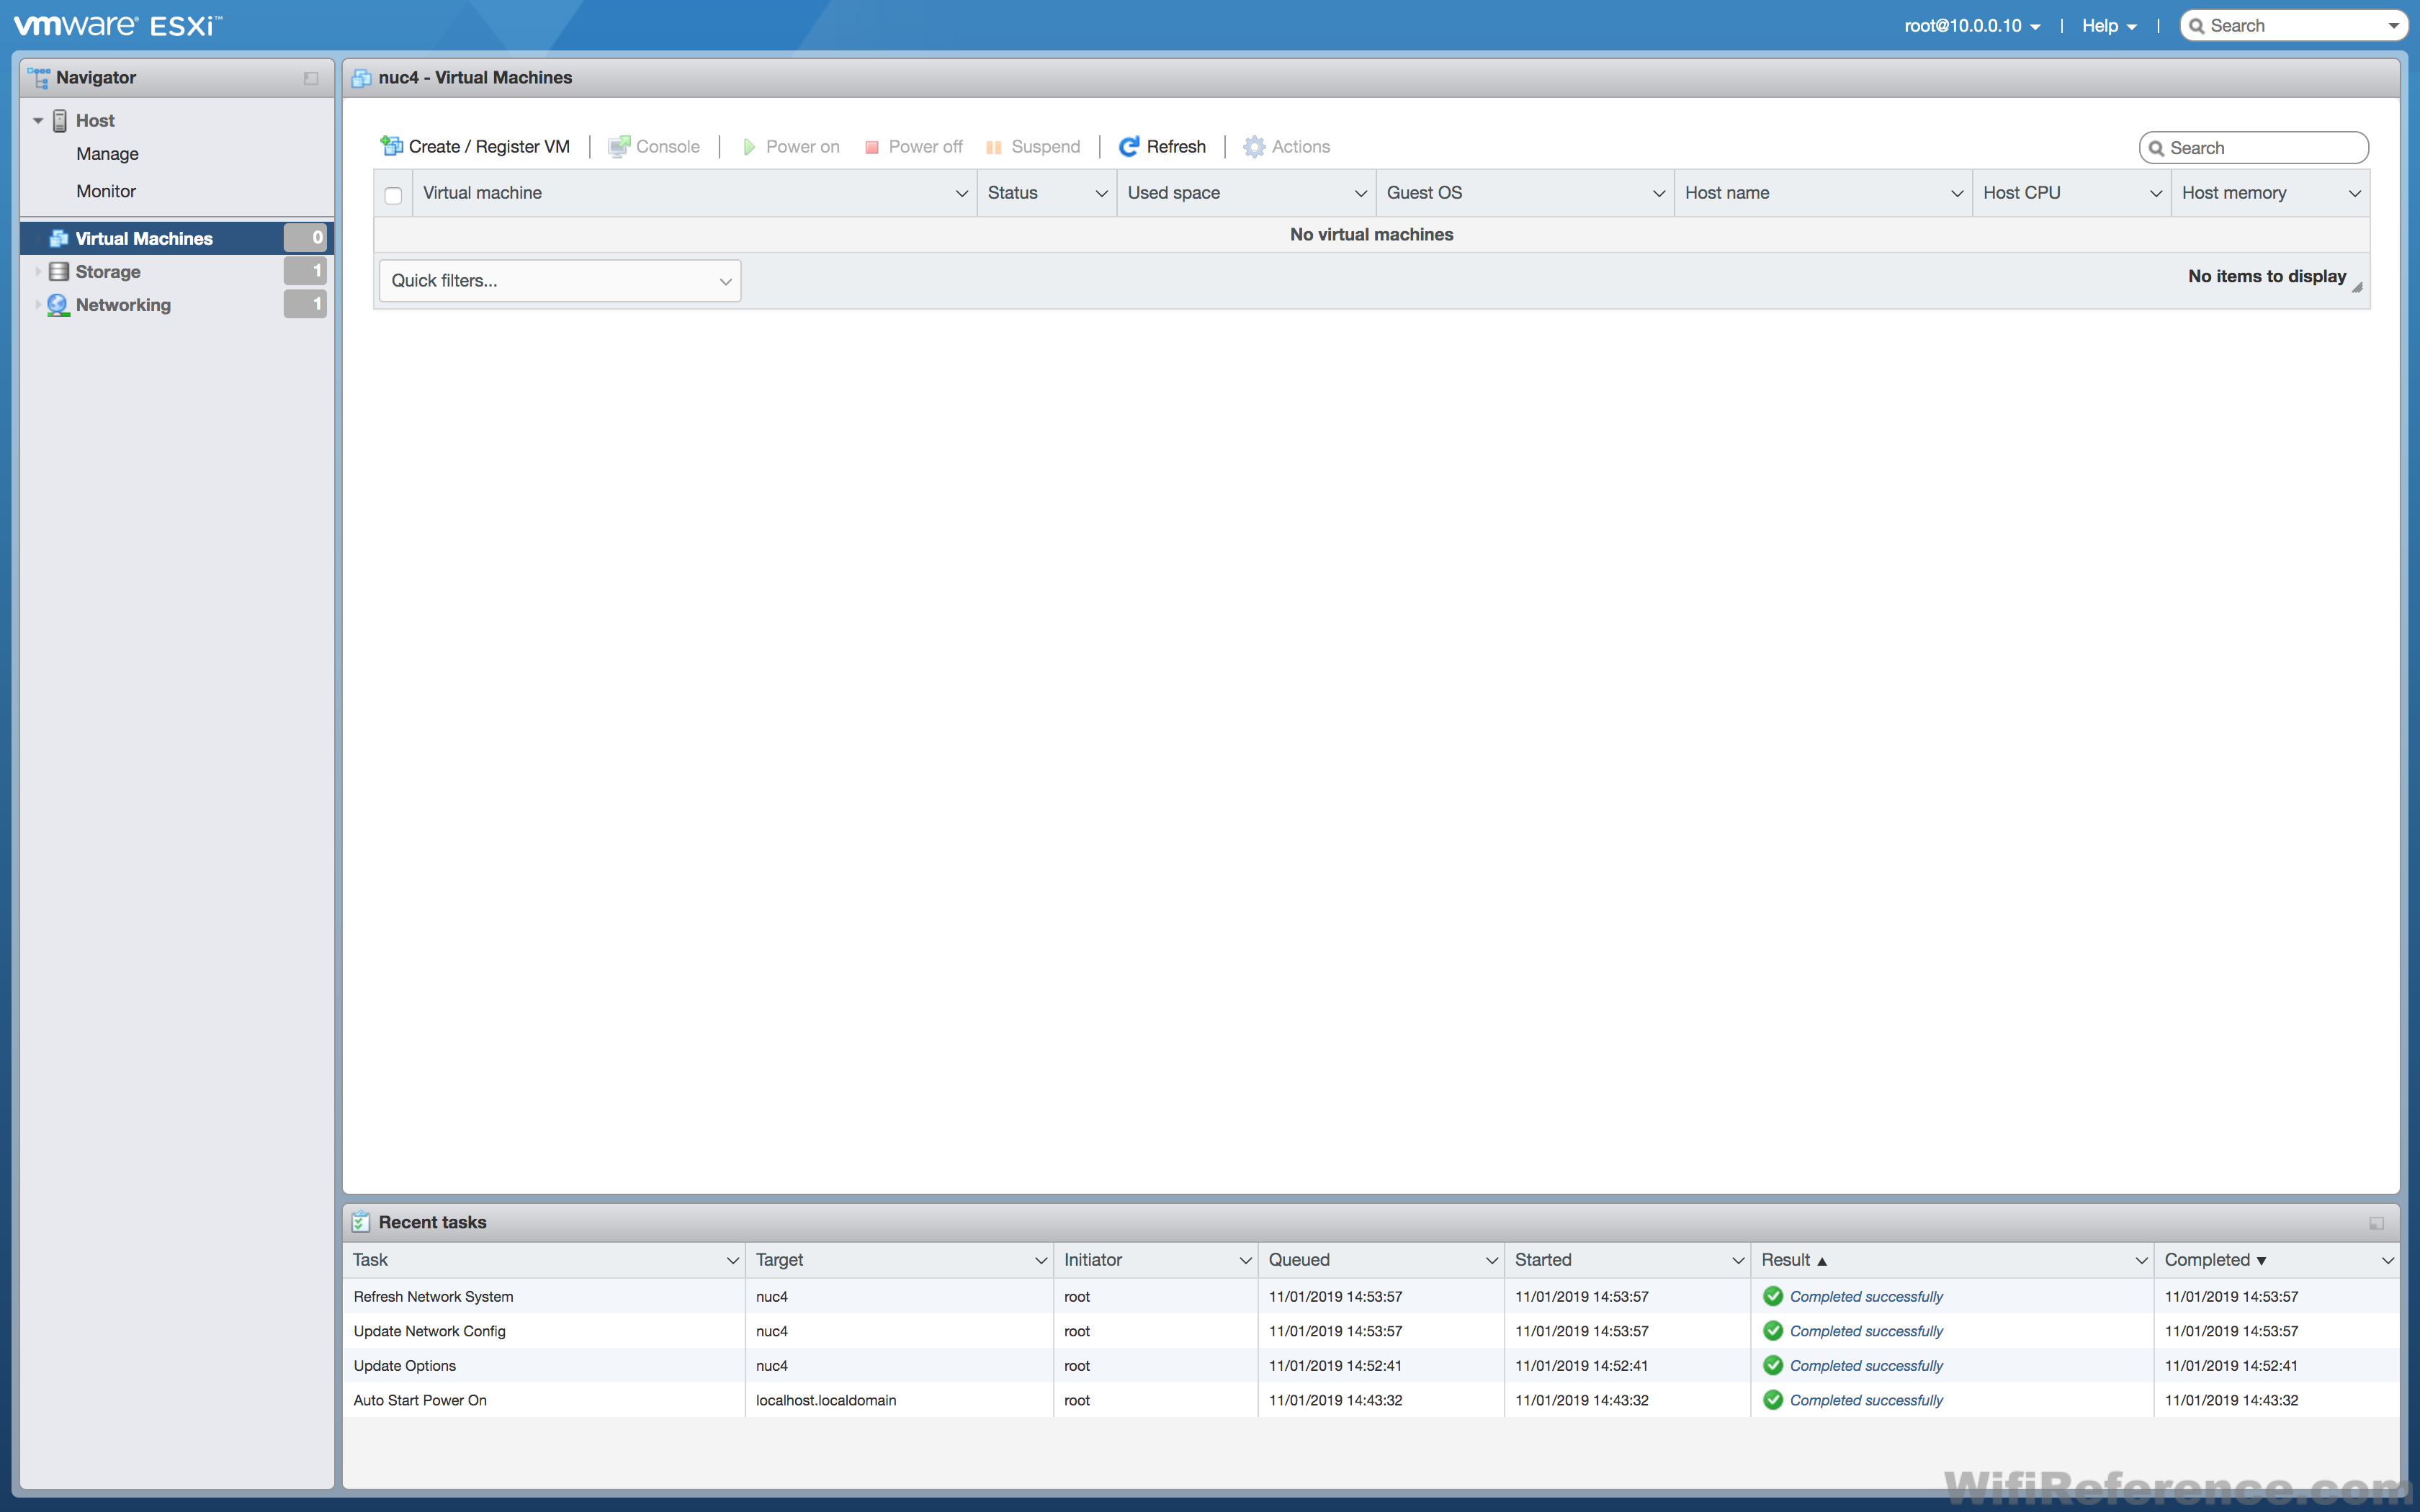
Click Create/Register VM.
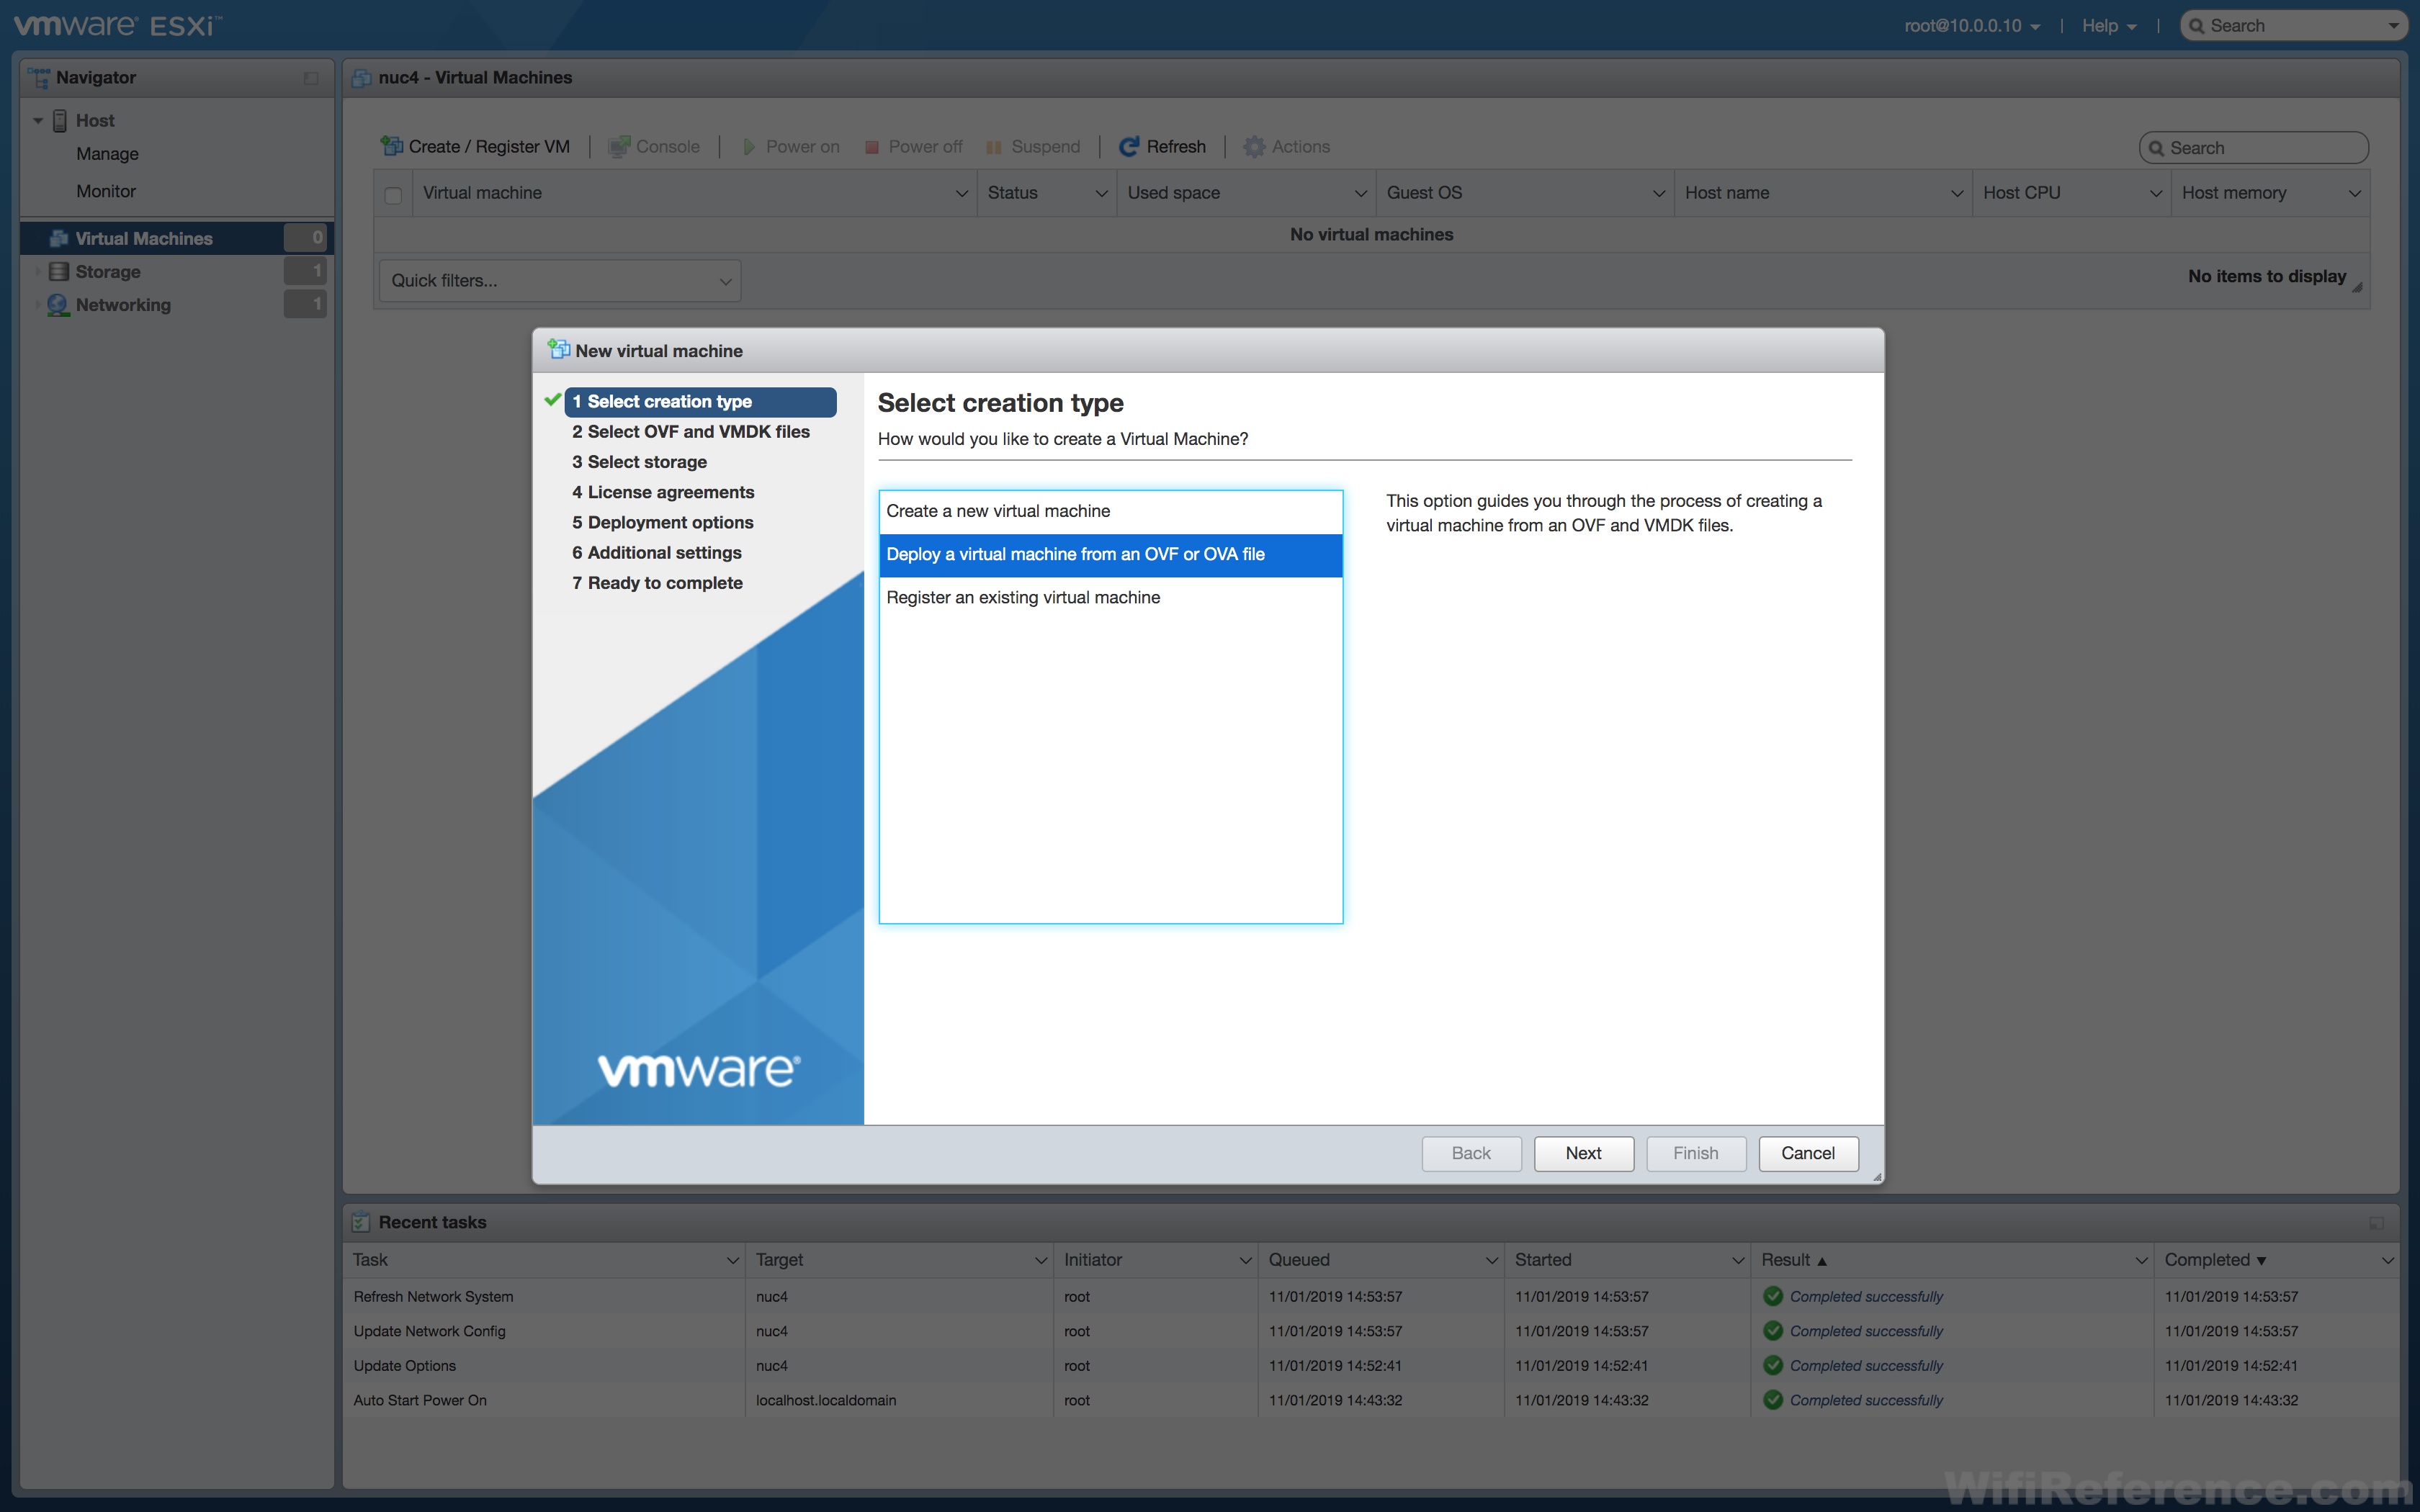
Click Next
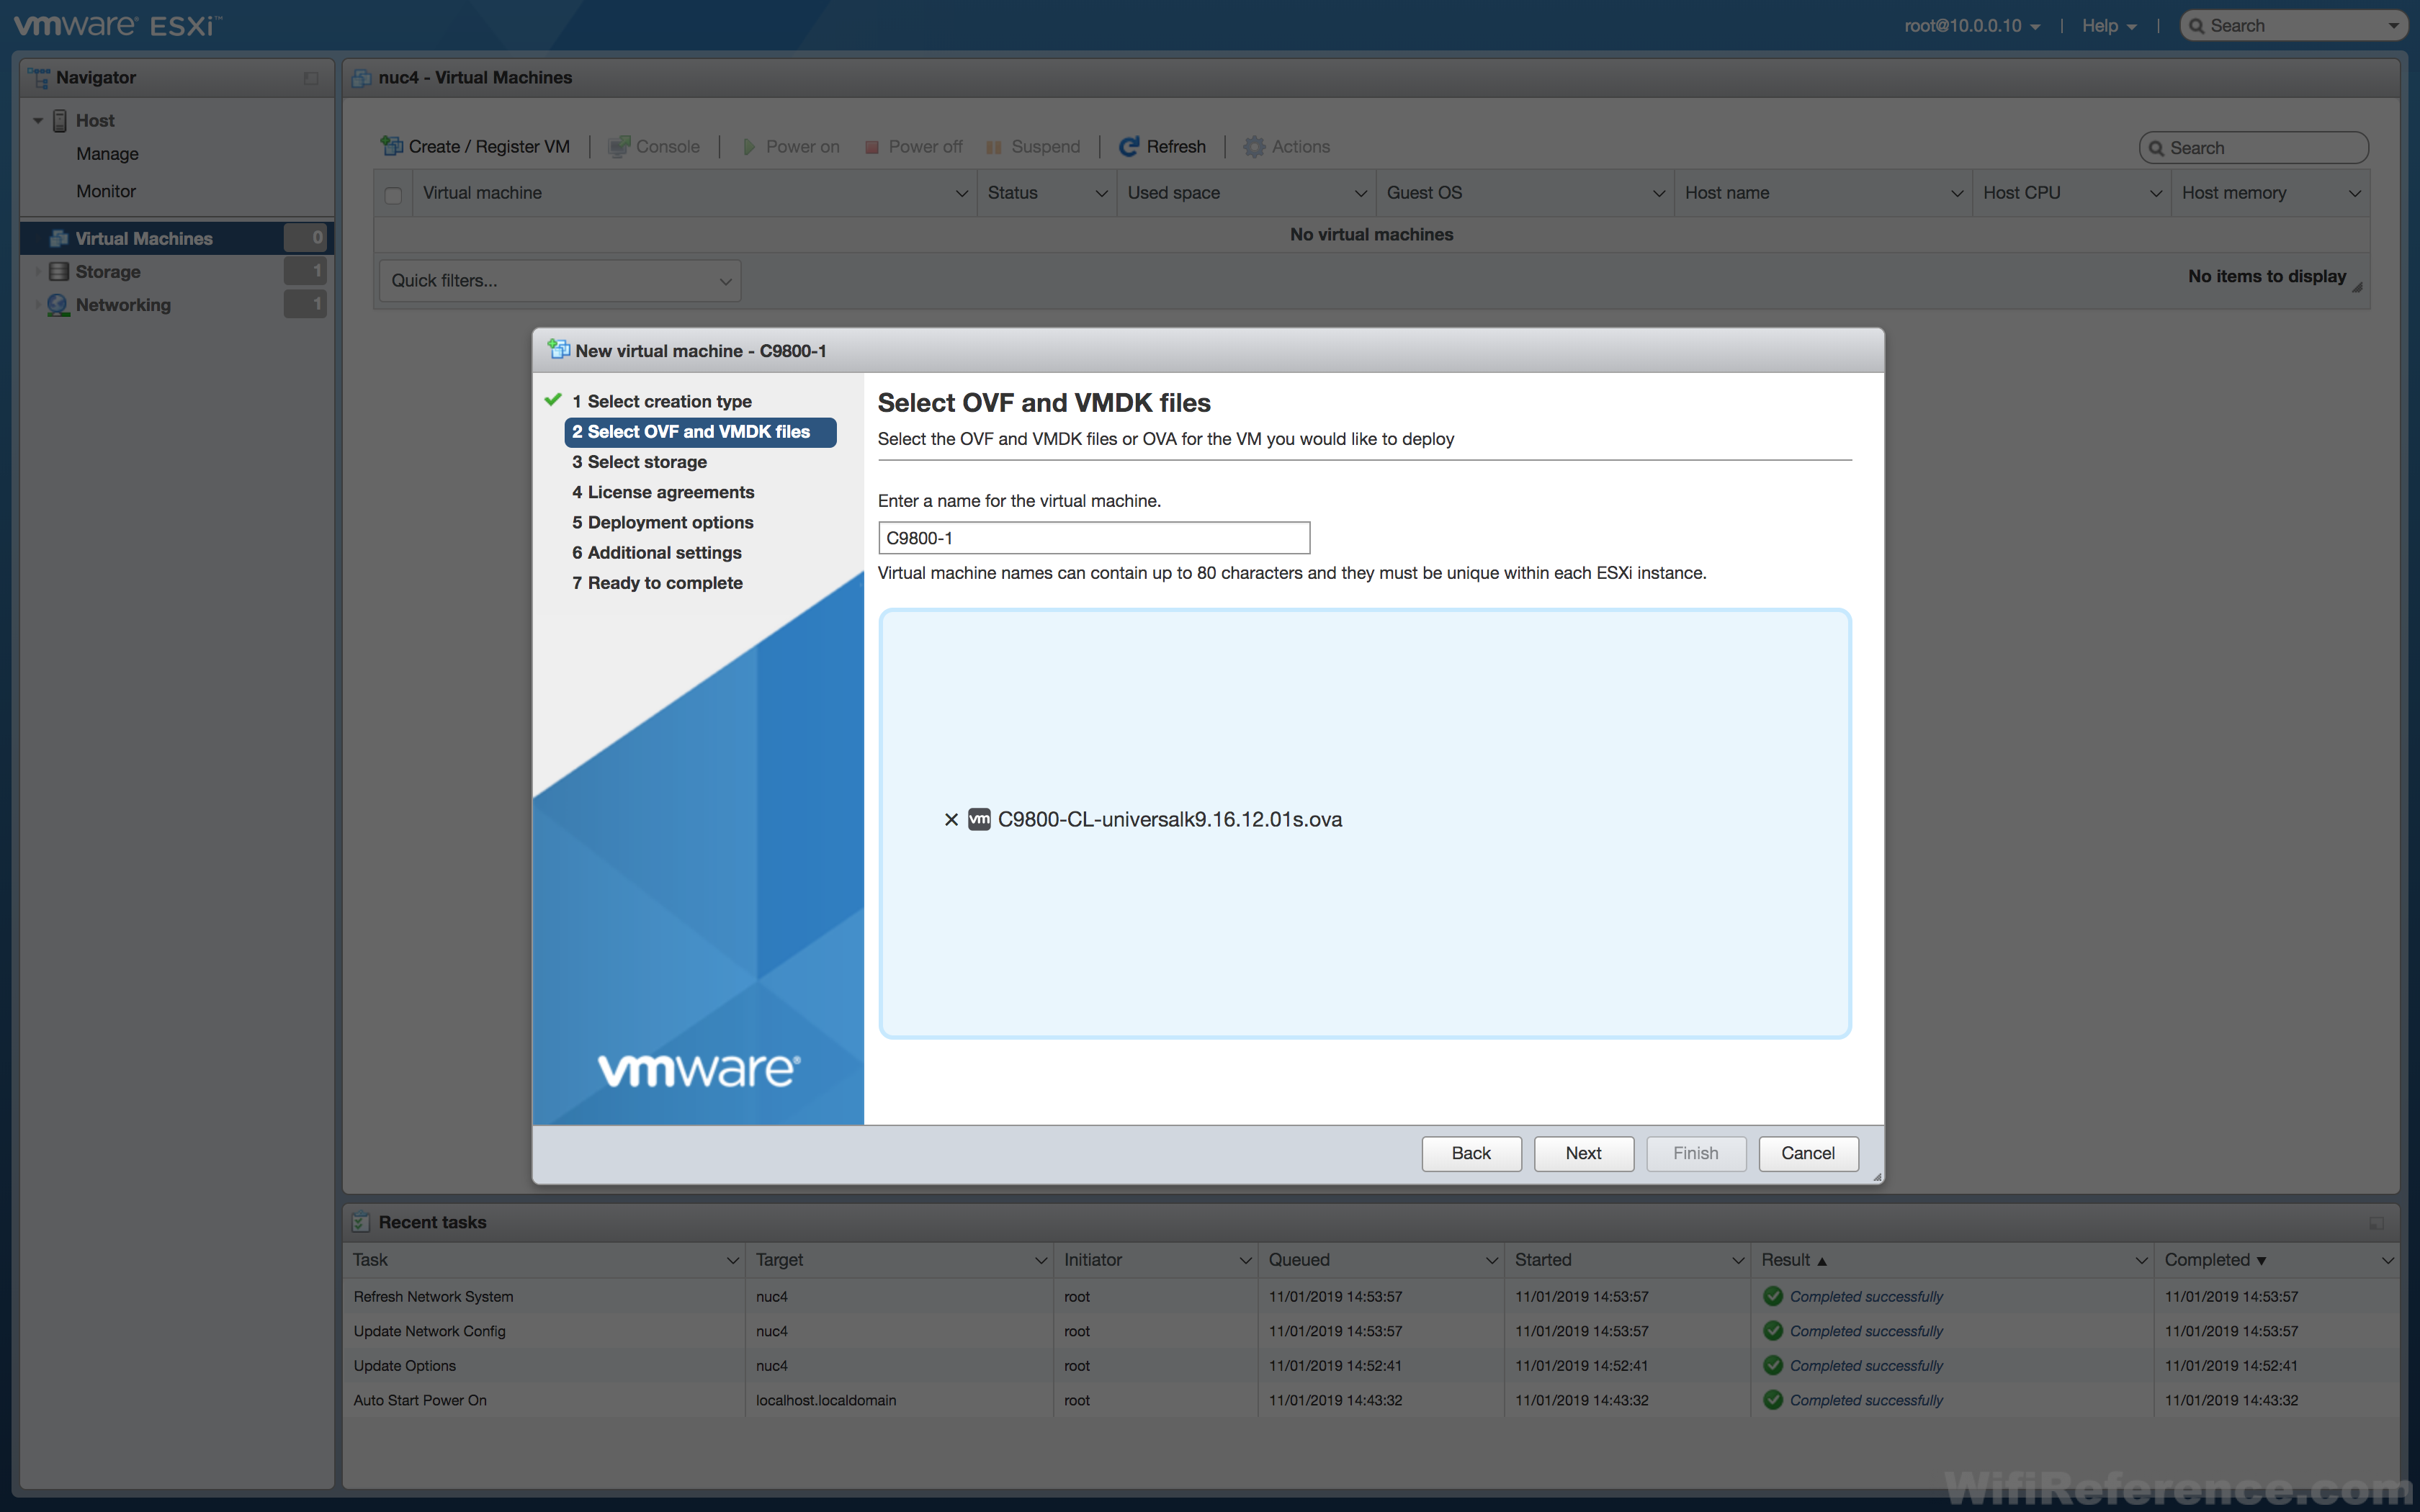
Select or drag the OVA file that you downloaded earlier.
Click Next
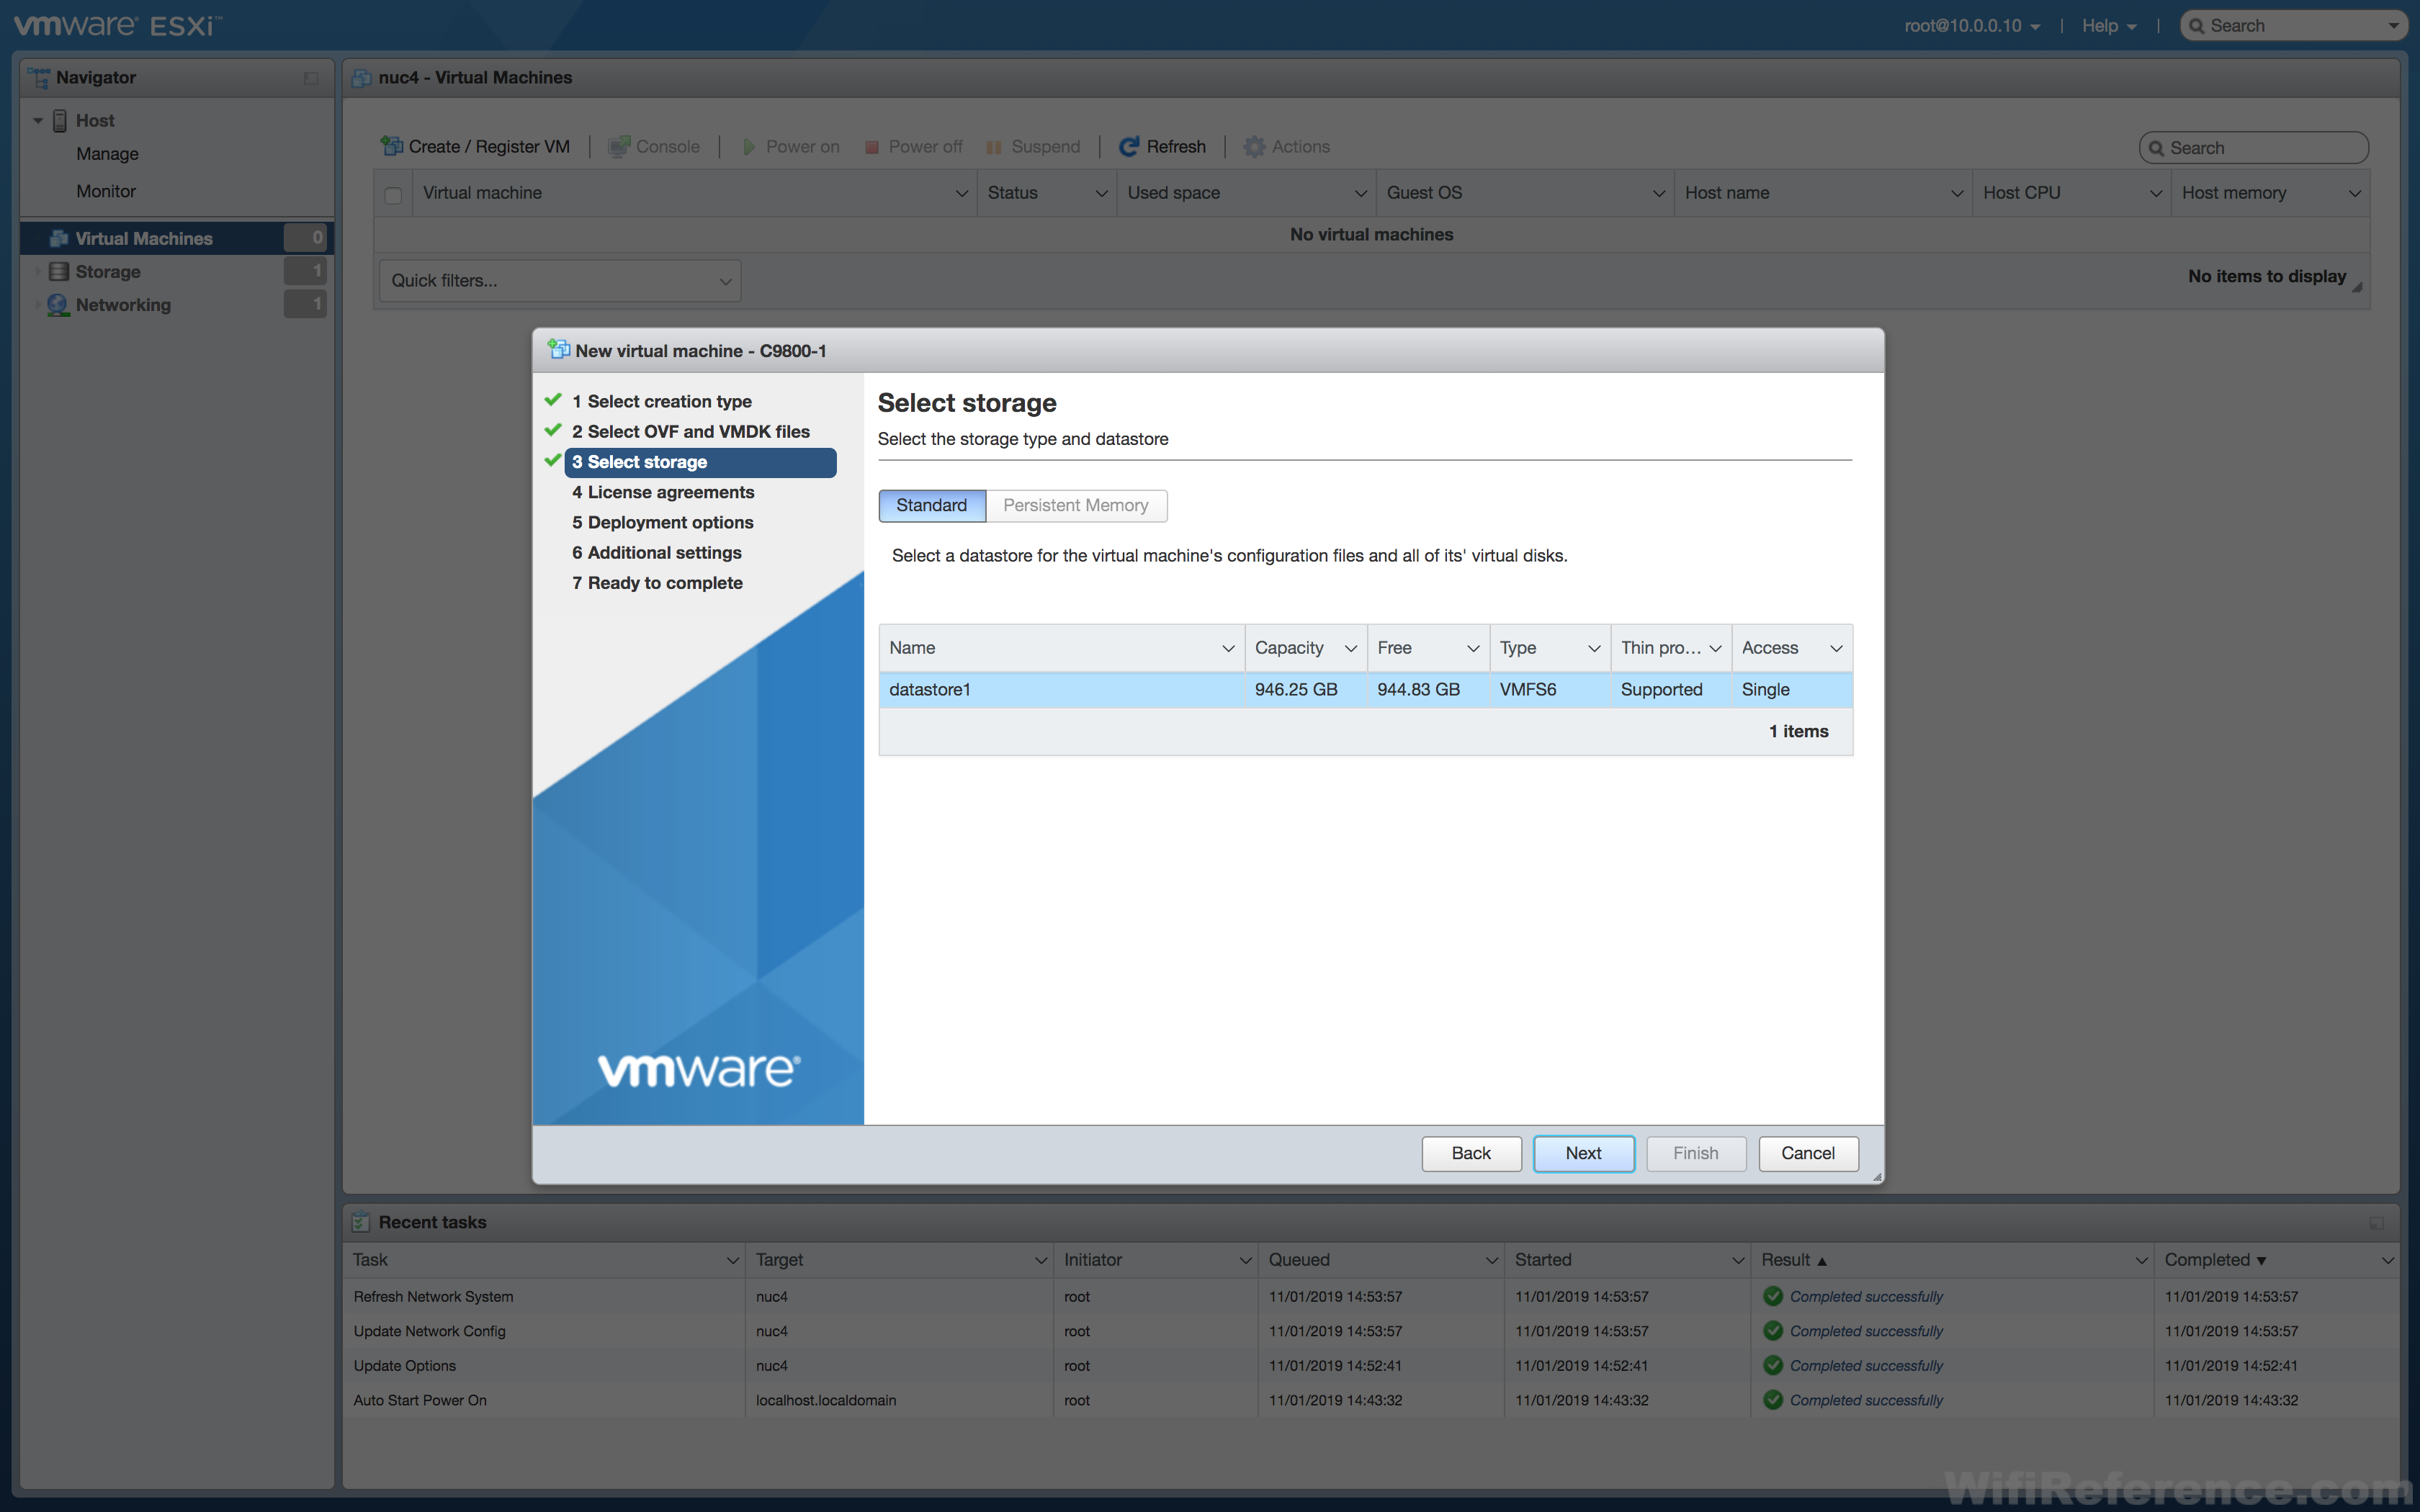
Click Next
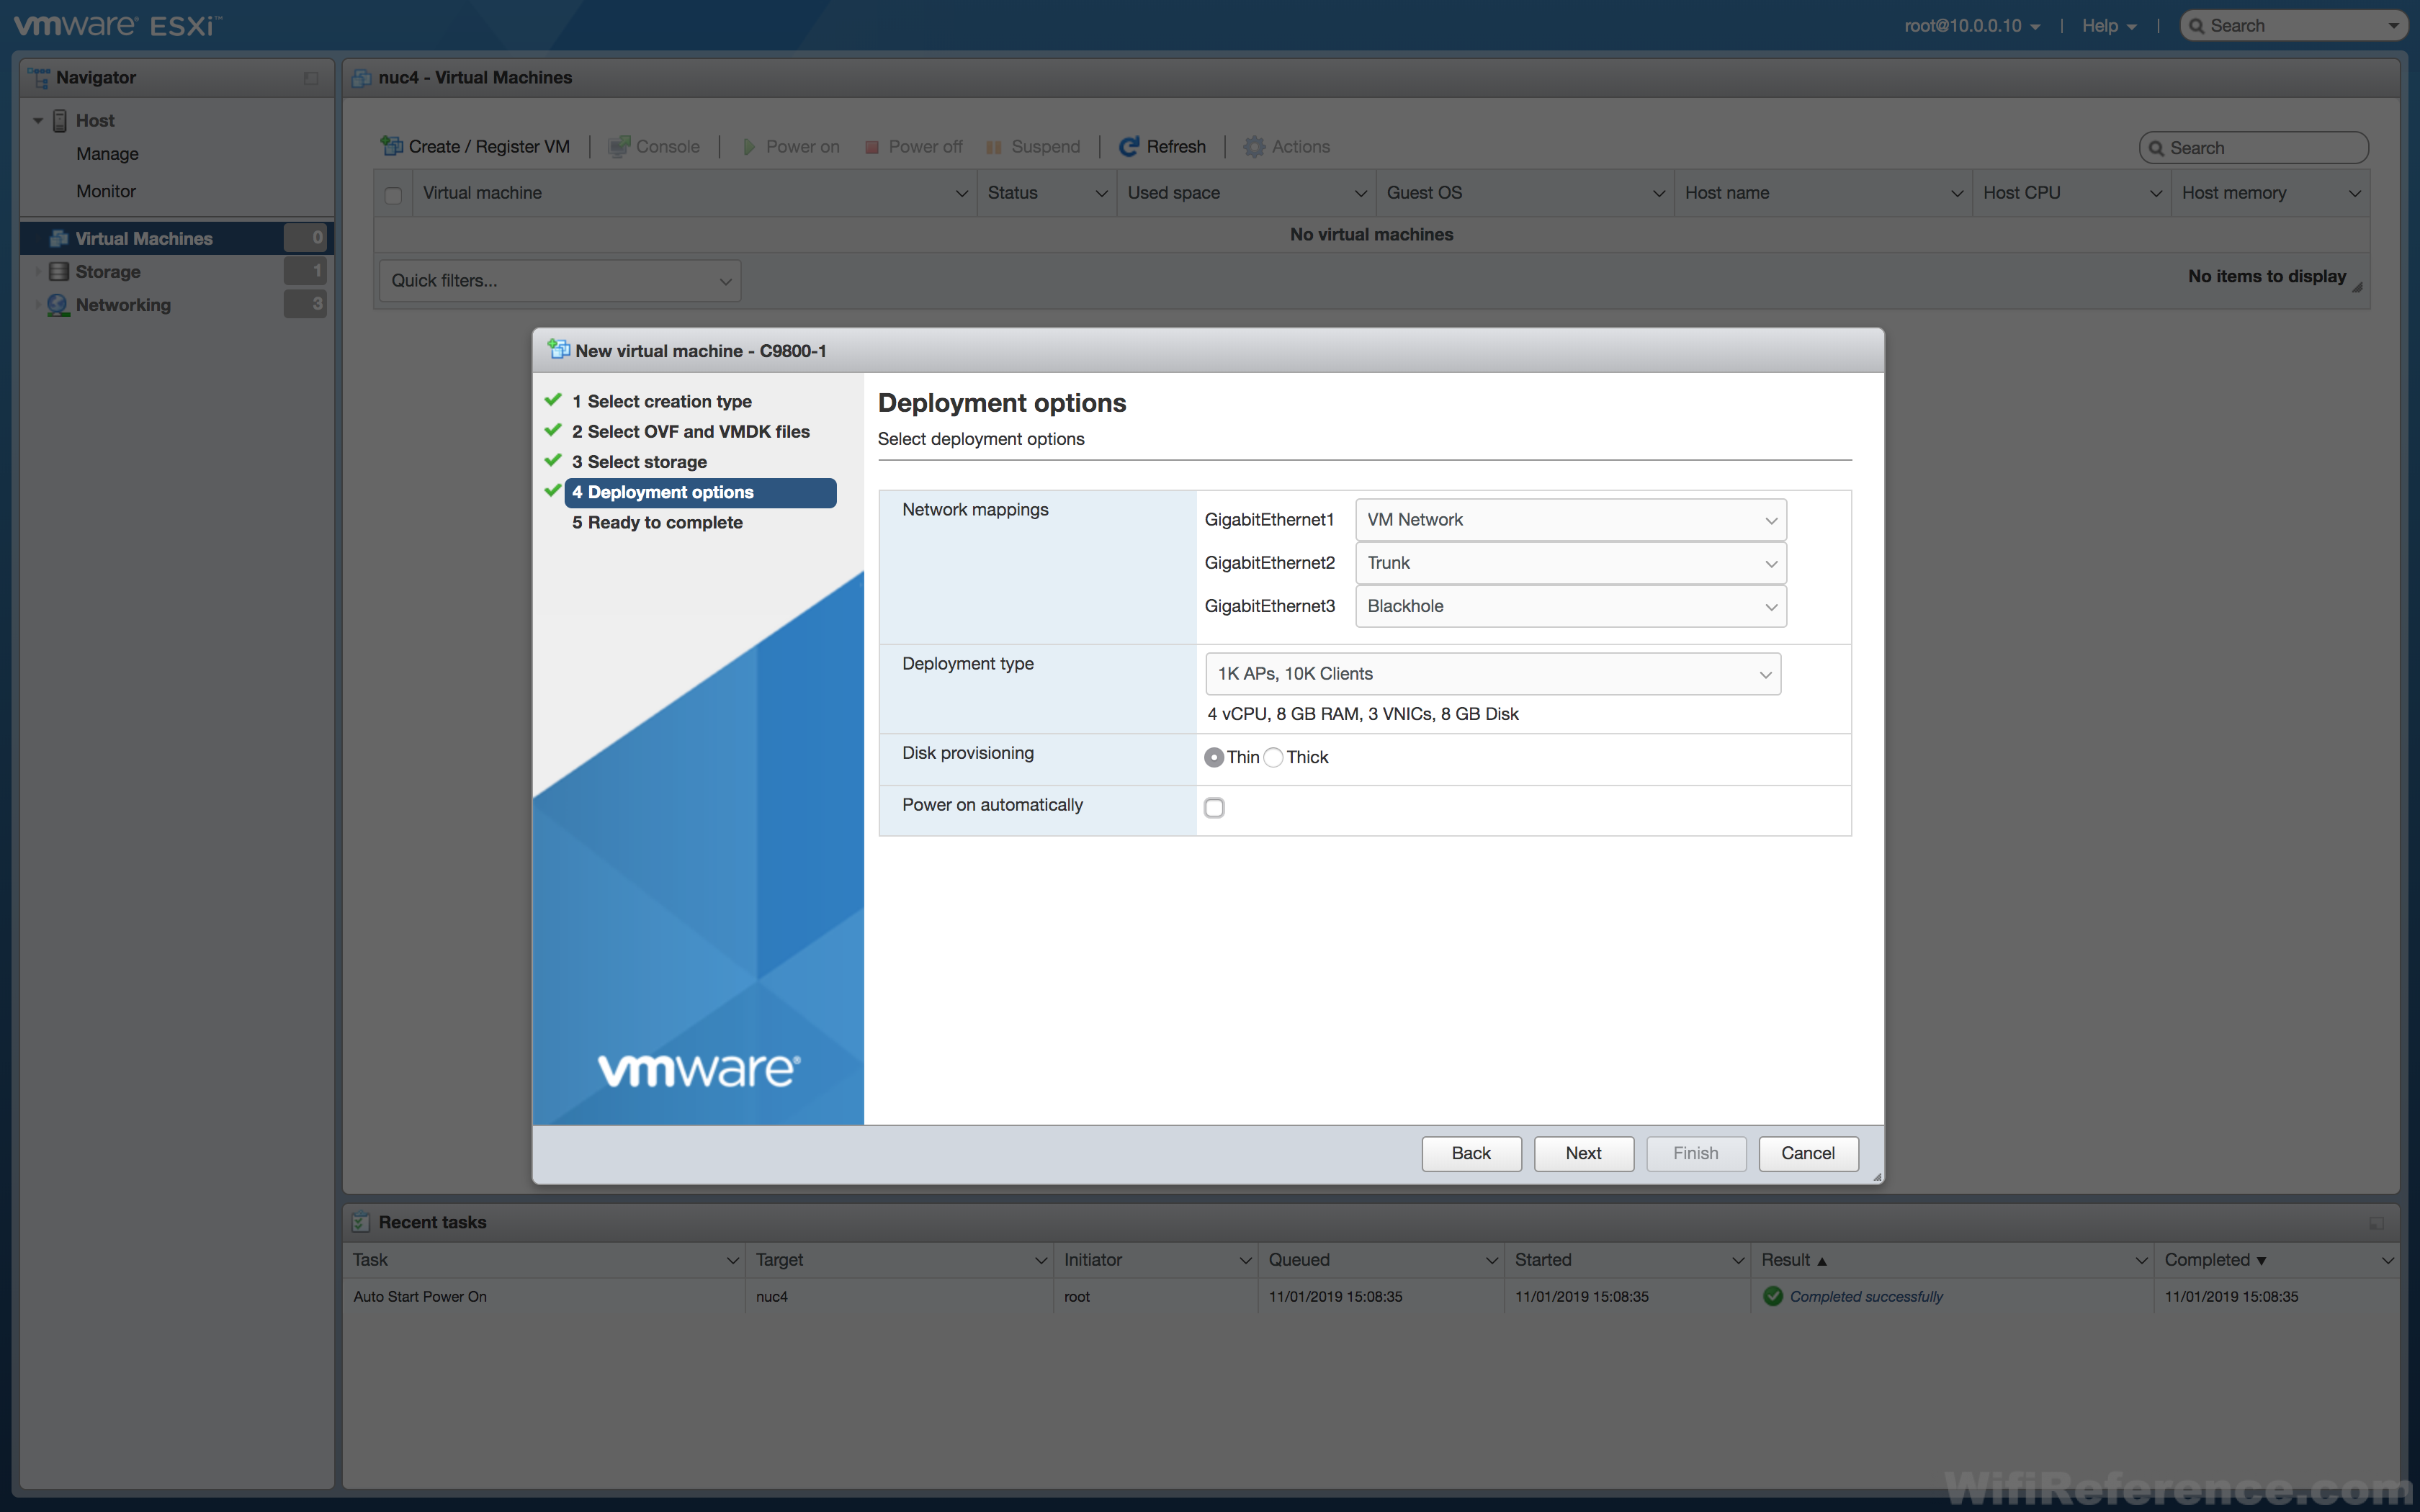
GigabitEthernet1: VM Network (we will delete this NIC before powering on the virtual machine)
GigabitEthernet2: Trunk
GigabitEthernet3: Blackhole
Select the Deployment Type. Usually you will leave this at the smallest option for lab/testing purposes. Keep in mind that this option dictates how much RAM and CPU is consumed by the VM.
Select the type of Disk Provisioning you want. Thin is fine, as it may save some disk space.
Uncheck the “Power on automatically” box. This is important! We need to make changes to this VM before it is powered on.
Click Next
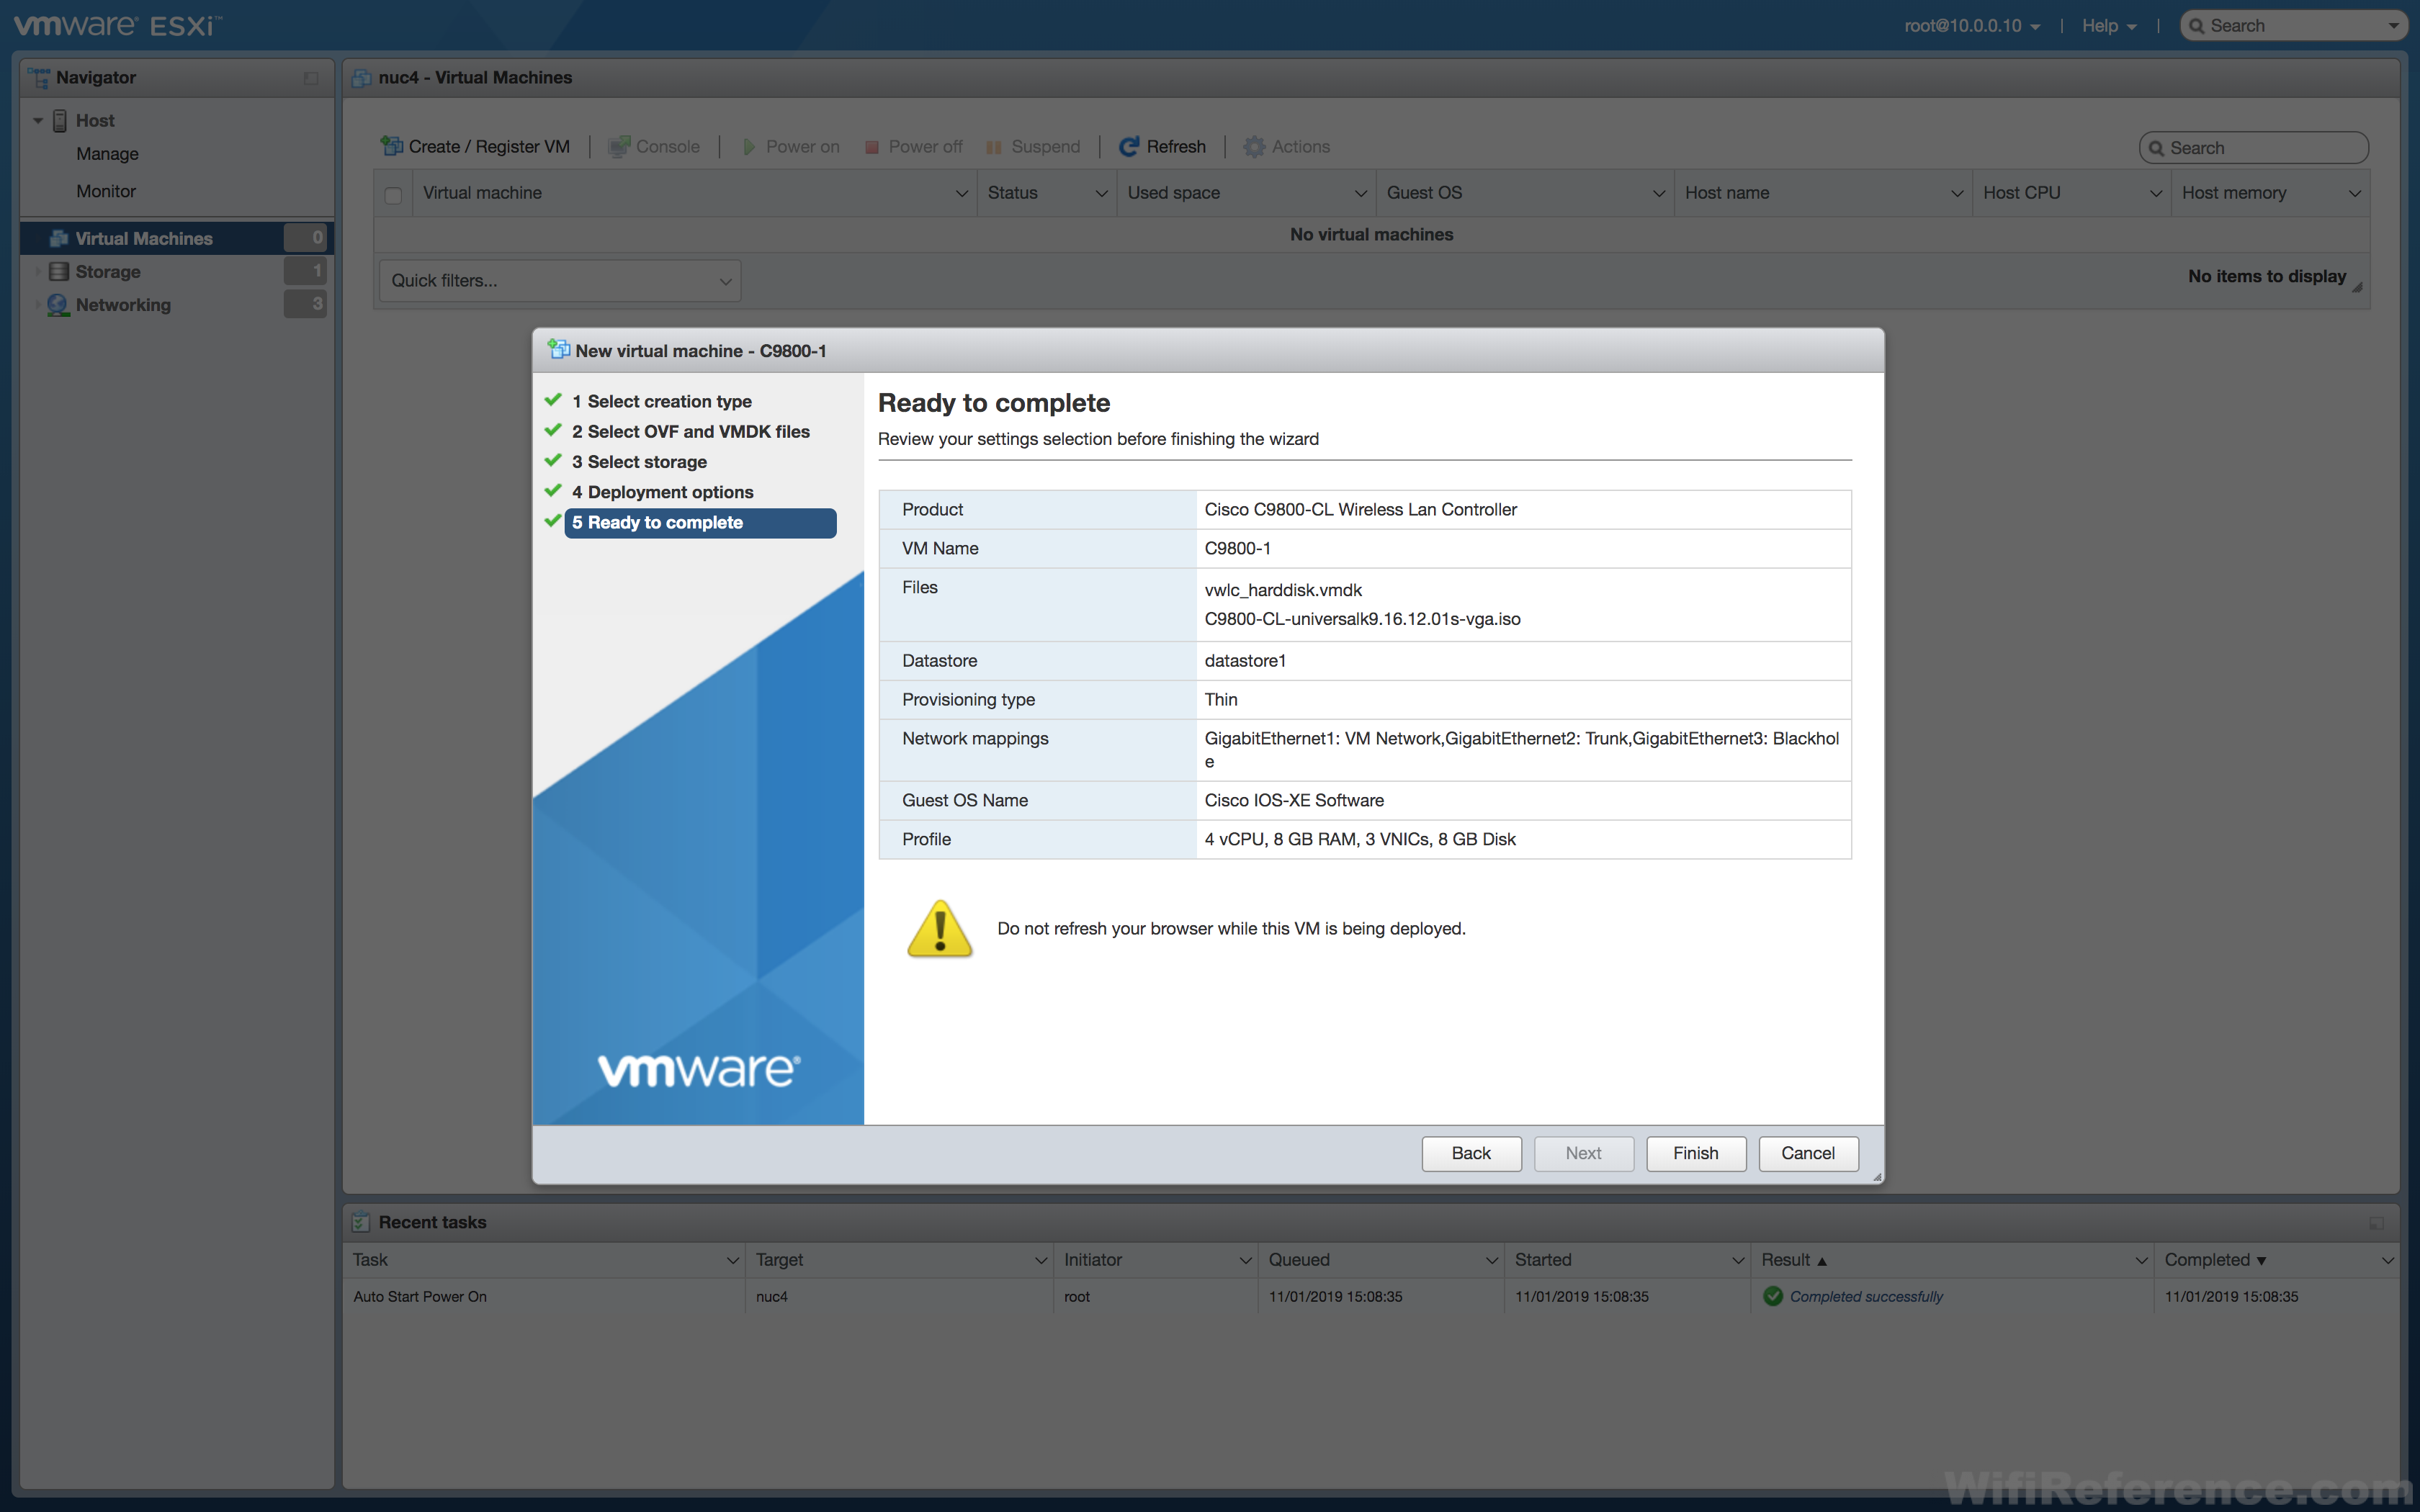
Double Check that you unchecked the Power on Automatically box on the previous page.
Click Finish to deploy the OVA.
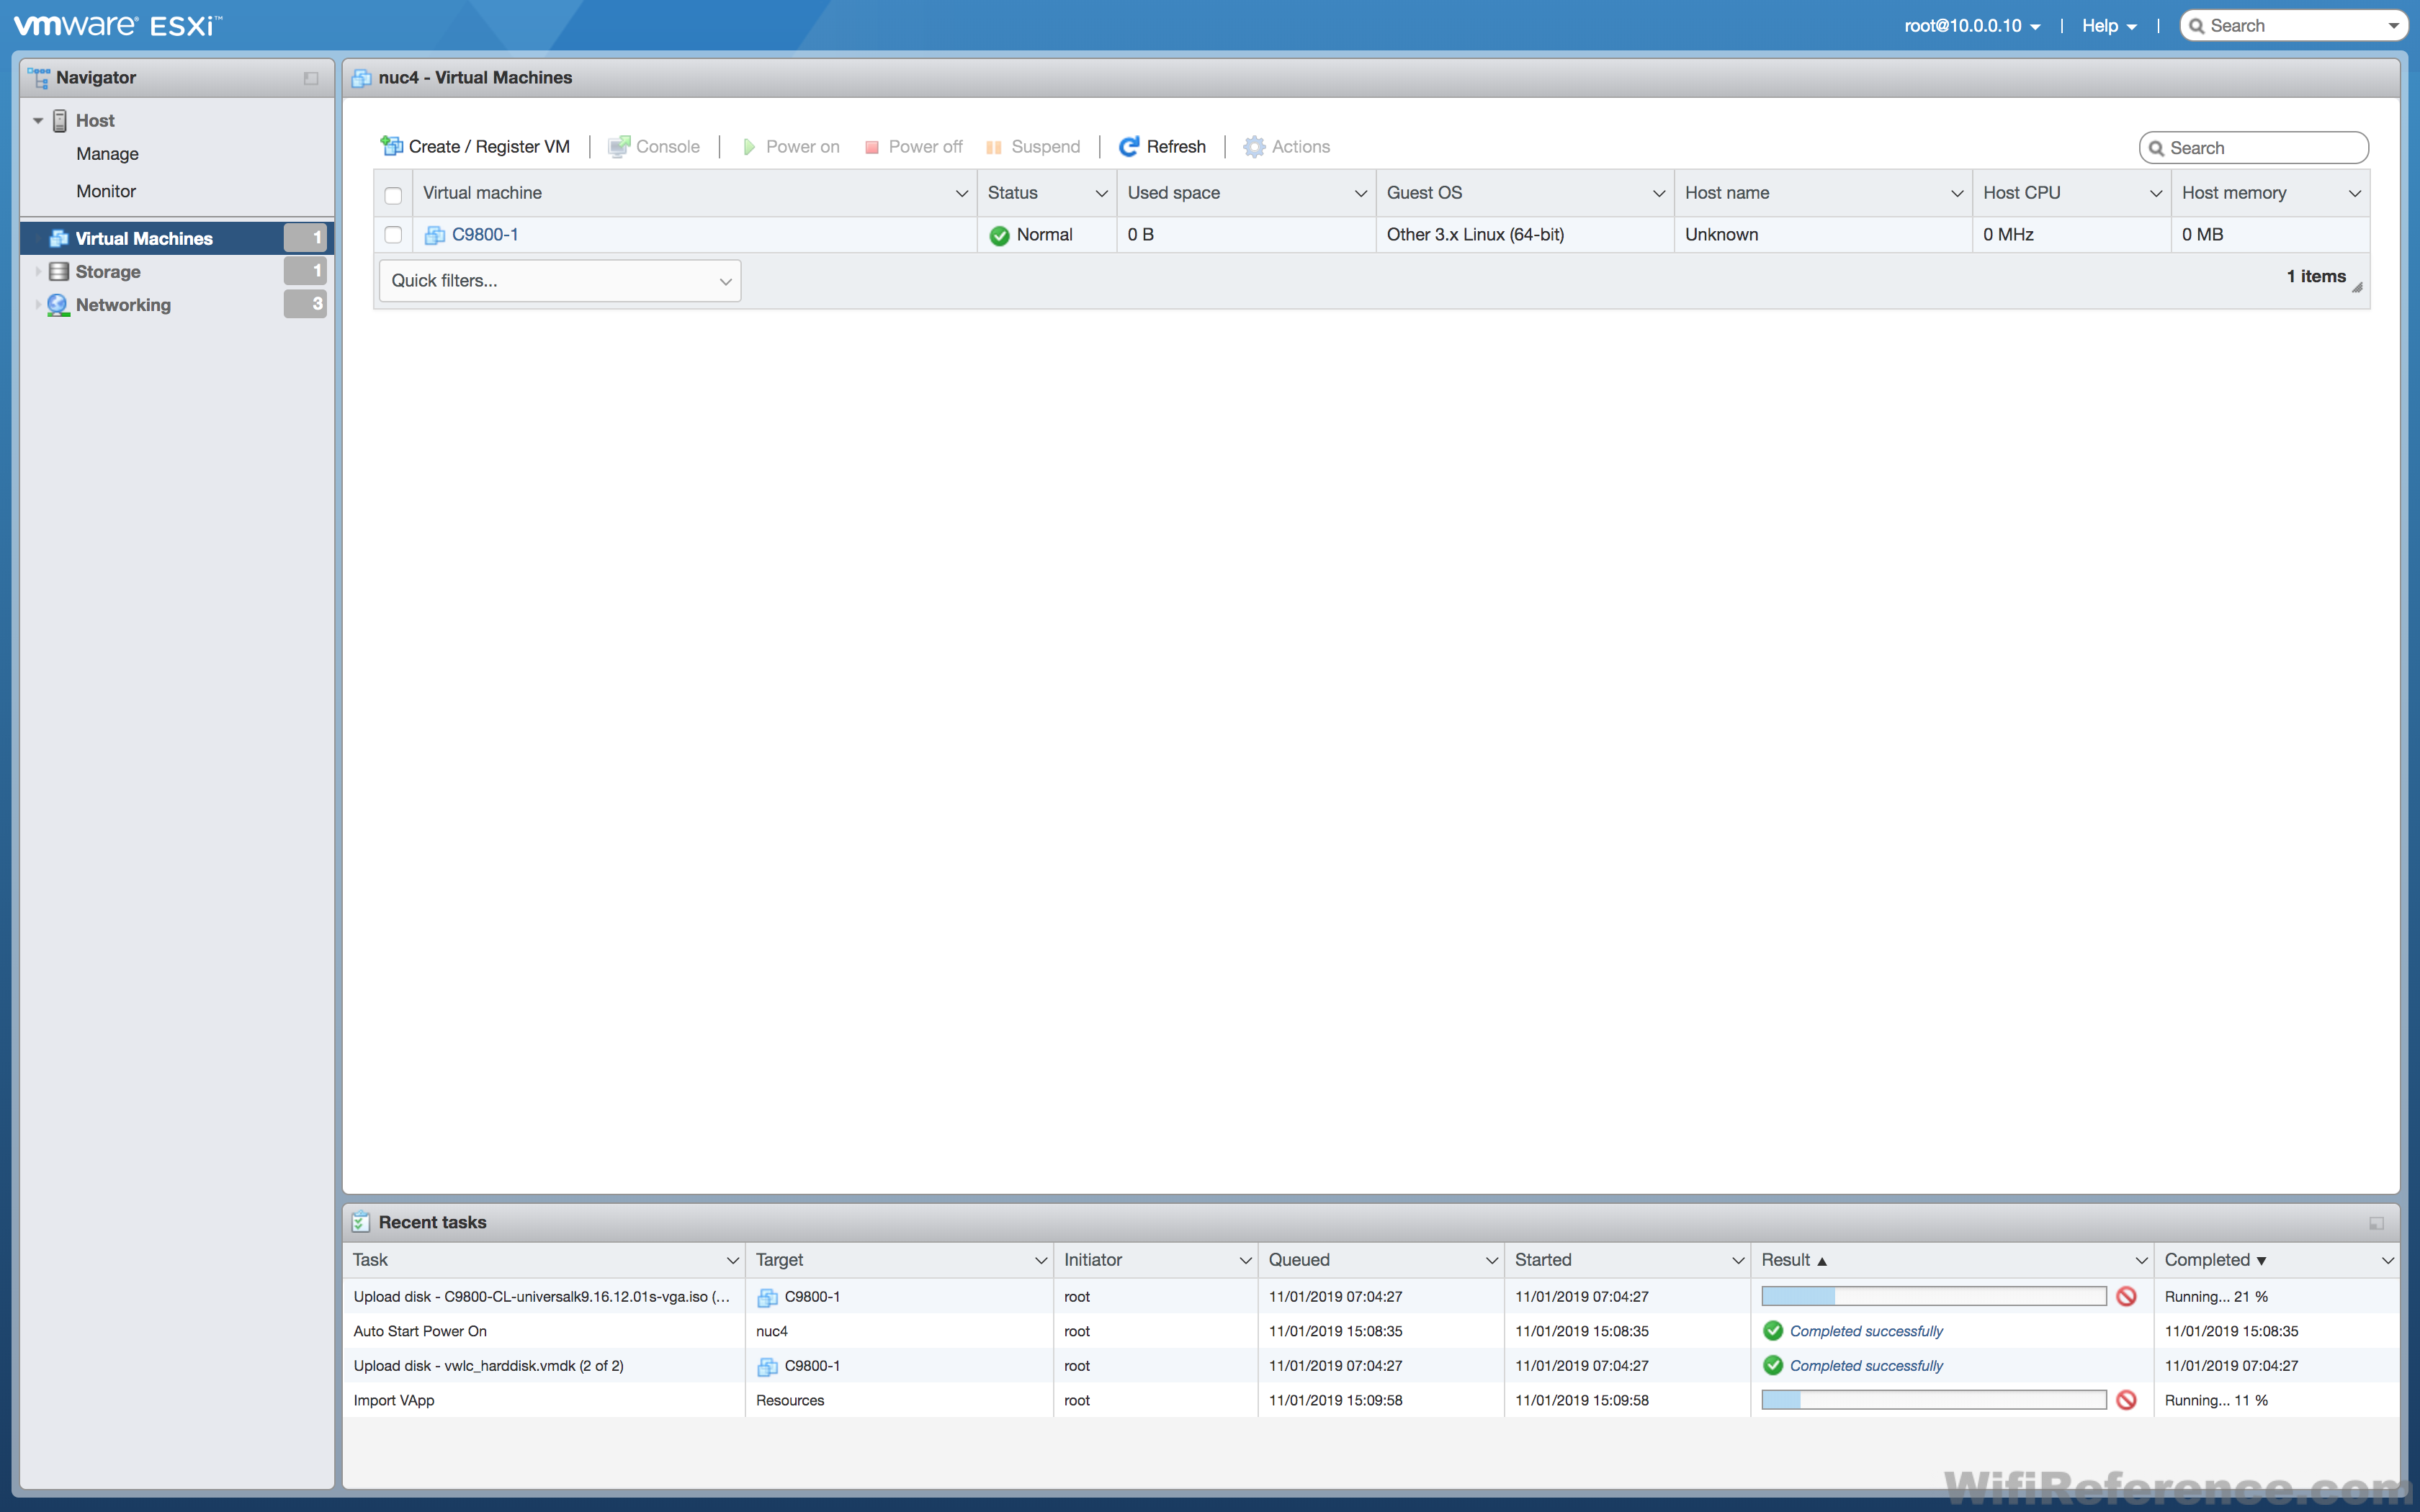

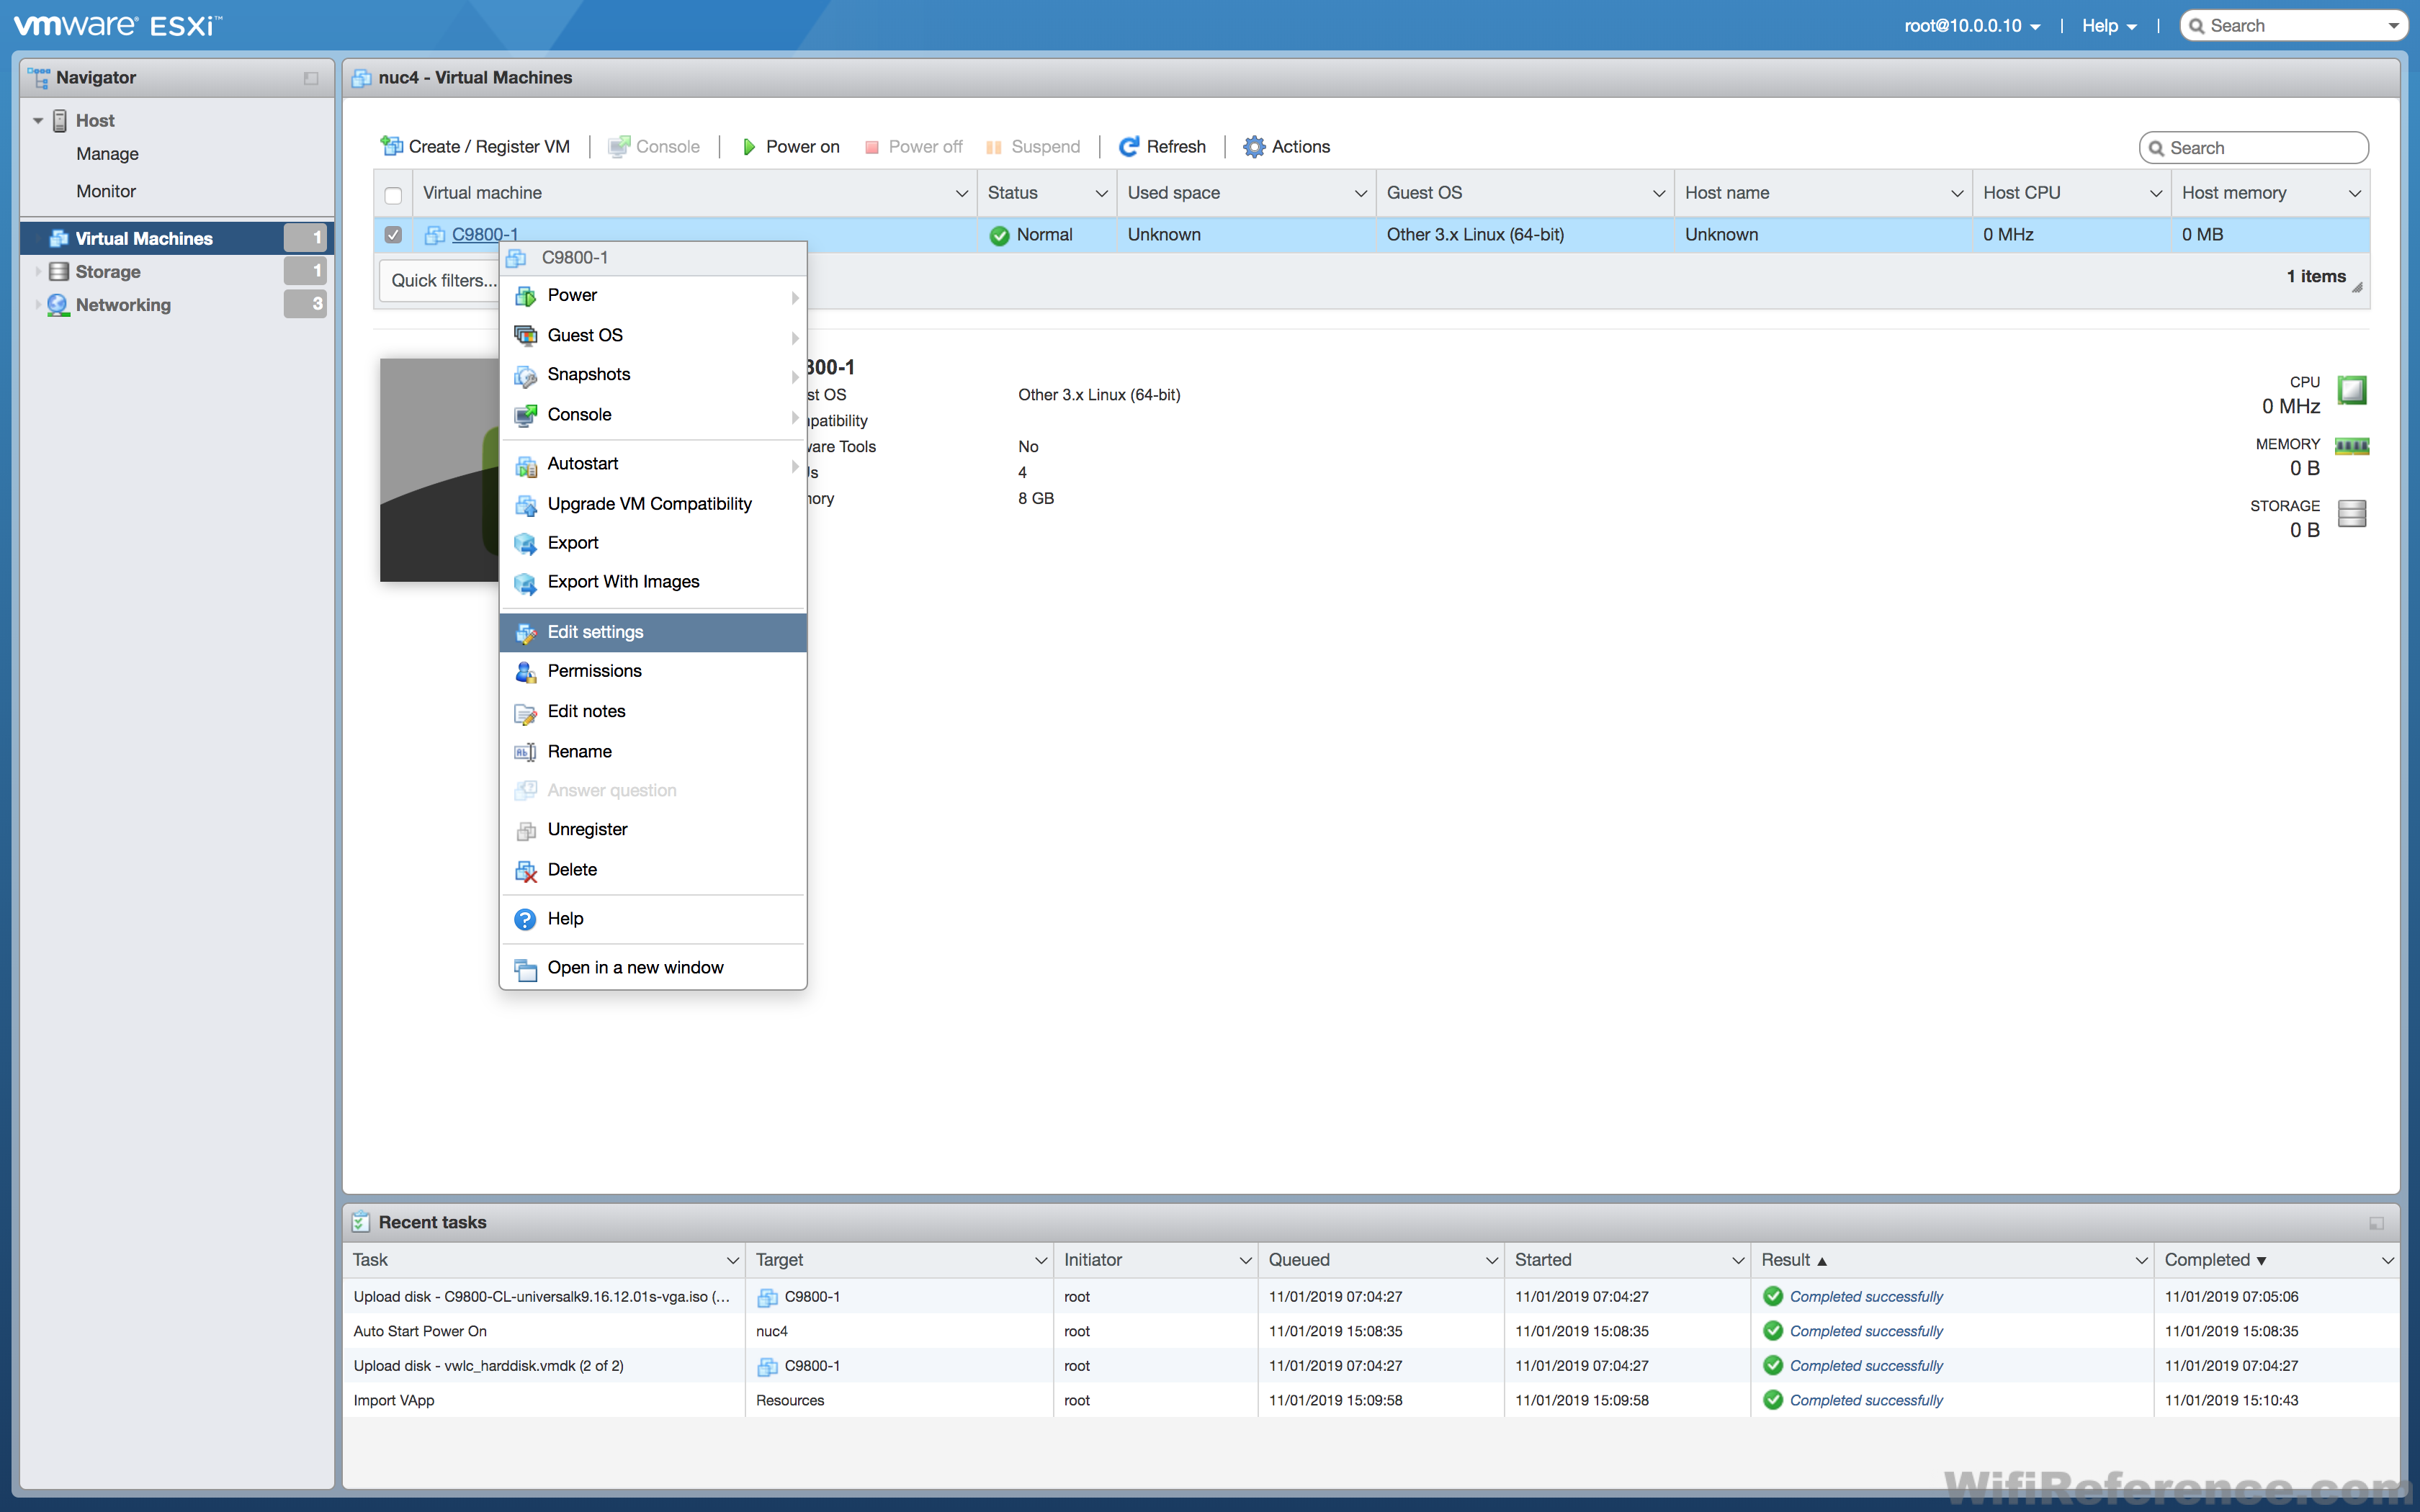
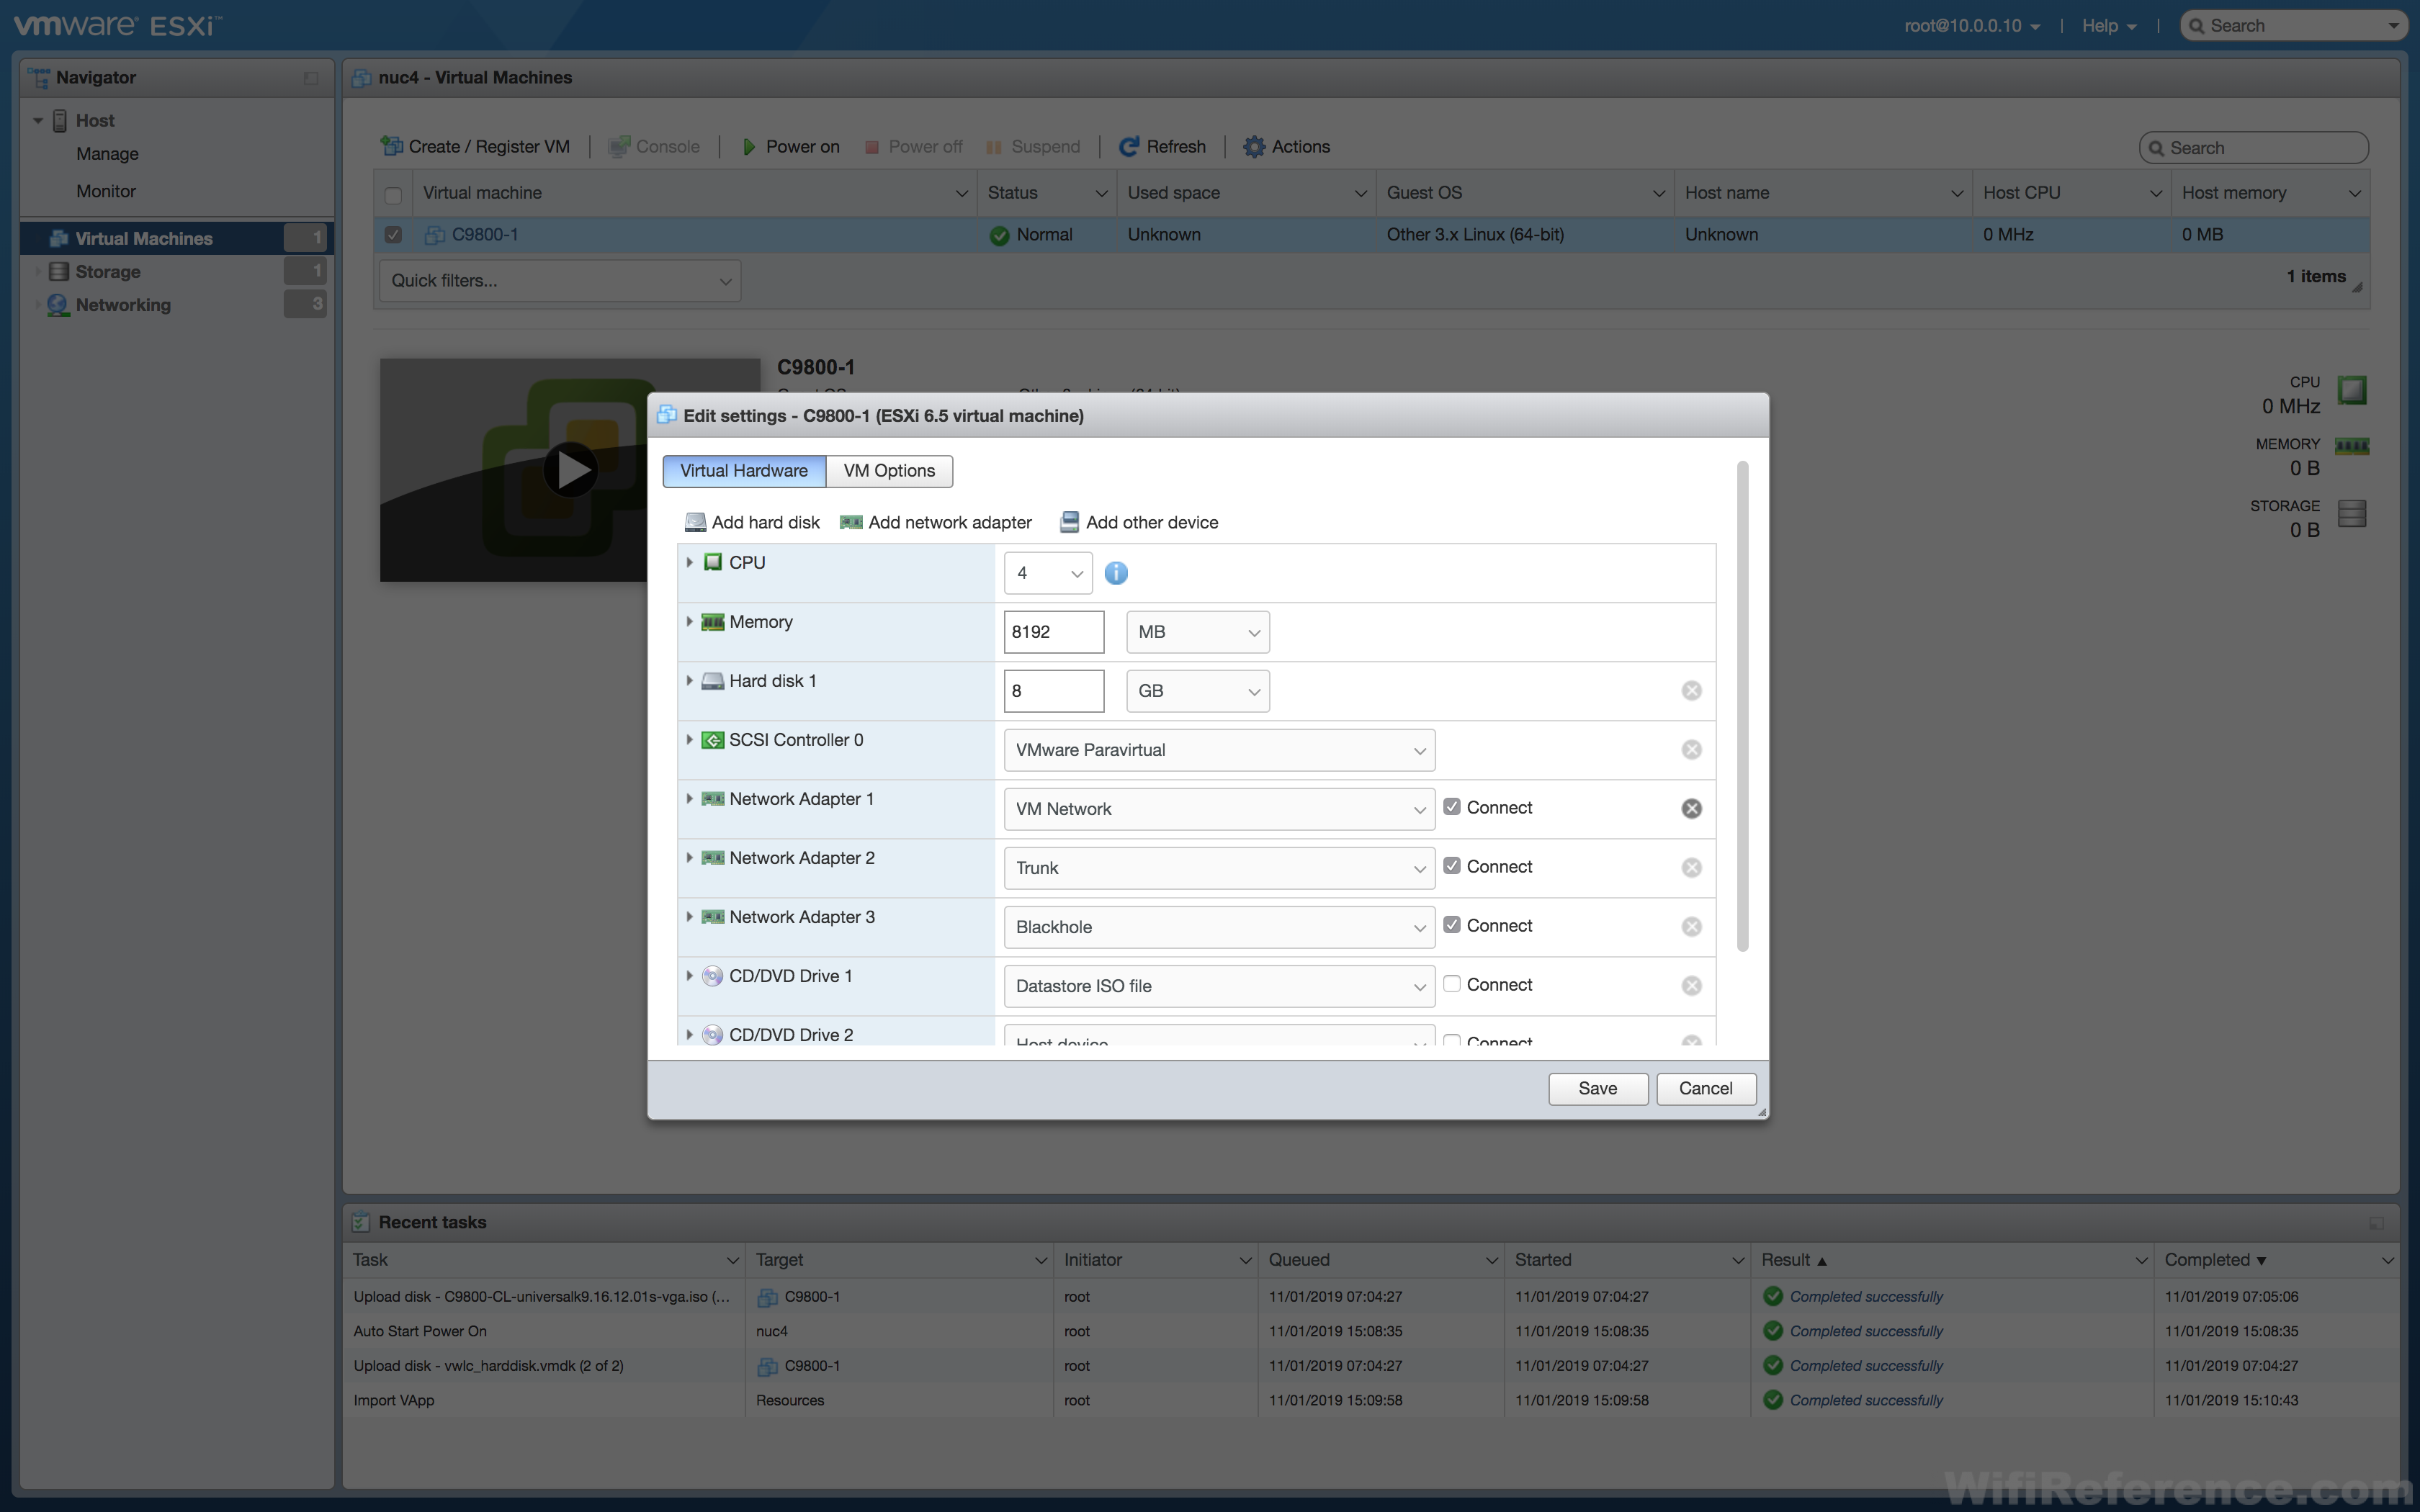
You must delete Gigabit Ethernet 1 by clicking the small X on the right-hand side of the window.

Click Save.
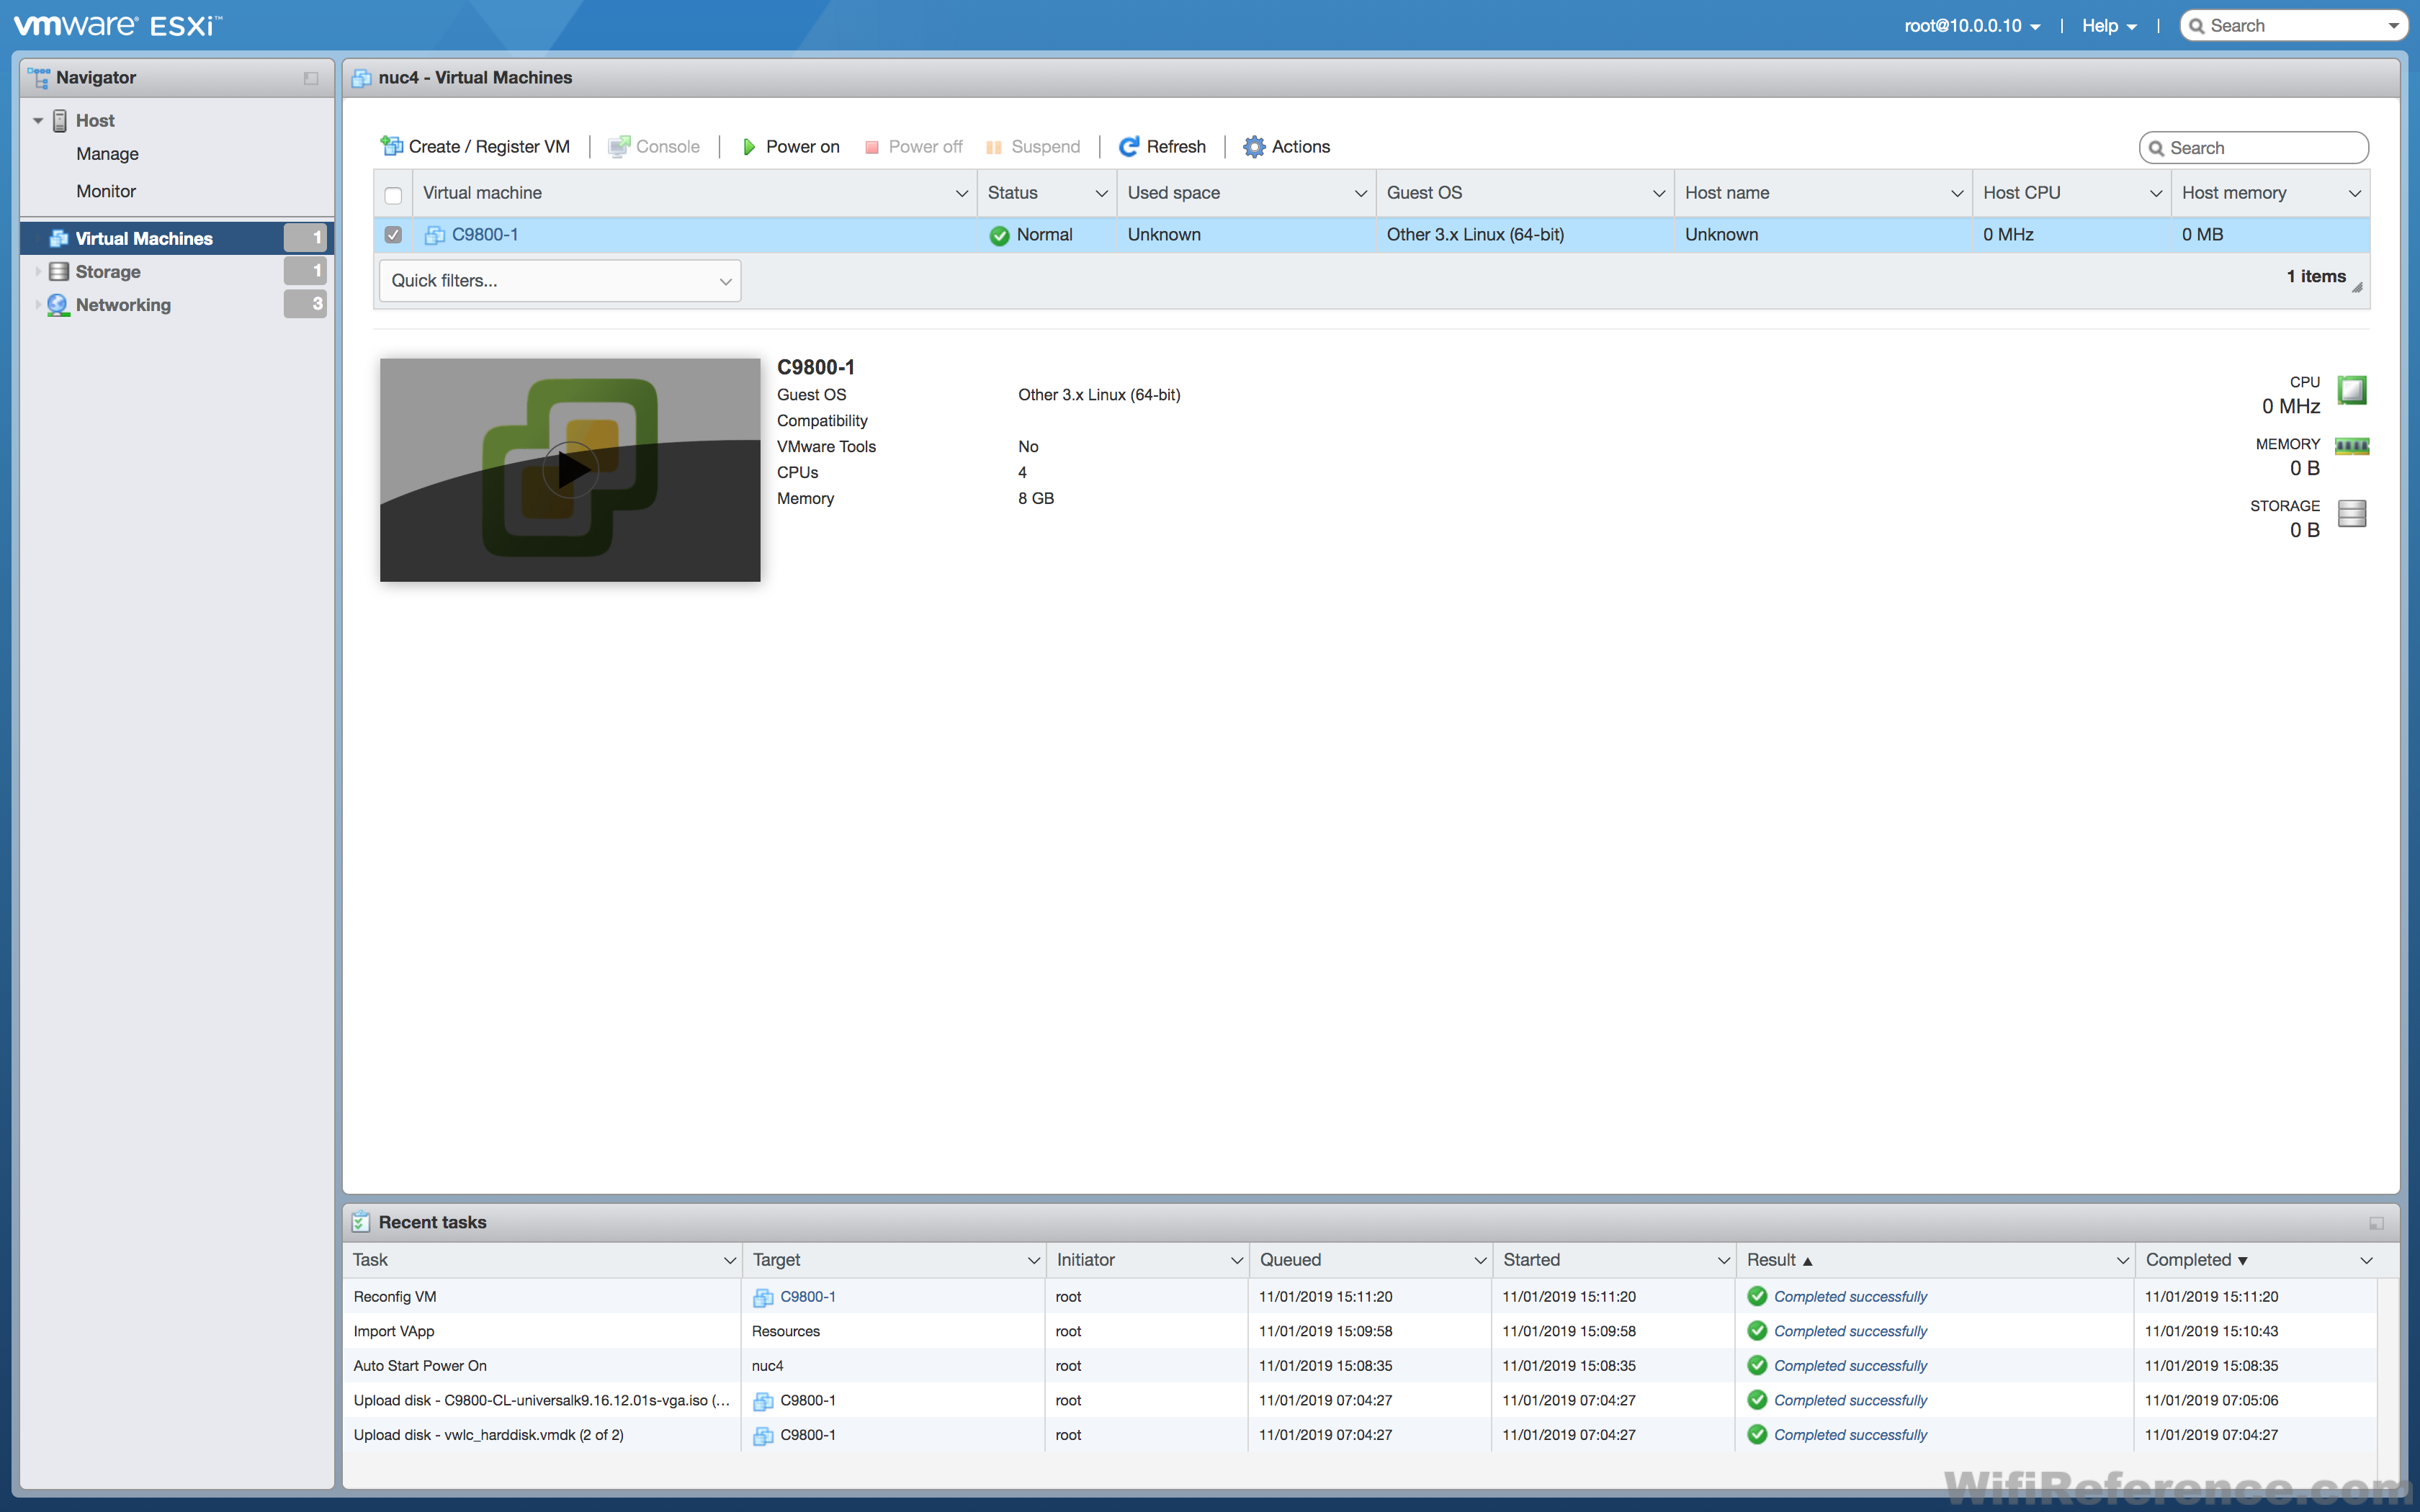
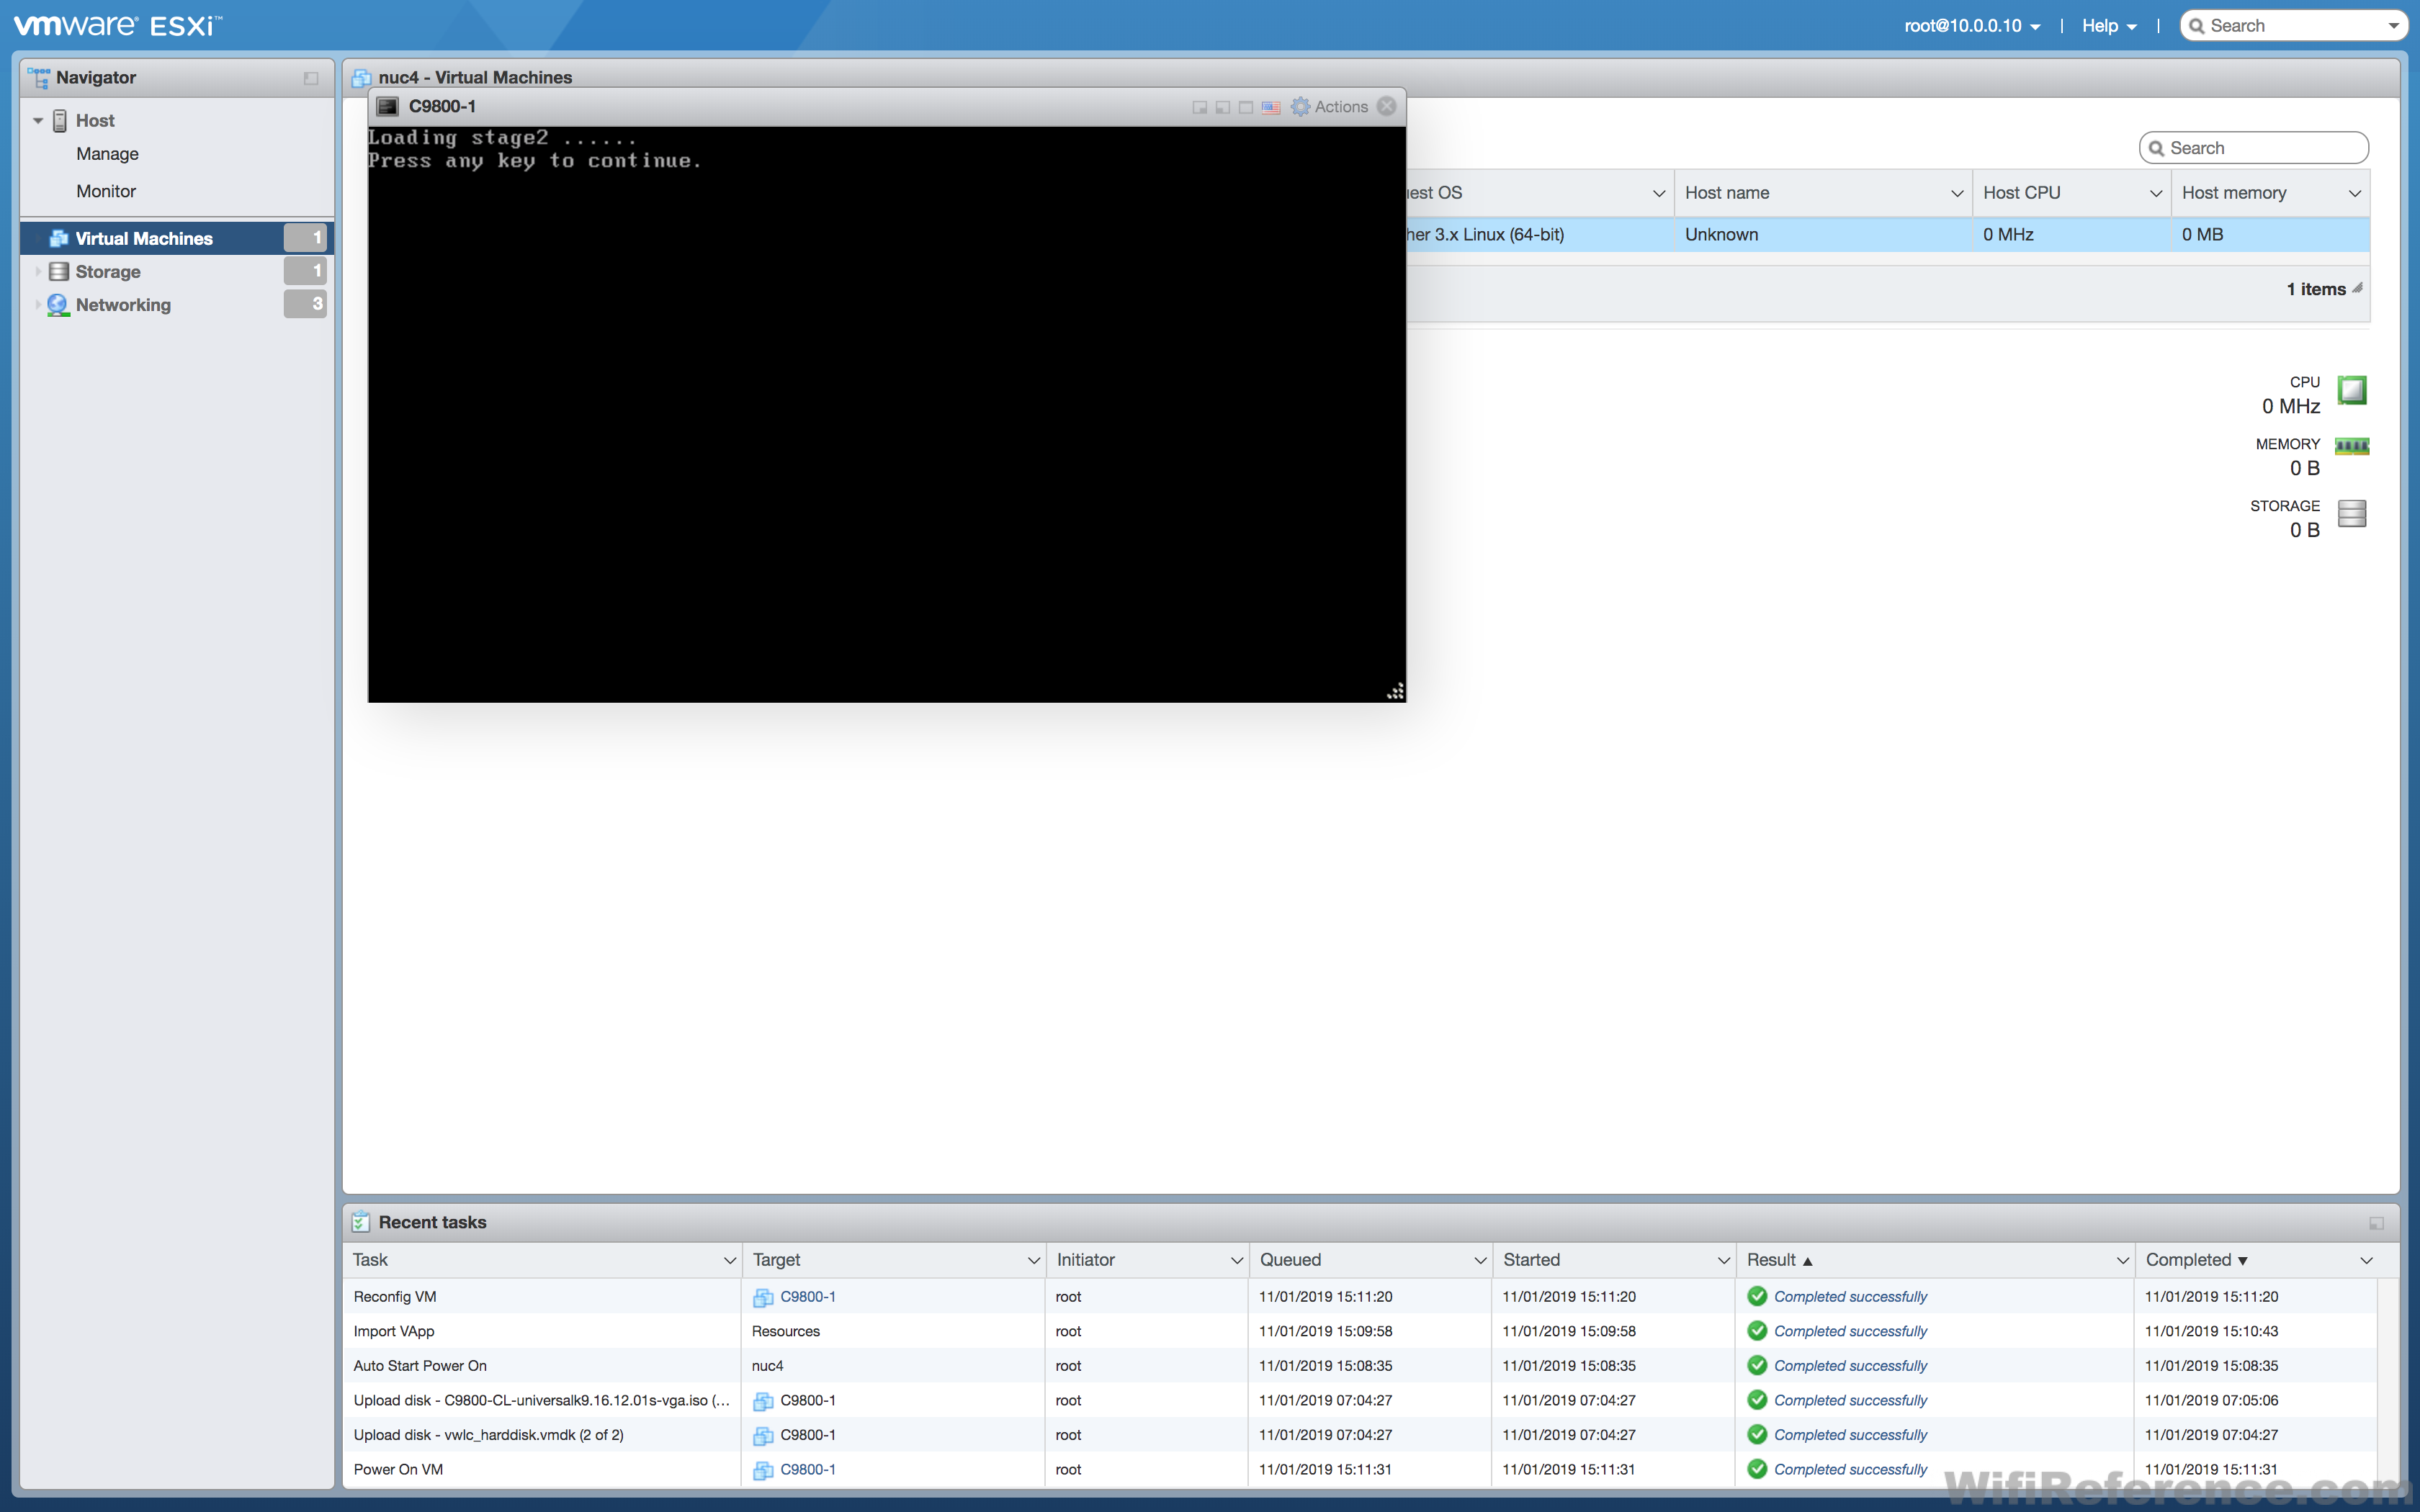
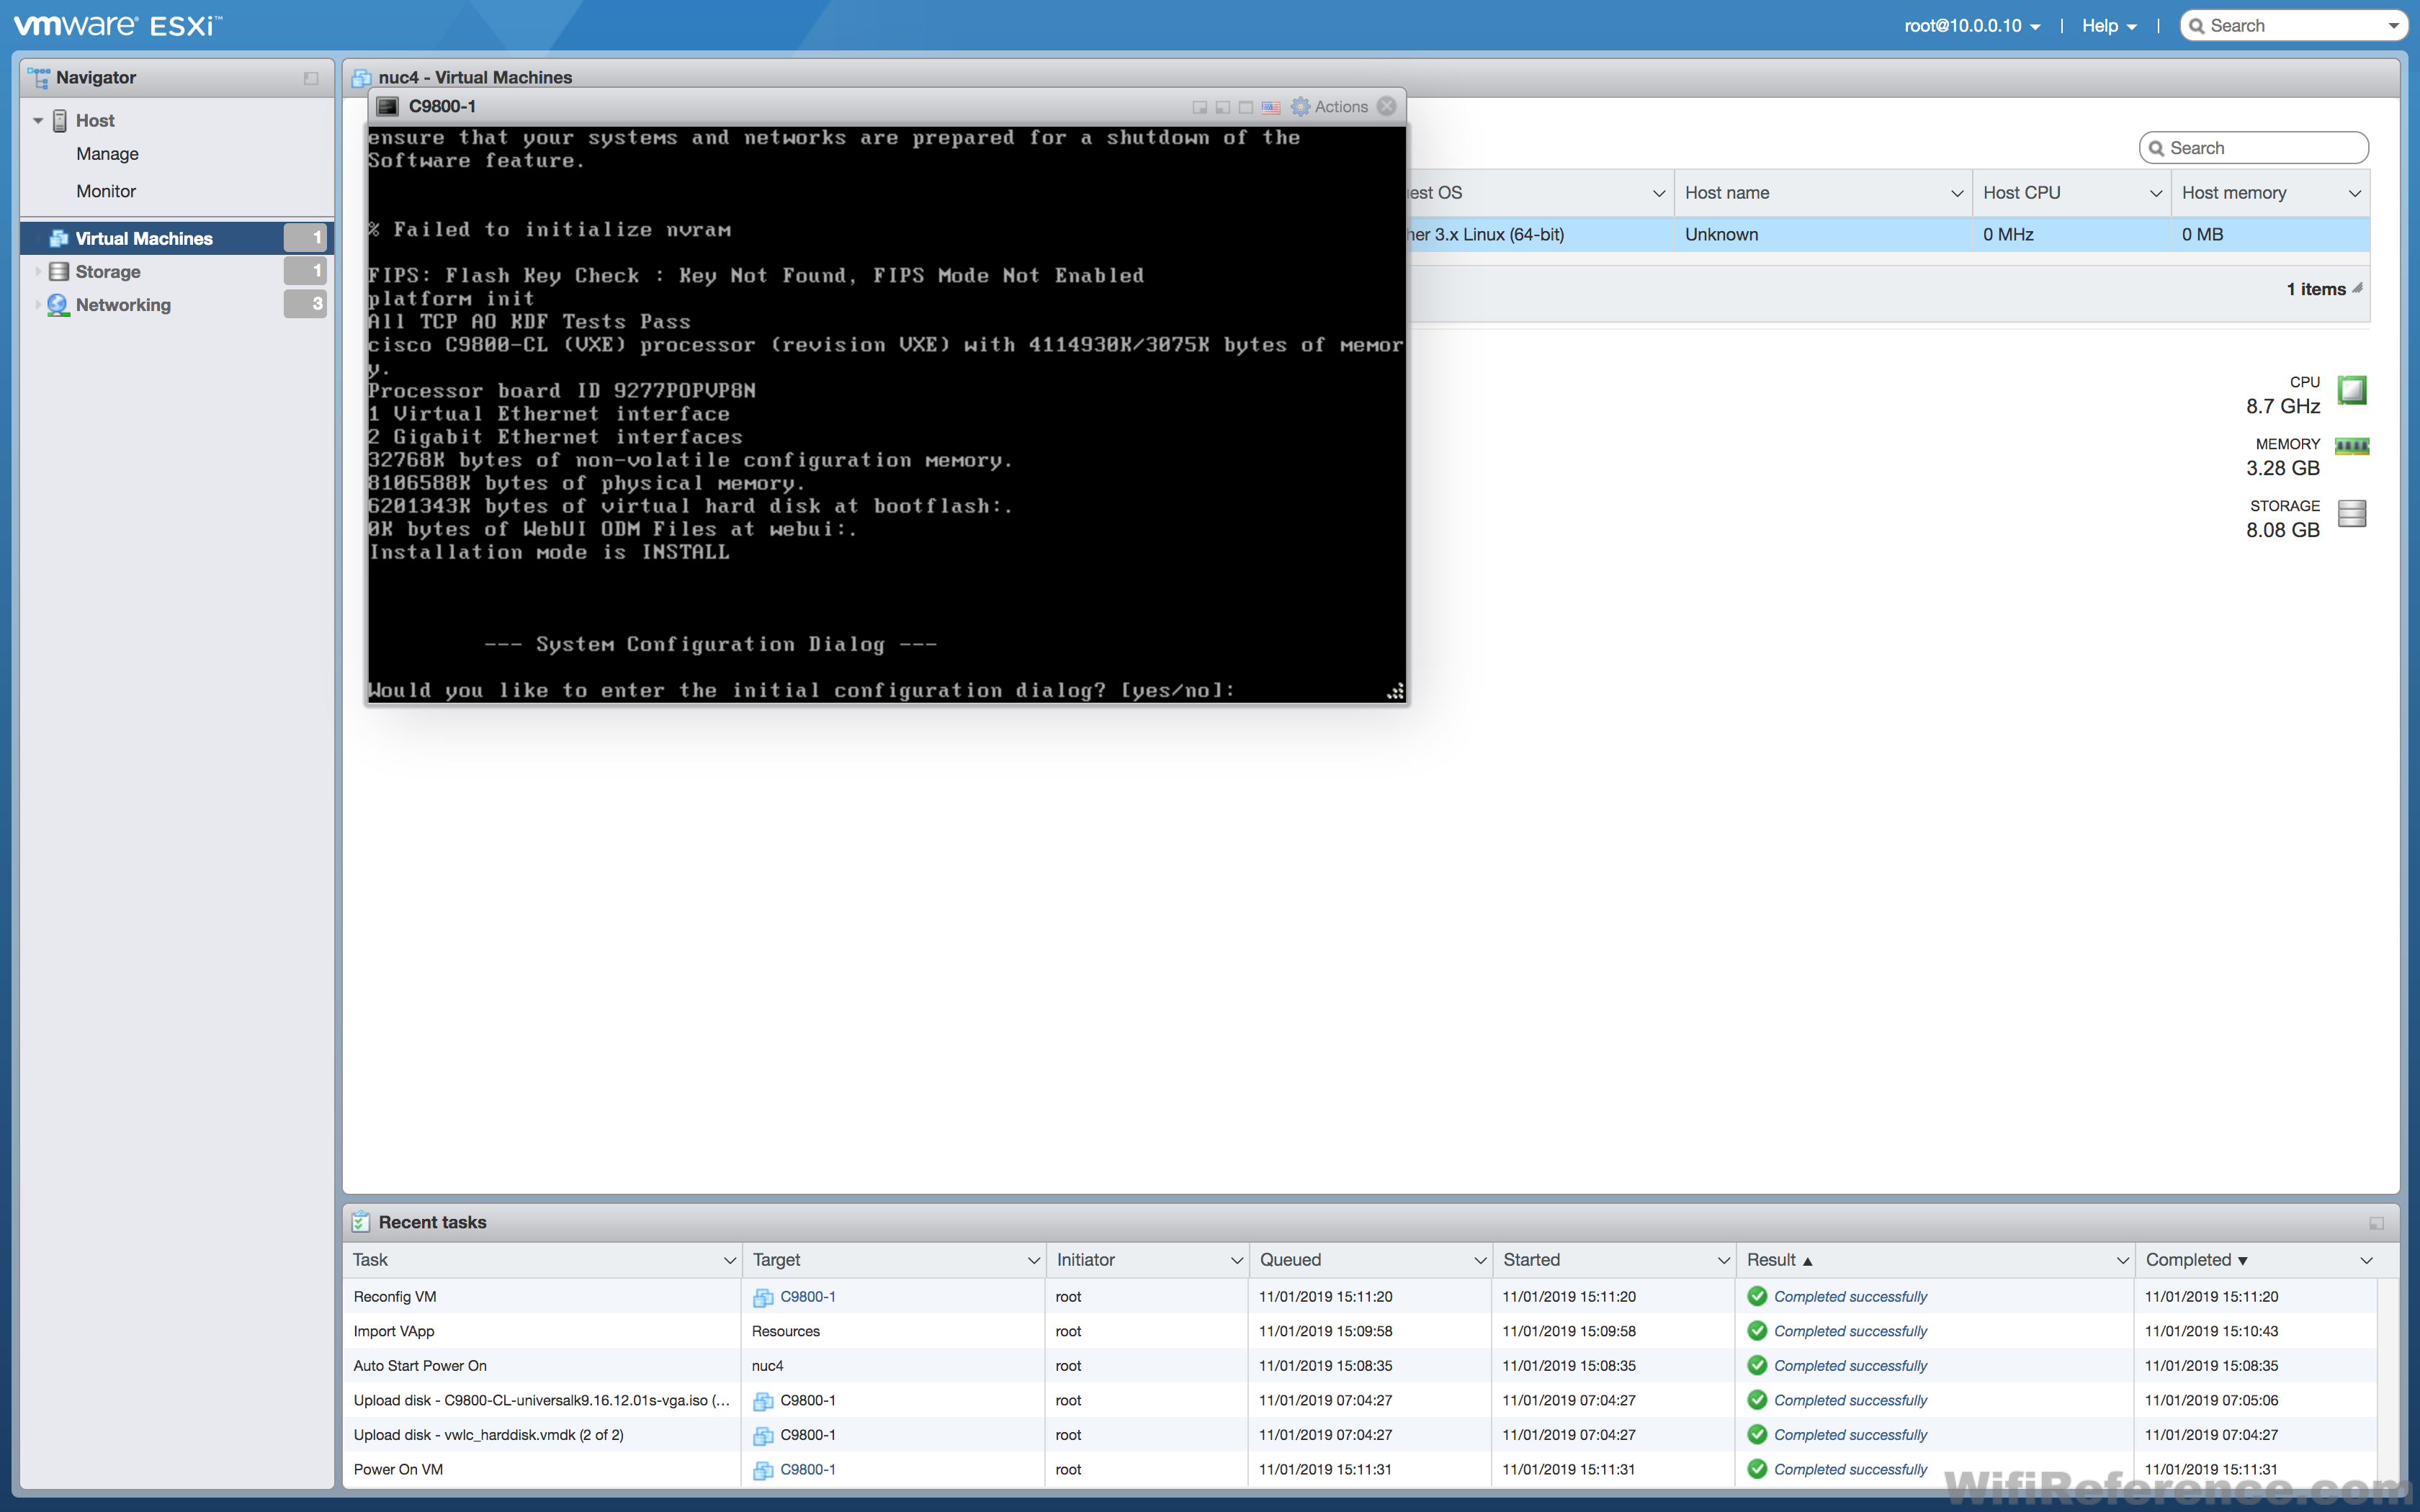
If it completed successfully, it is now safe to power on the VM. Click on the “Play button” in the small window with the VMware logo on it. This will power on the VM and bring up the console.
Hopefully this guide was helpful in getting your Catalyst 9800-CL lab configured on an Intel NUC.
Dave,
thanks for taking the time to share this. I found the instructions extremely helpful since I am not familiar with the VM install process.
This is just what I need so I can figure out my 9800-40’s without totally screwing them up
Can this be done on other PCs or is it Just an Intel NUC that is works on? Having a Virtul Switch OS would be quite useful for learning.
This process works on any device that supports running VMware. I even have a 9800-CL running on my laptop (in VMware Fusion)! A NUC is just a good option if you’re looking for something small, quiet and portable.
Thanks for sharing, just found out that later-generation NUCs might support 64 GB of RAM, although not officially supported:
https://www.virtuallyghetto.com/2019/03/64gb-memory-on-the-intel-nucs.html
Might save you a box or two in your teacher-kit 🙂
Indeed they do. I’ve already upgraded two of my NUCs to 64GB.